
How To | Marbling Plastic
👋🏻 Hi Friends,
I just launched a series of holiday marbling workshops, and while prepping I decided to try something new— marbling plastic ornaments!
If you’re familiar with Ebru (Turkish) marbling, you know the pigments want to bond with prepared natural fibers such as: un-coated paper and wood or glass. But it isn’t designed to stick to plastic…
Through a series of tests and experiments, I discovered my own technique for marbling plastic that I love even more than what I set out to create. How often does that happen?!?
Because this technique requires multiple days to complete (and isn’t ideal for a single workshop) I thought I’d share my process here. Assuming you’re a marbler with your chemistry skills down, this should be a total treat!
My first step/attempt was to prep the bulbs with 99% Isopropyl Alcohol, then marble.
I chose as many textures/types of synthetic ornaments as possible, more than what appear here:
They seemed great… but after a few moments the pigments started slipping and sliding down the bulbs, those with the least amount of texture more so:

I didn’t care to clean and re-set the smooth finished bulbs, and thank goodness!!! or I never would’ve achieved the multi-layered look I came up with.
But I did take a quick pause, and hopped over to experimenting on glass bulbs for a moment:
I got great results after prepping and single dipping the glass… so I could be sure there wasn’t anything off with my size.
I took a quick video of the result, which you can view by clicking here.
Ready to take another swing at the plastics…
Not those ones silly 🤪
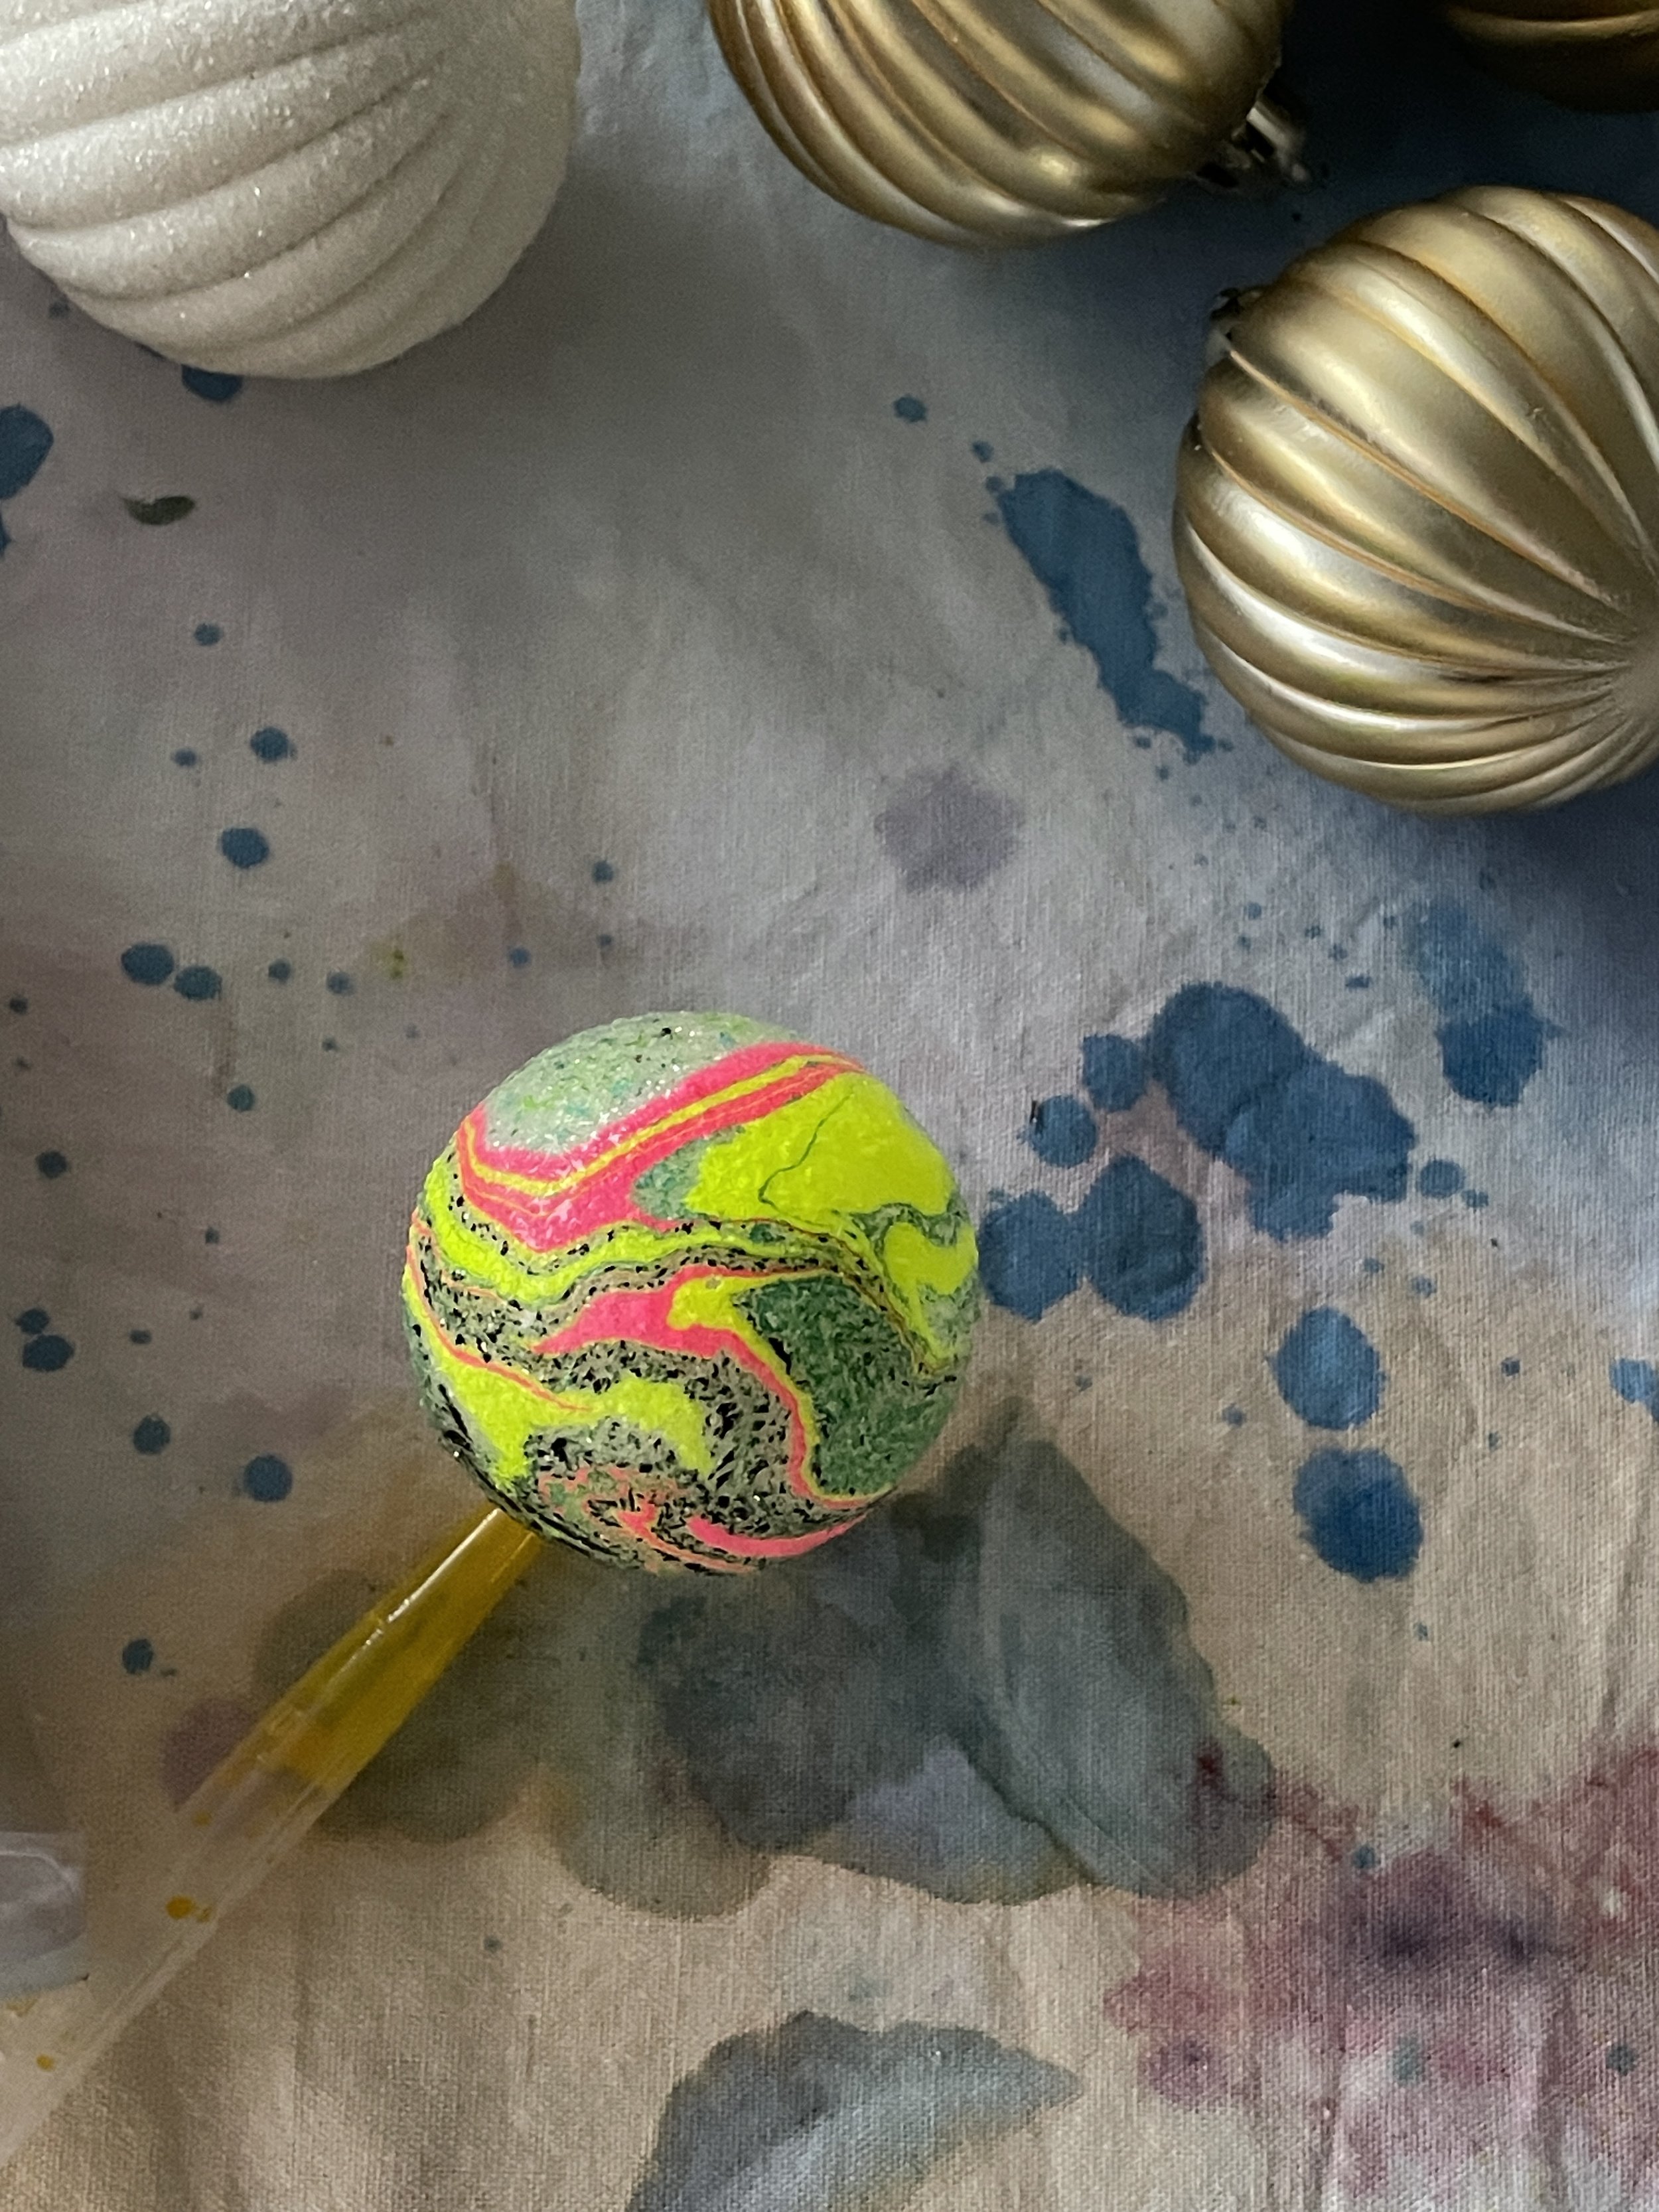
I grabbed a random bulb from my fail batch, prepped it with alum, waited for it to dry, then gave it a quick dip {in a pre-existing floating design, hence the crackles and particle-y bits}. At this point I just wanted to see if the colors would stick, and wasn’t concerned with aesthetics.
Huzzah!
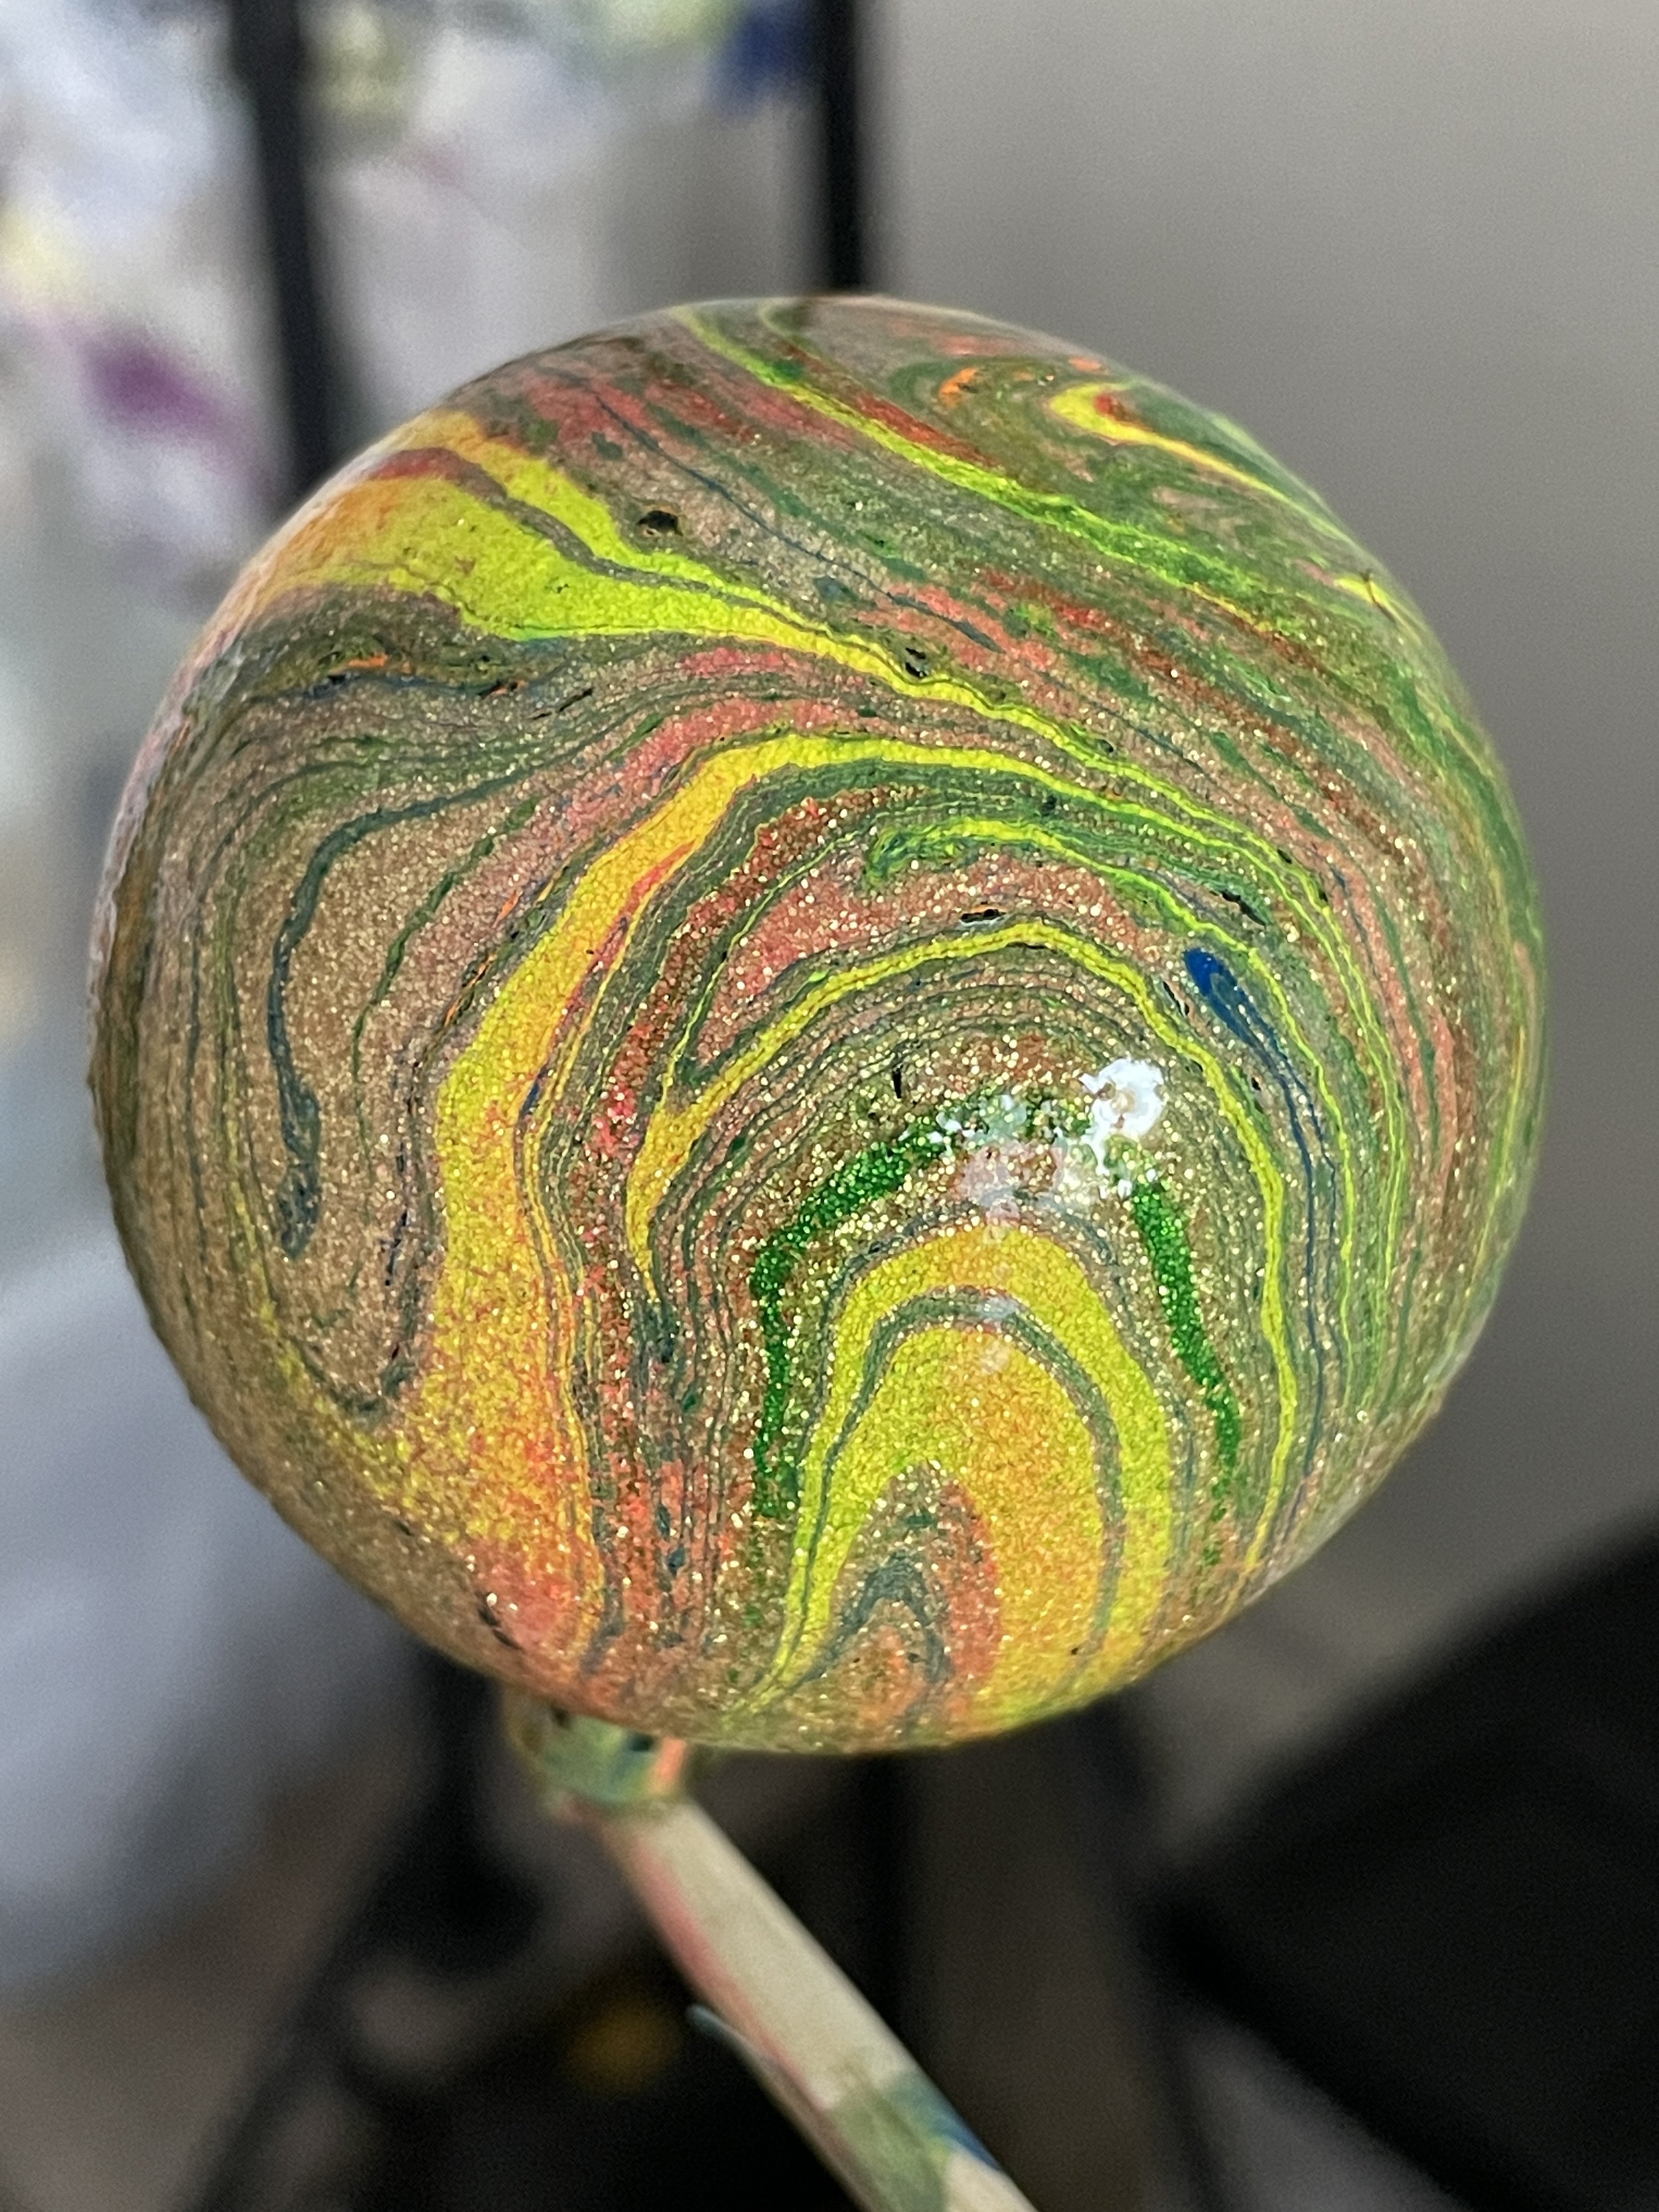
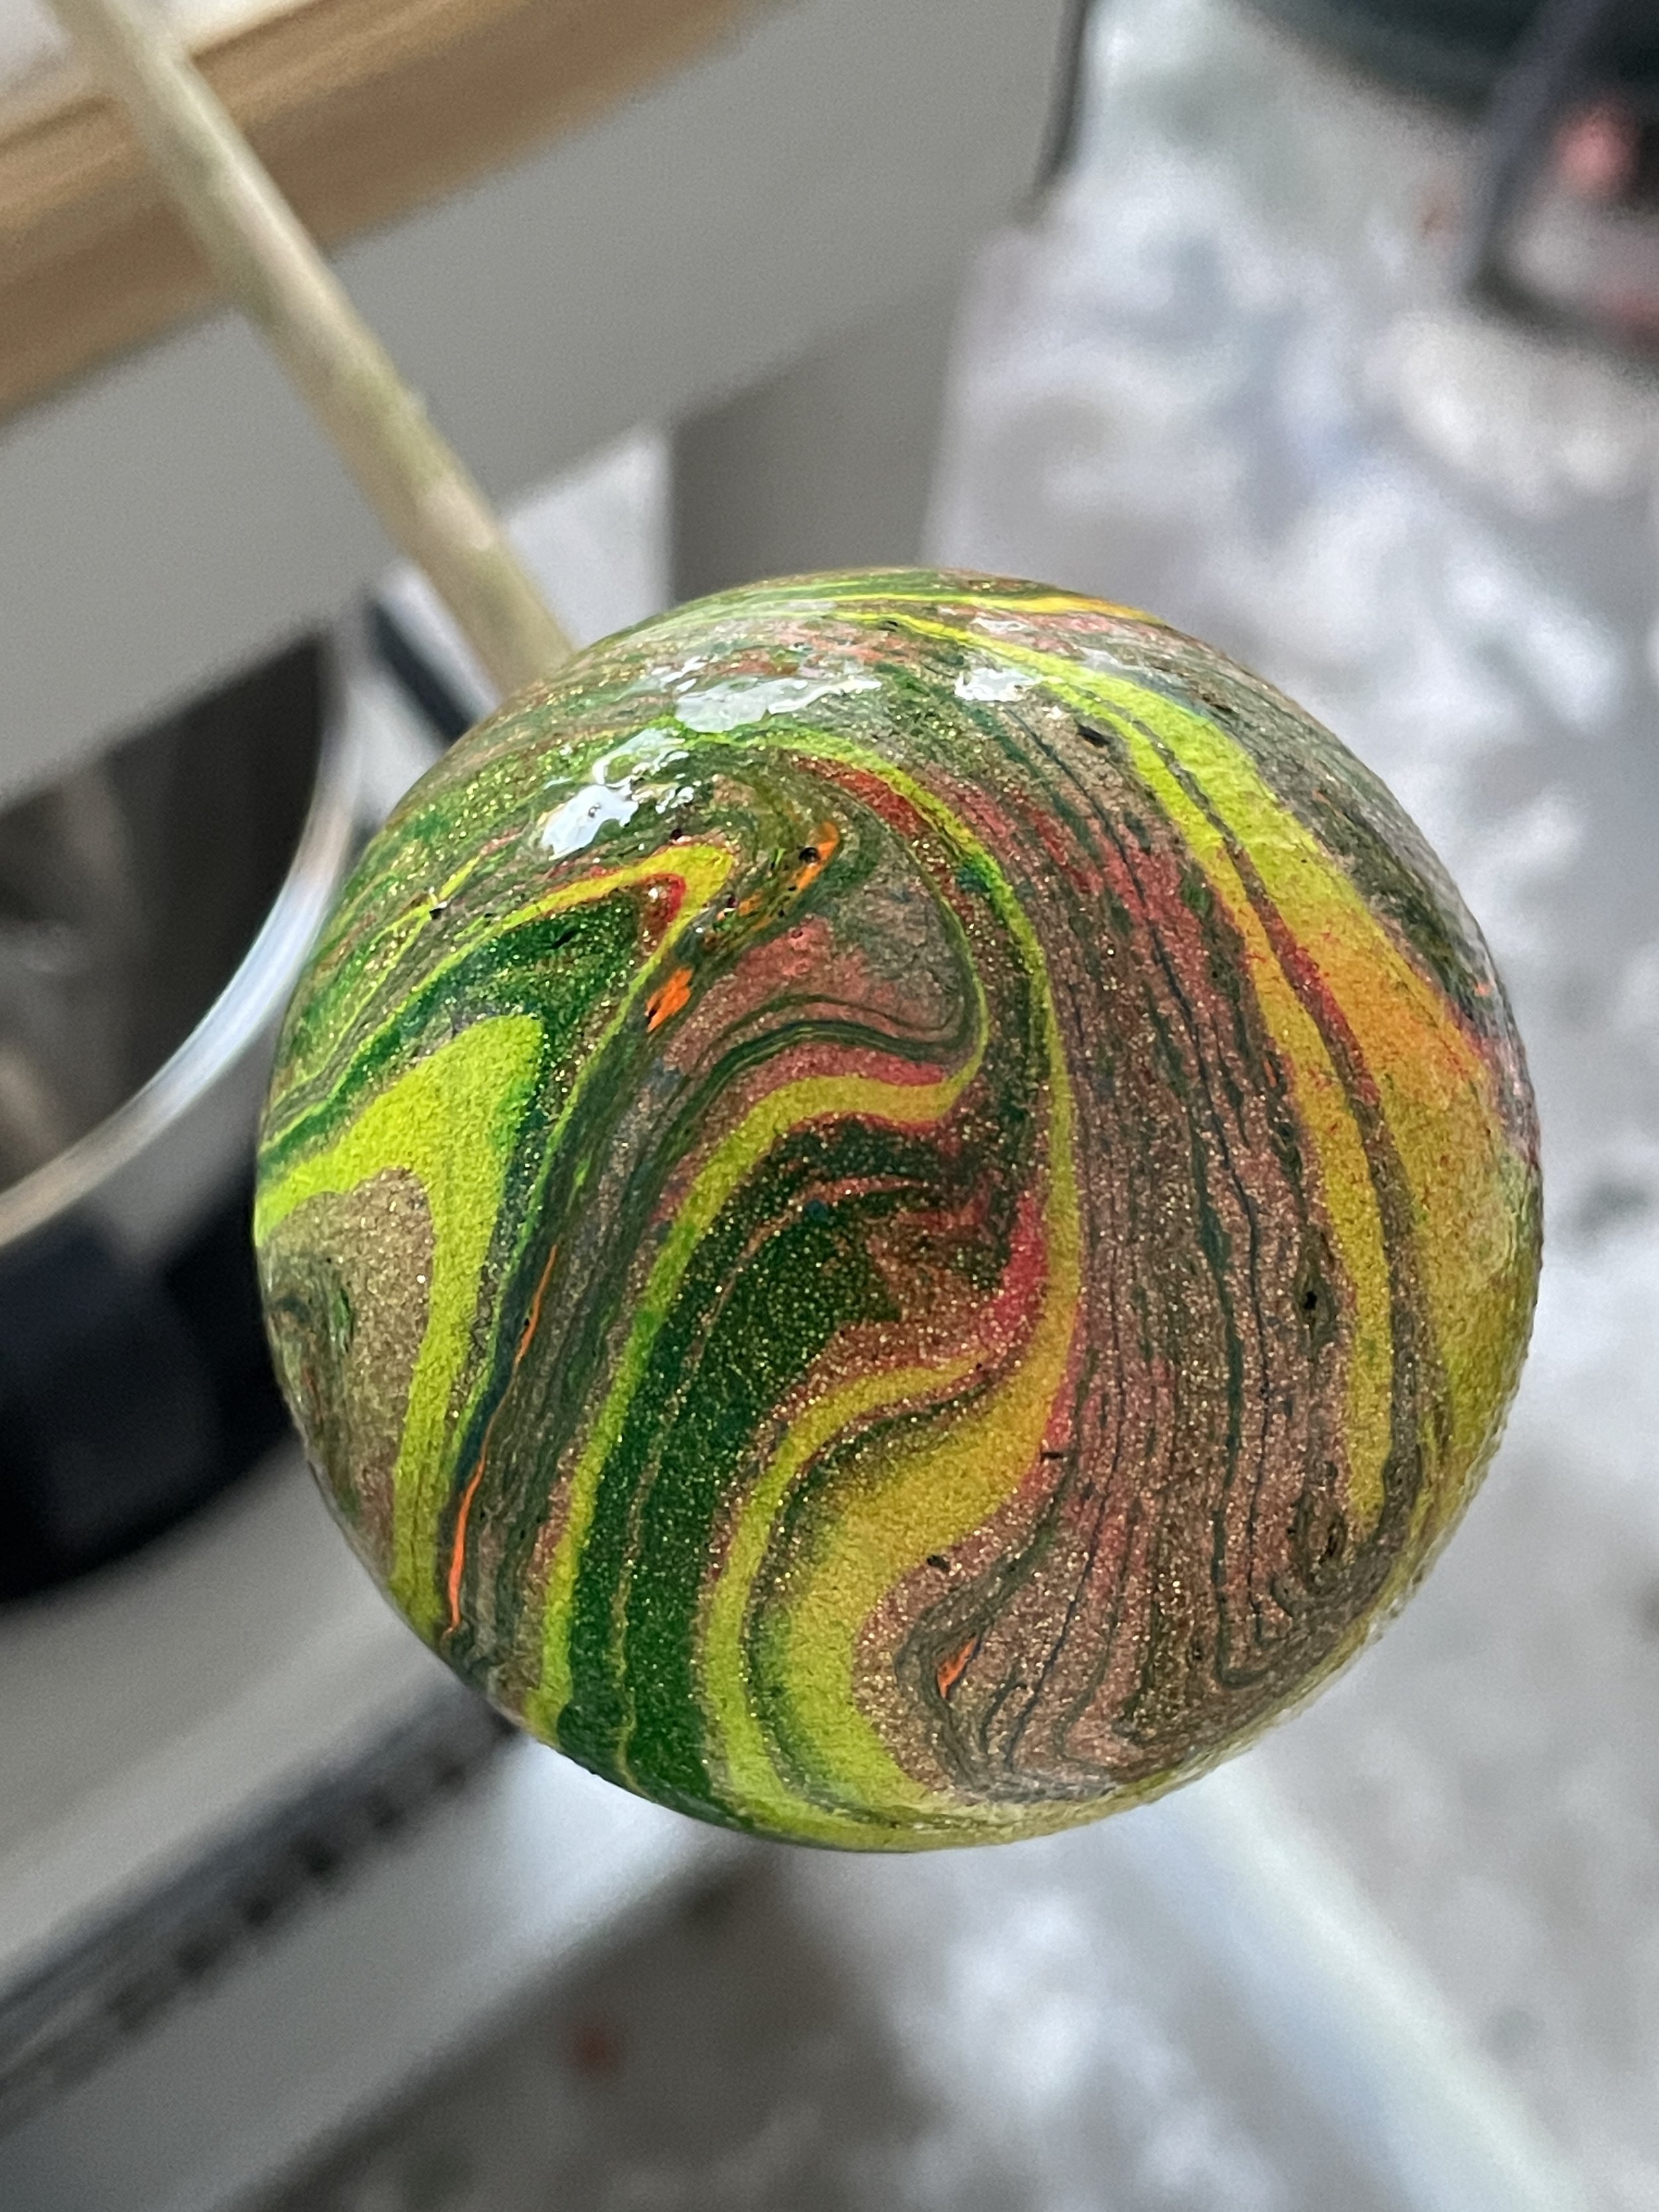
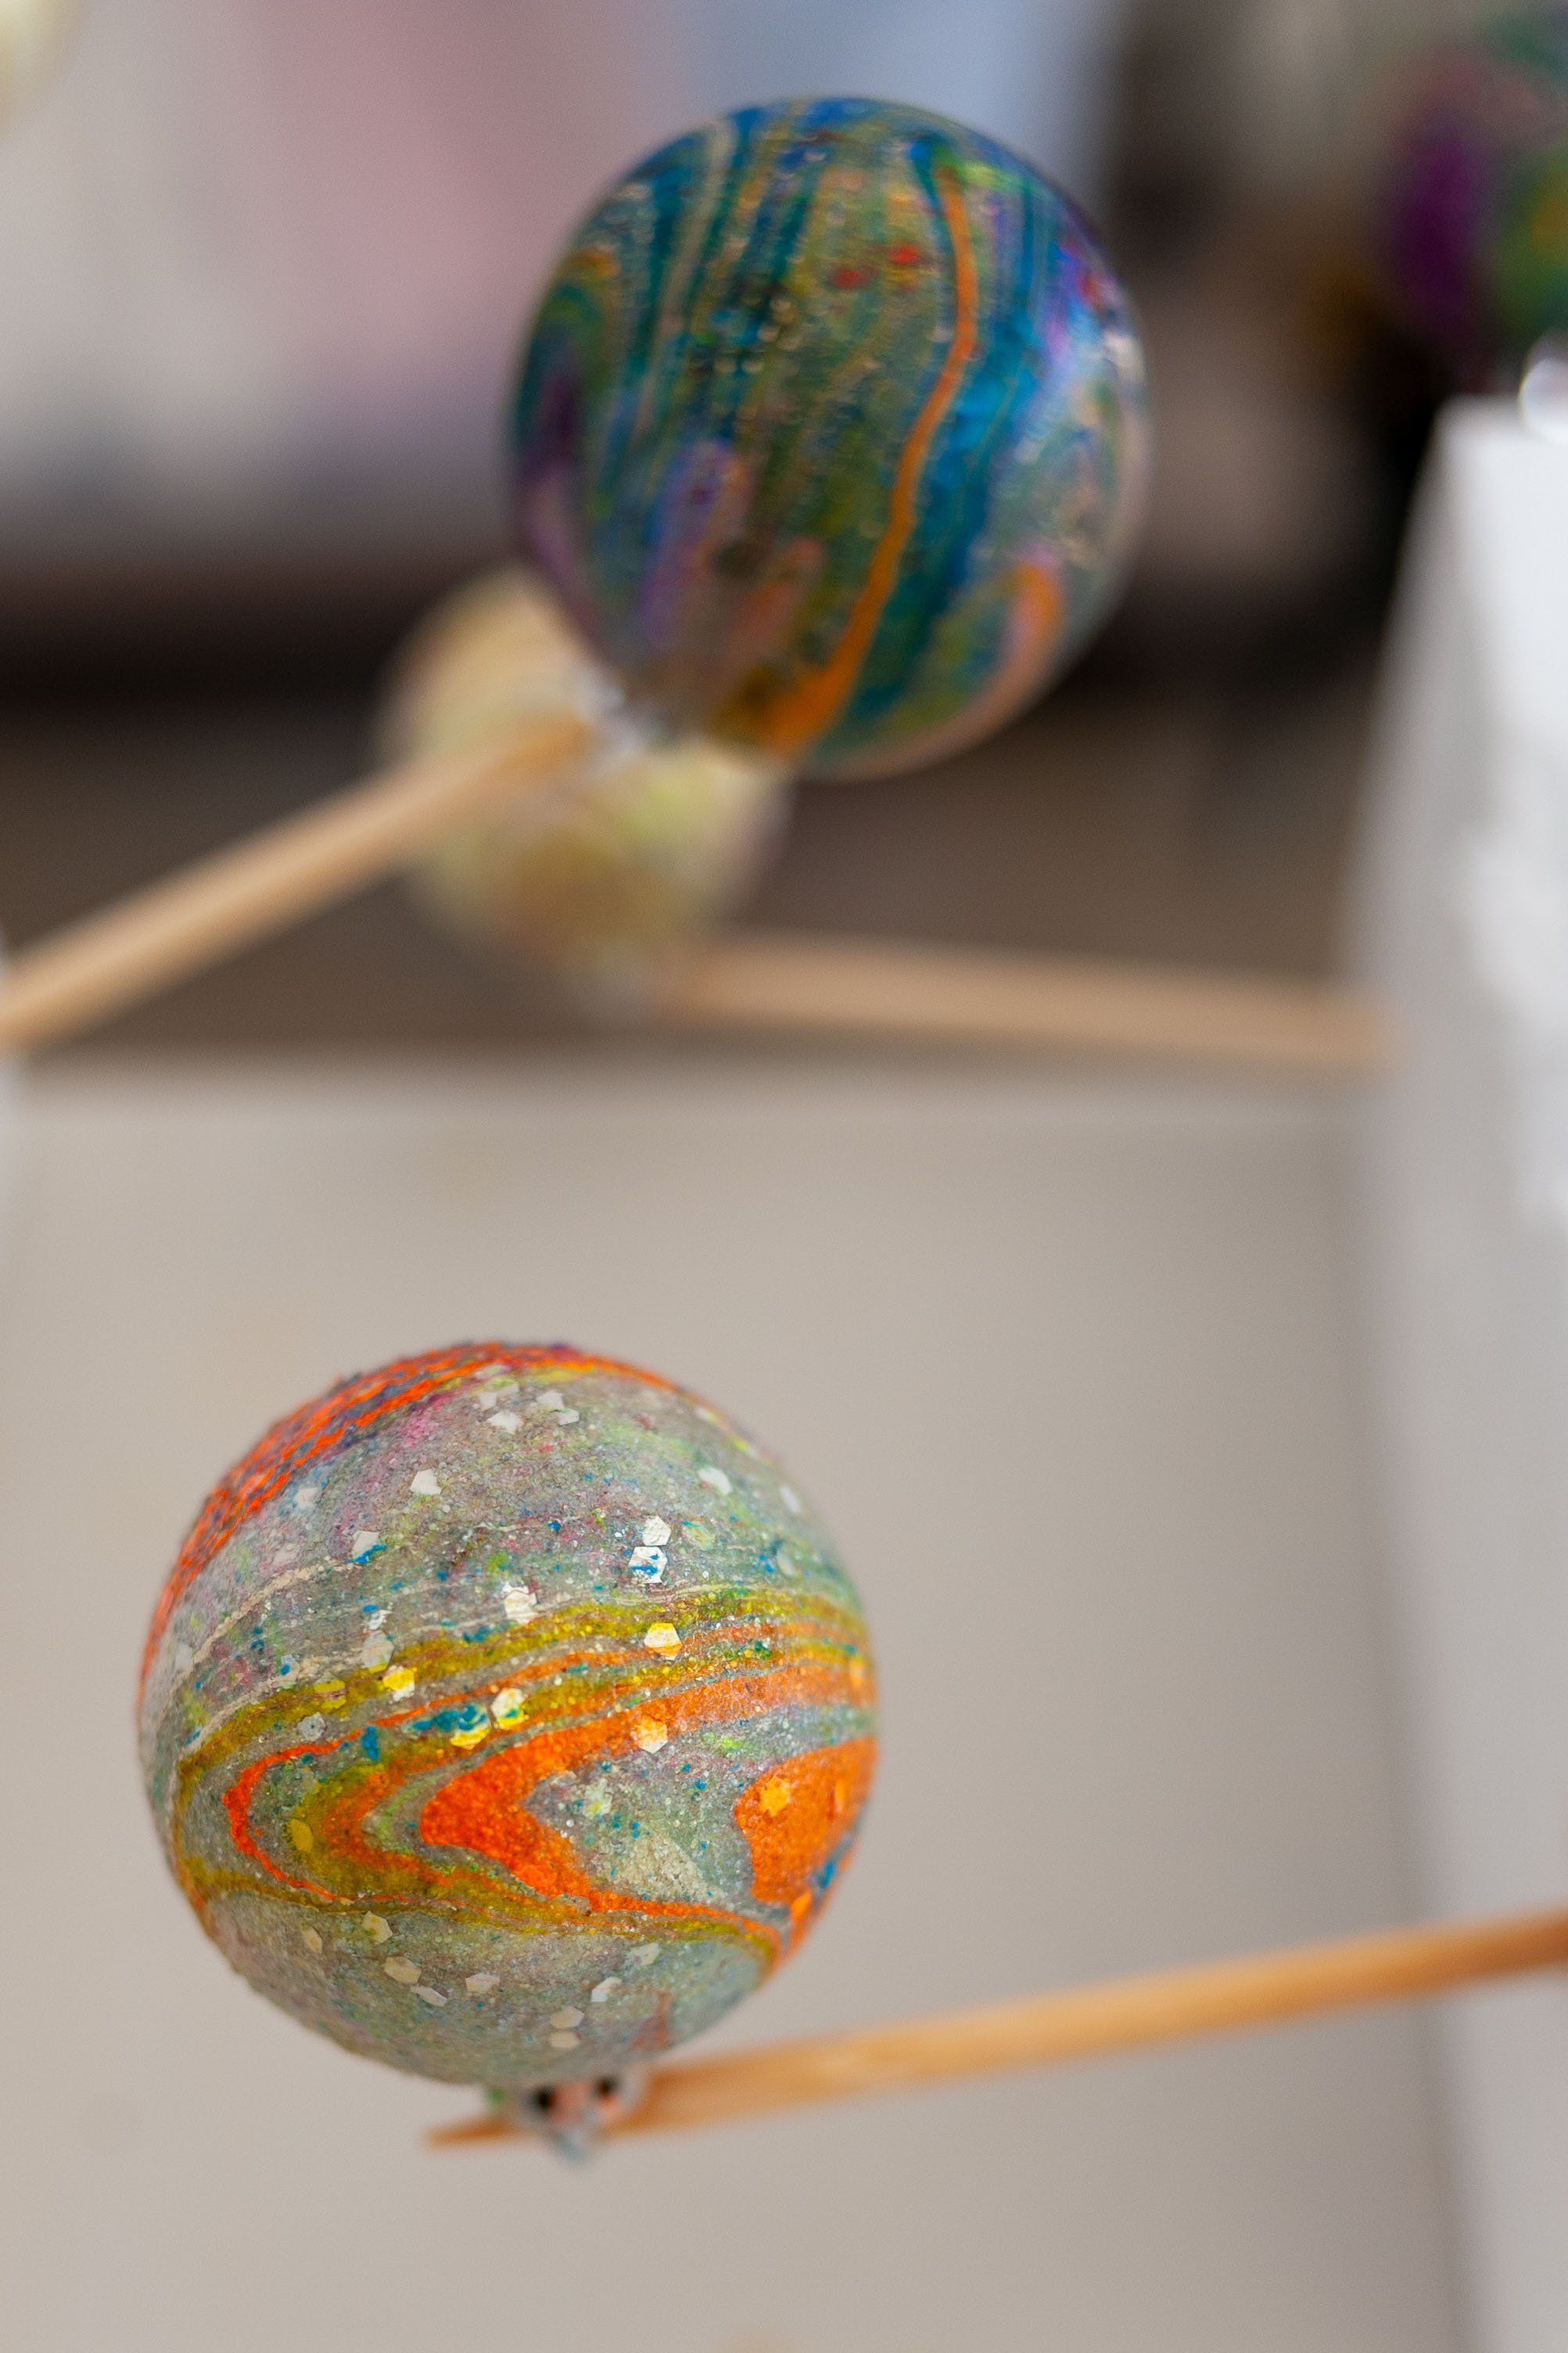
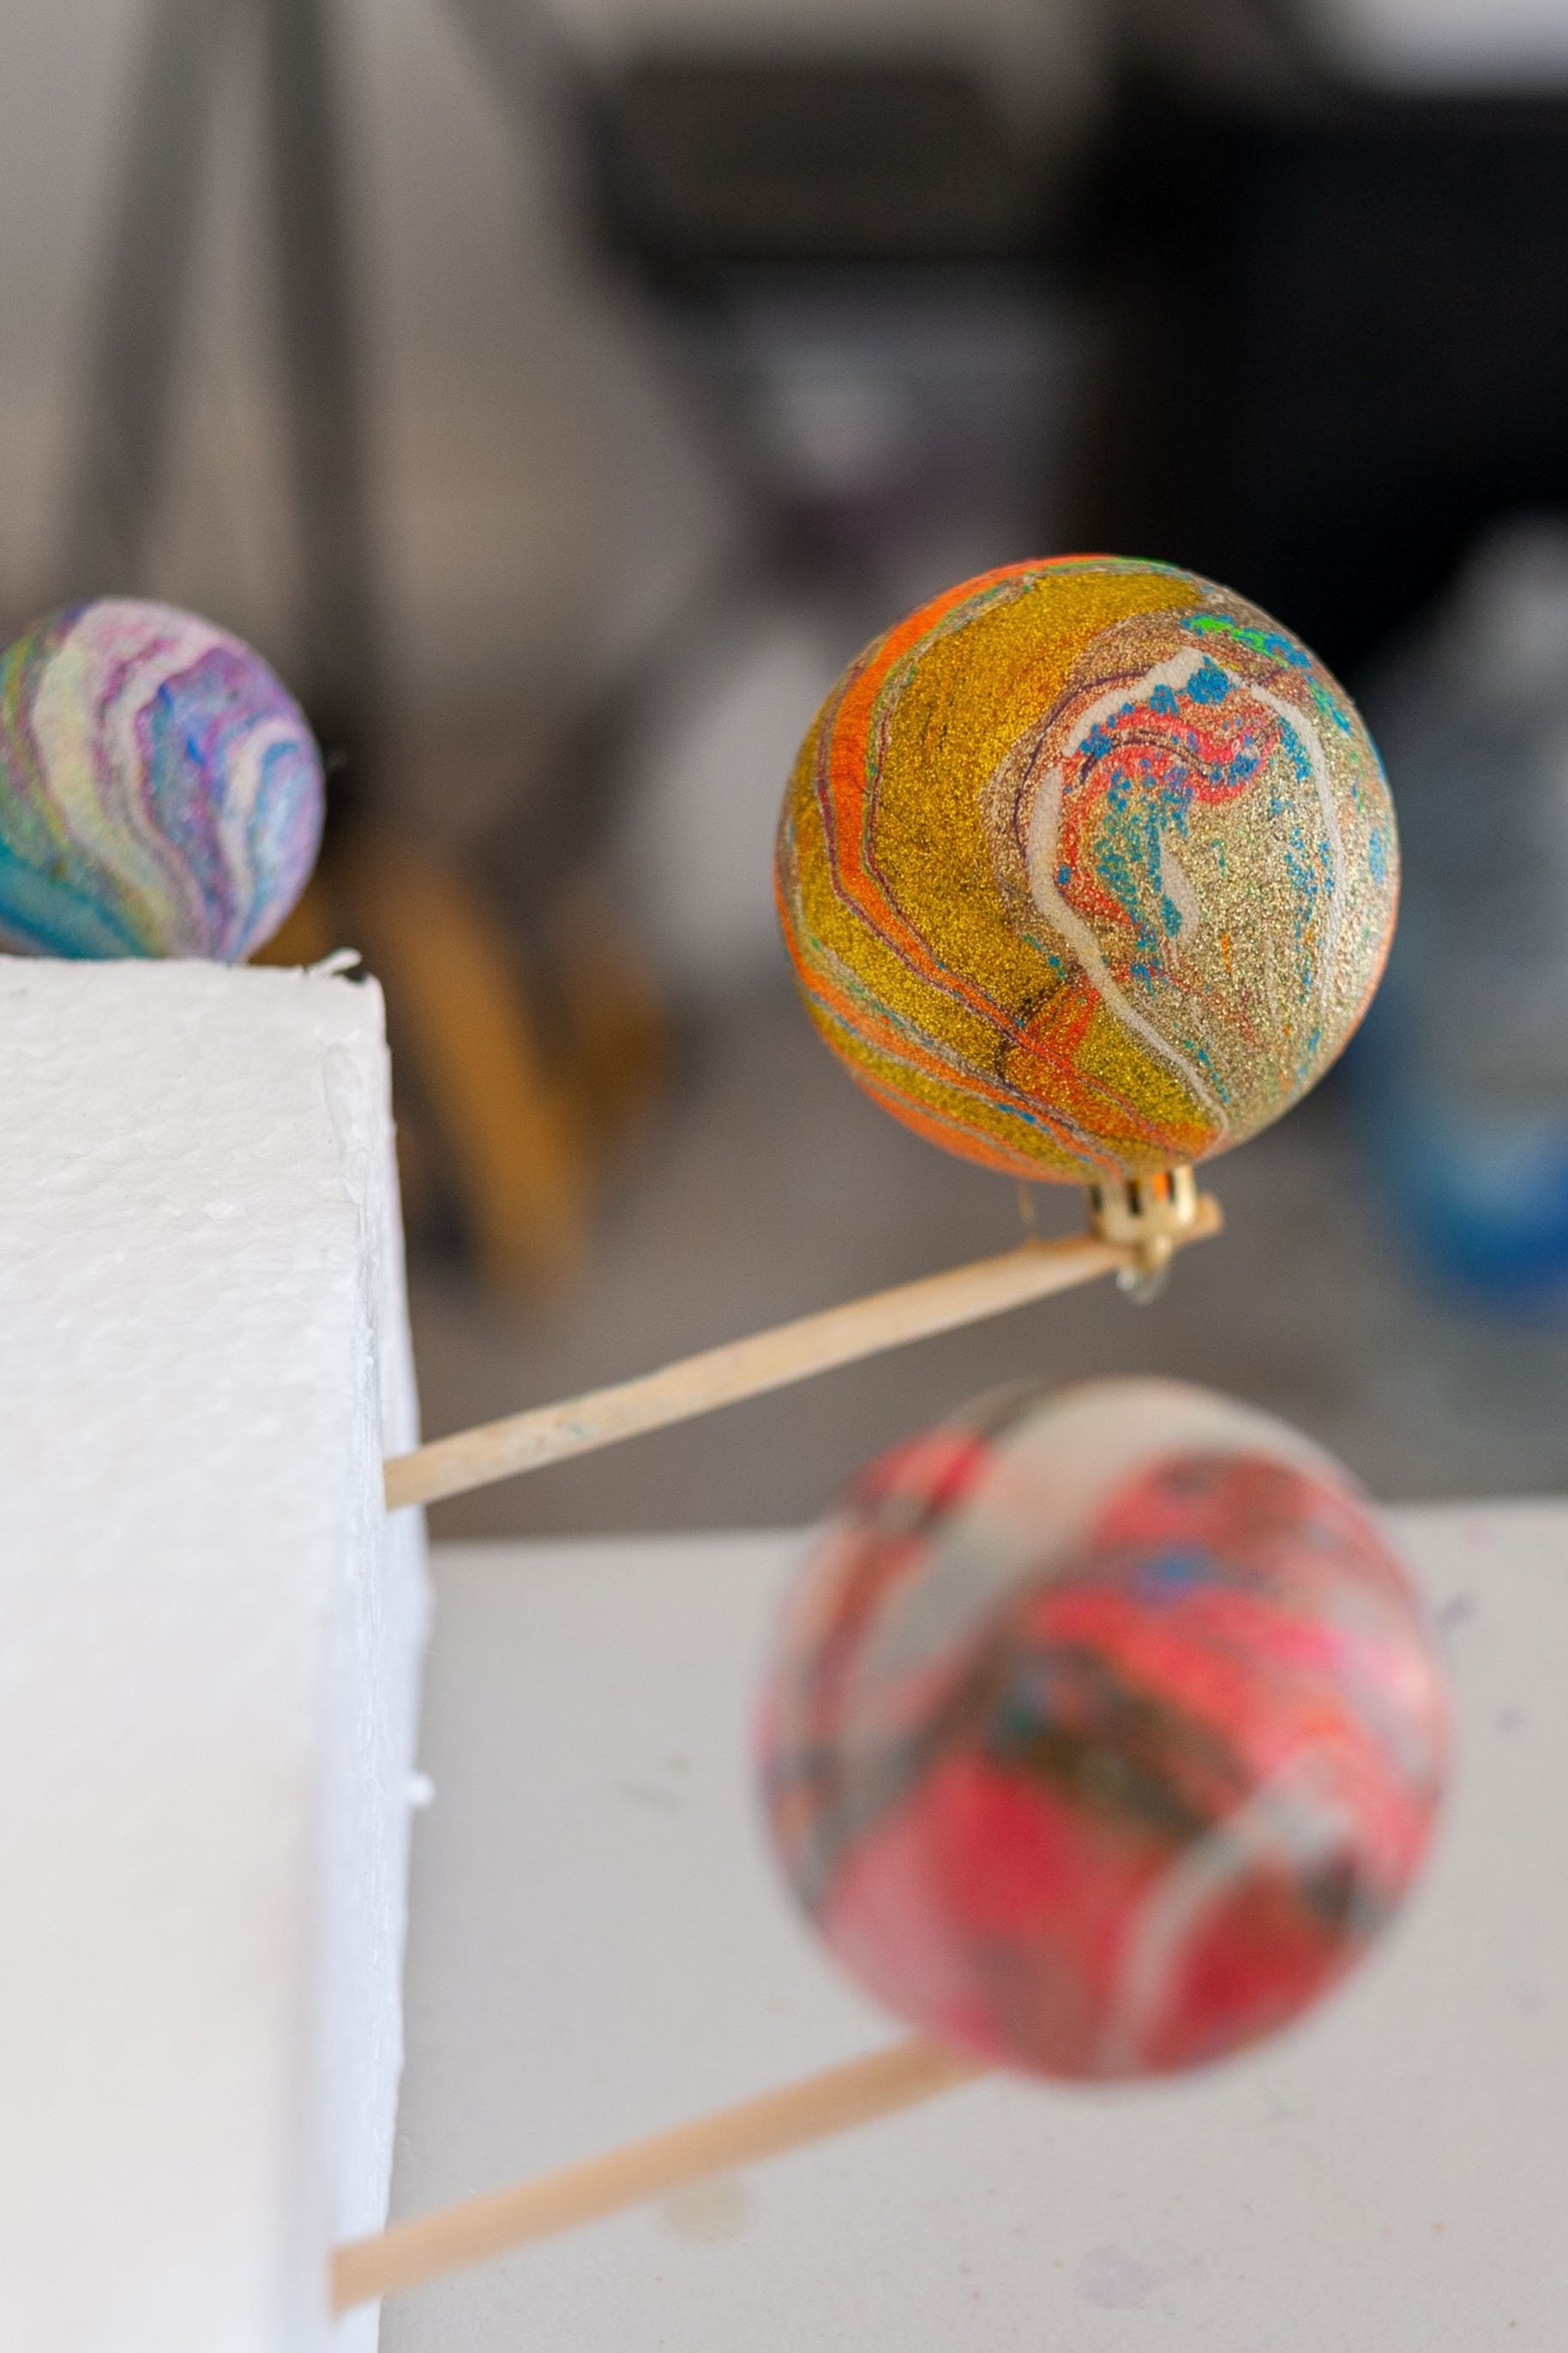
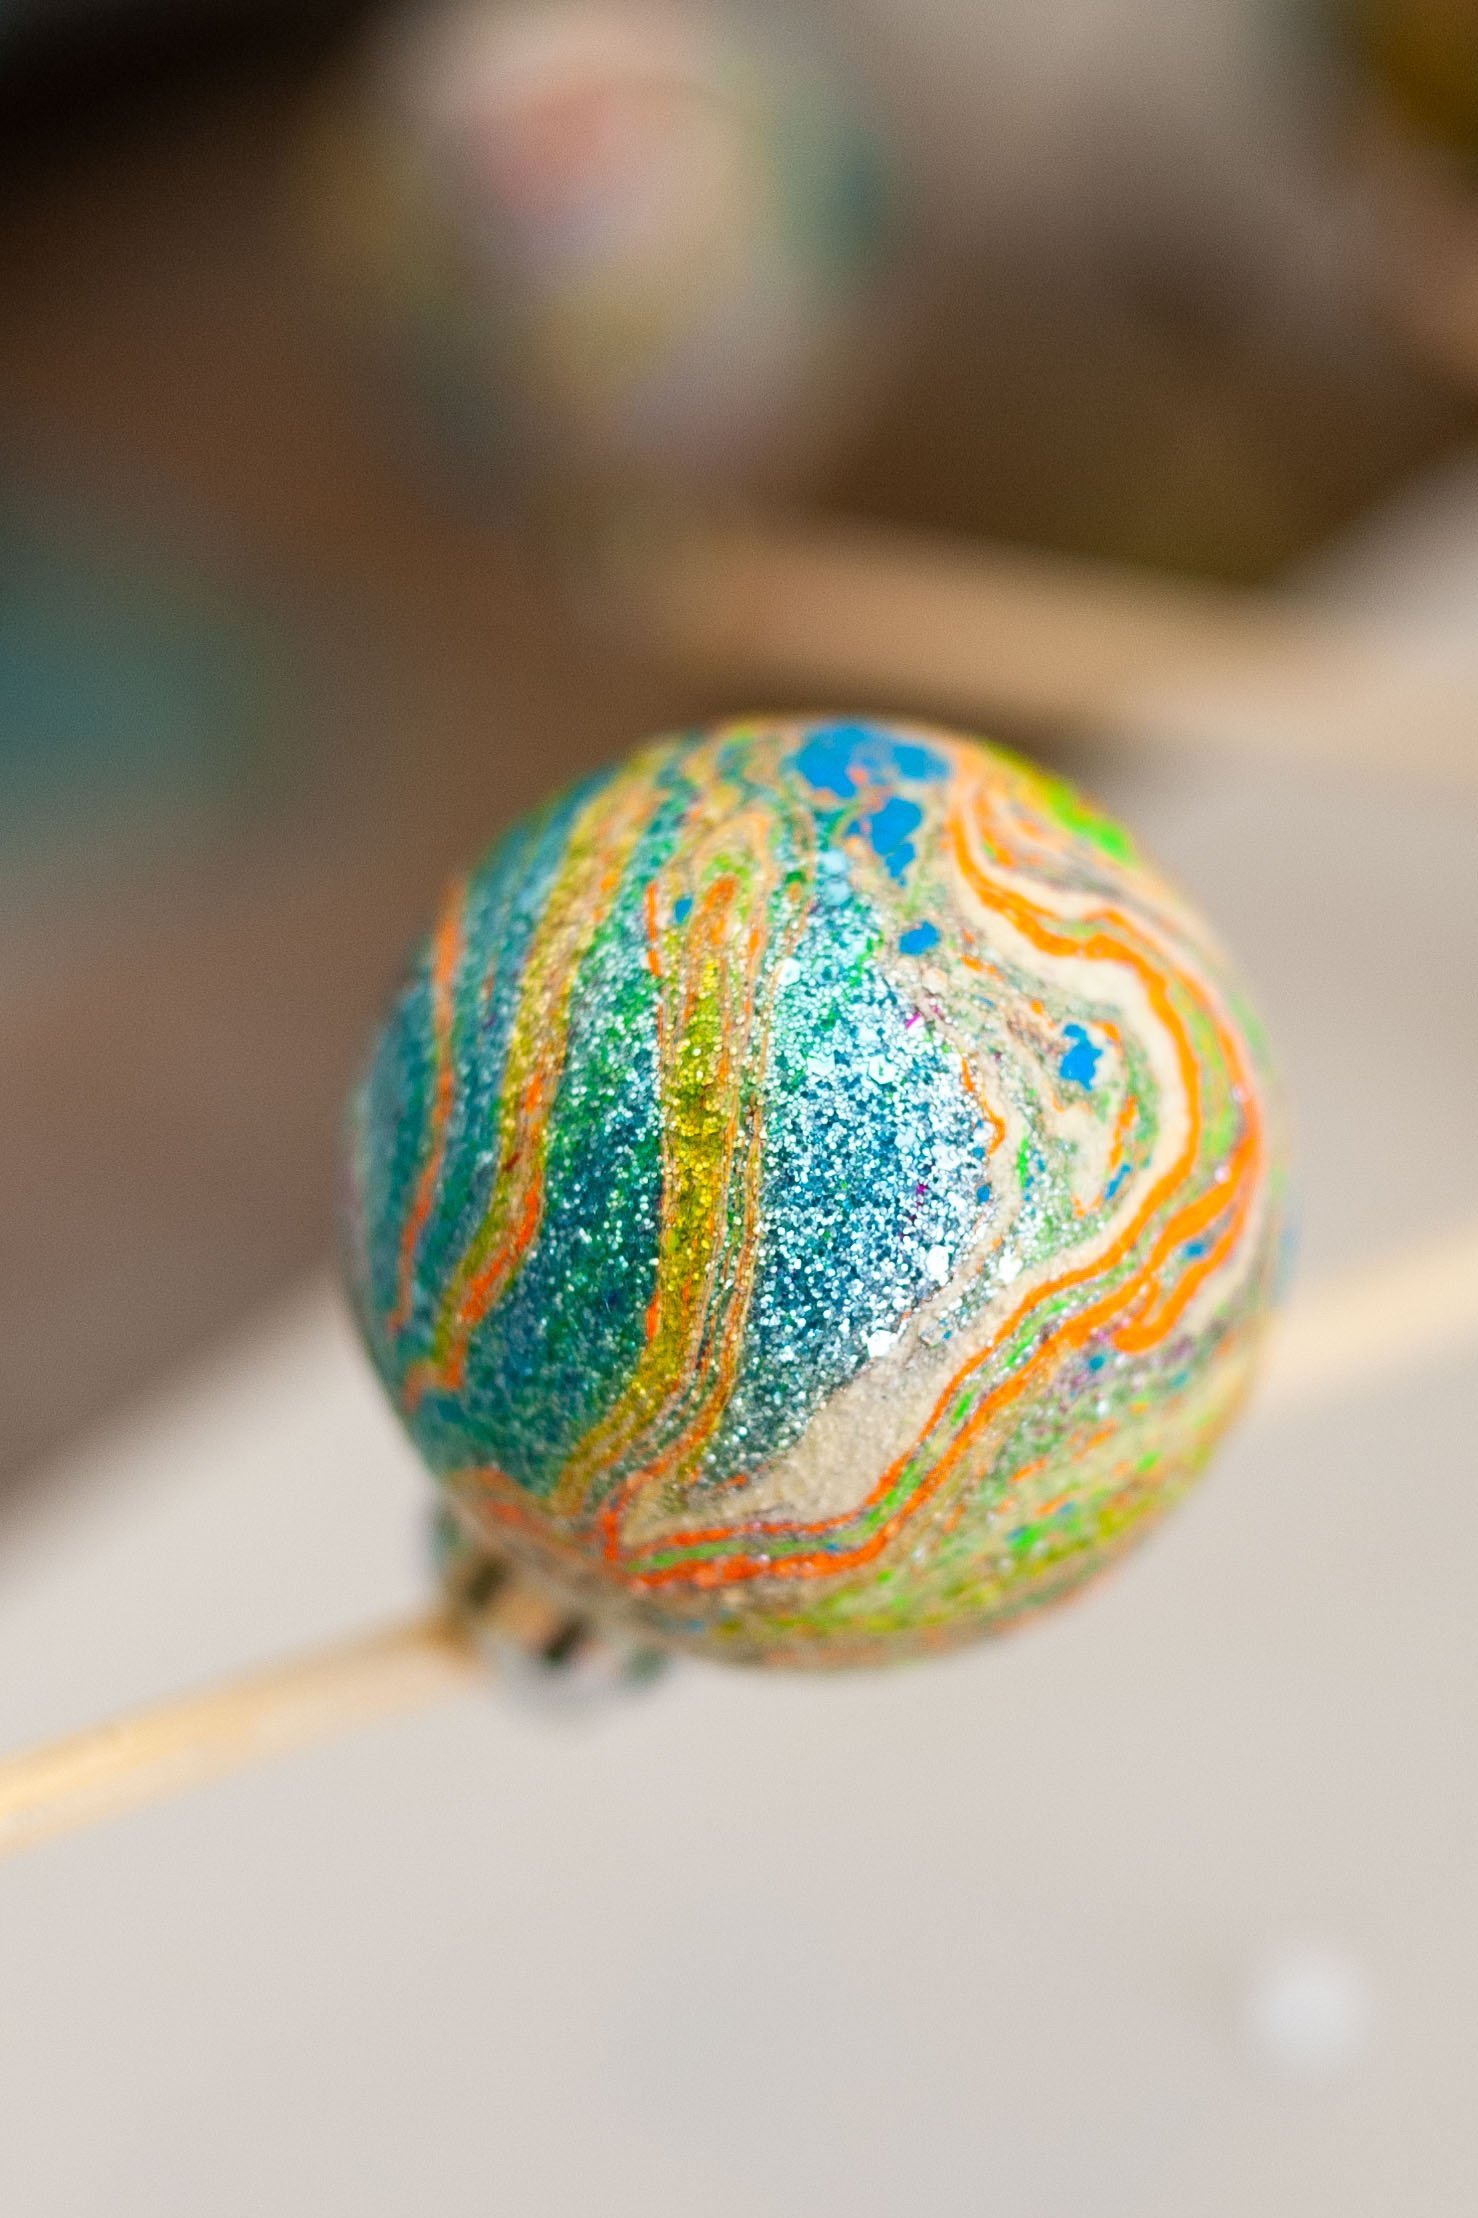
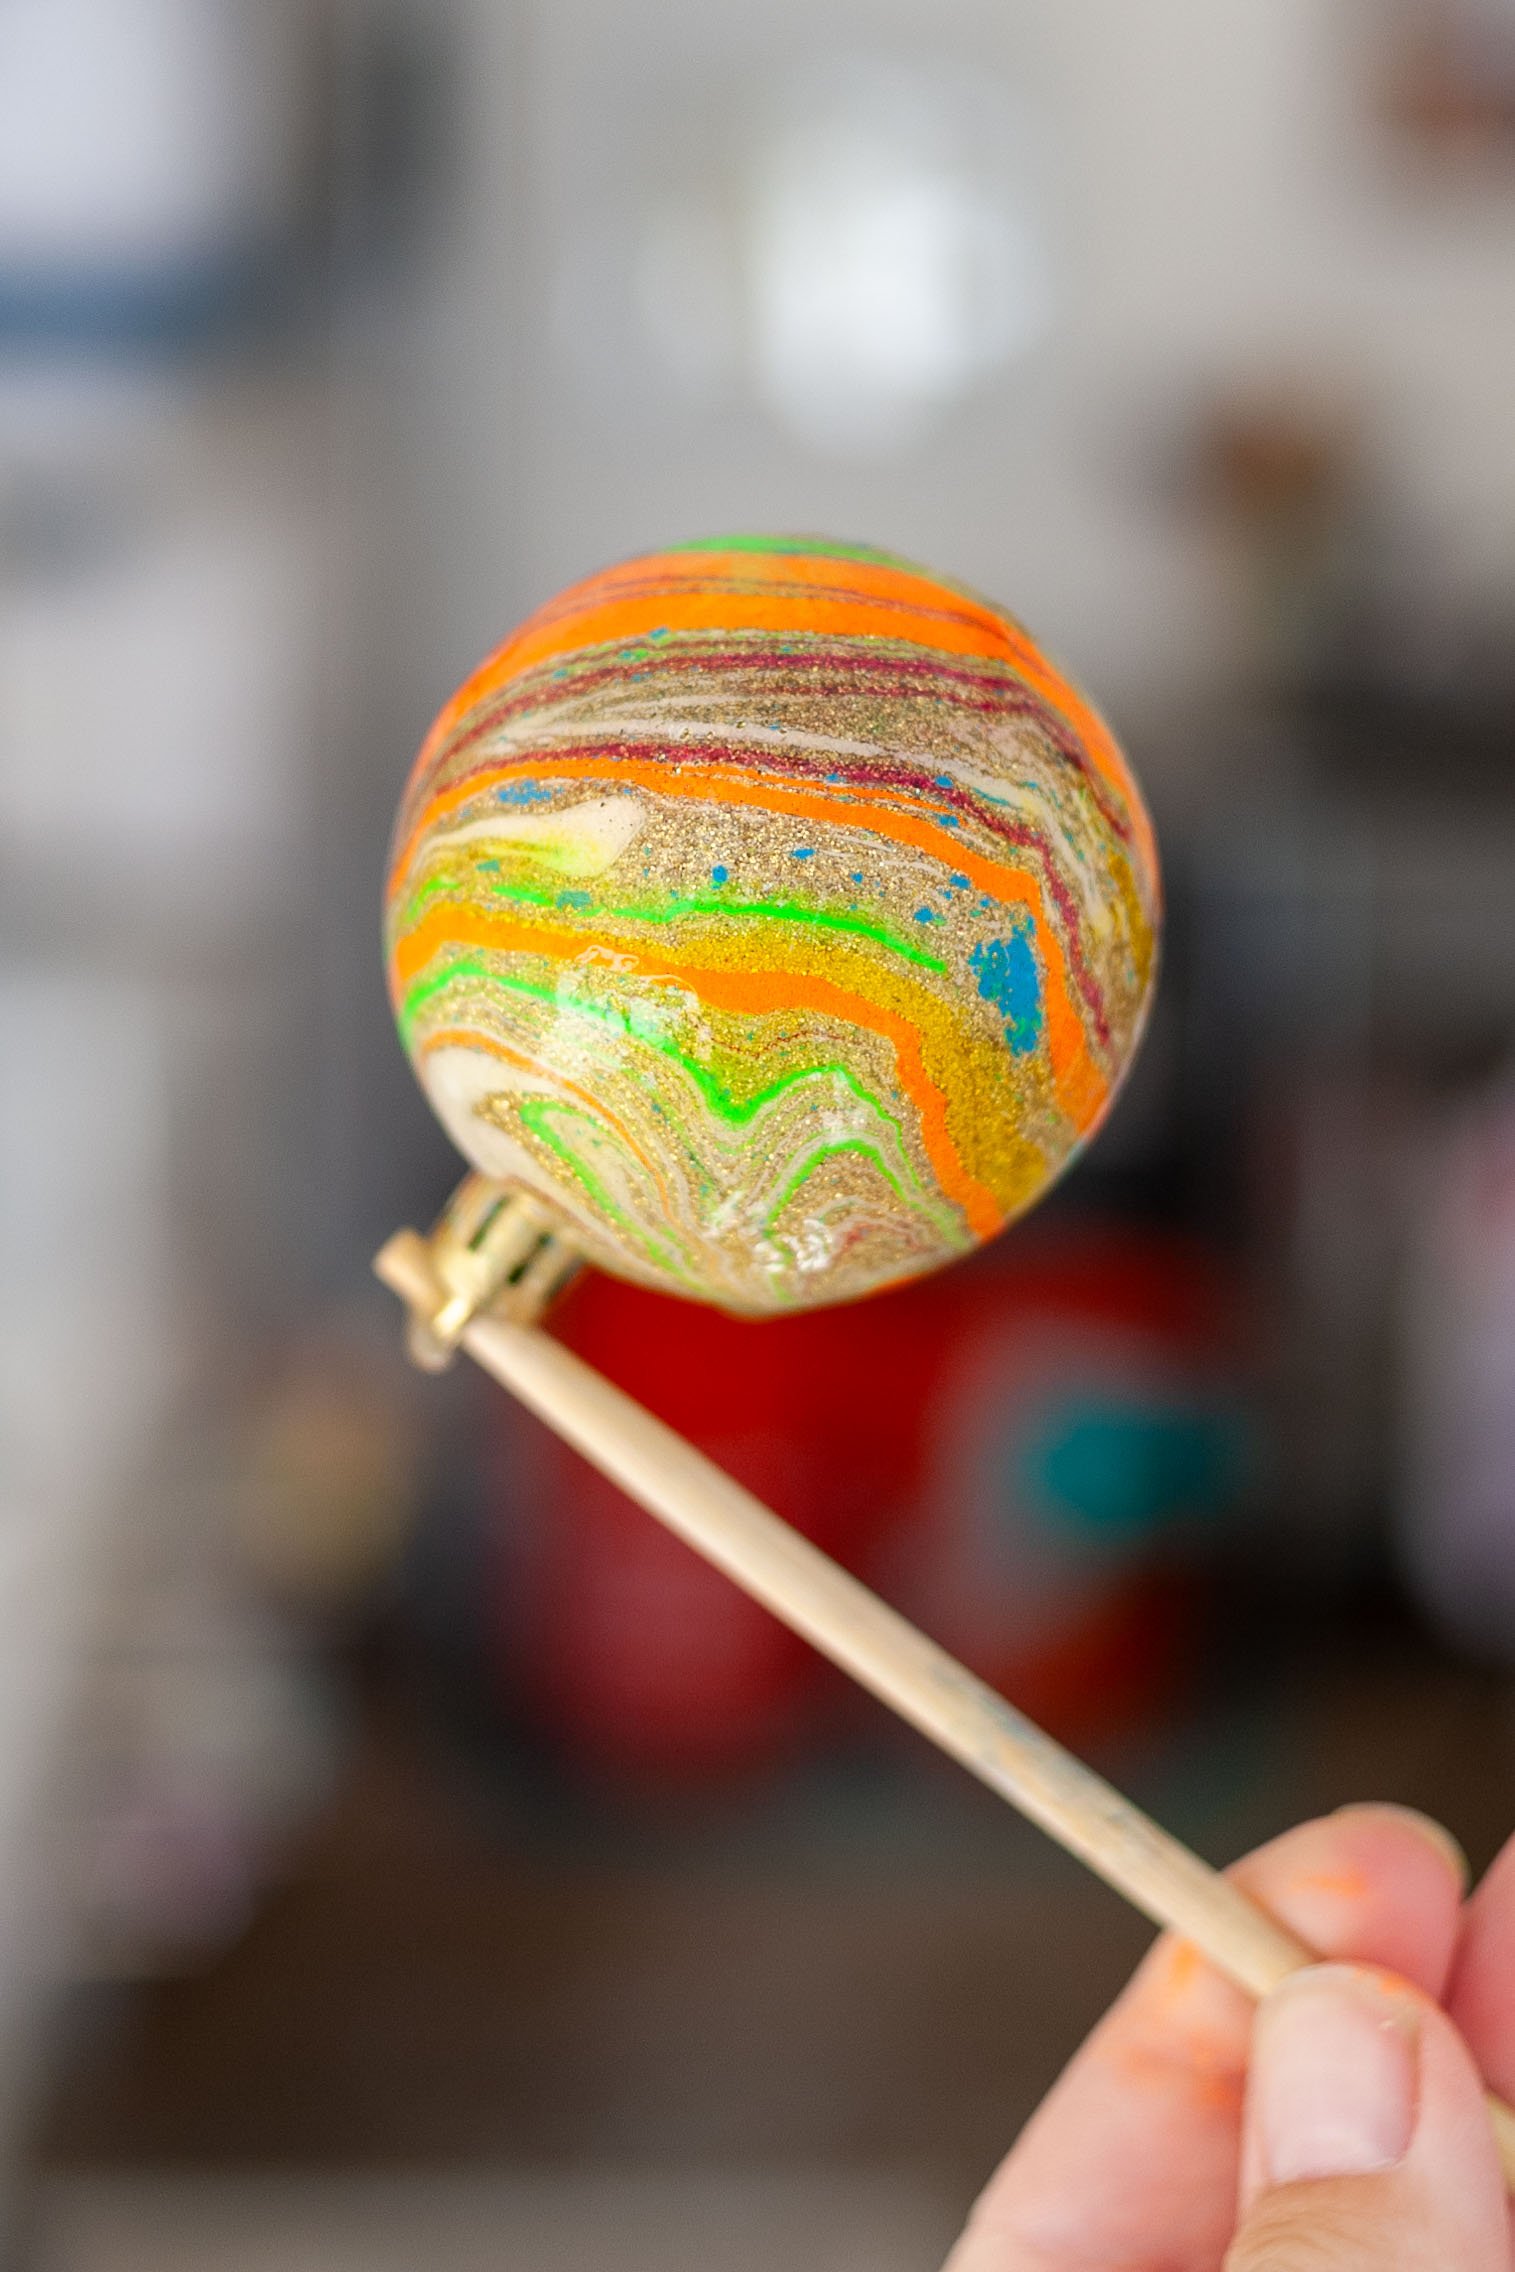
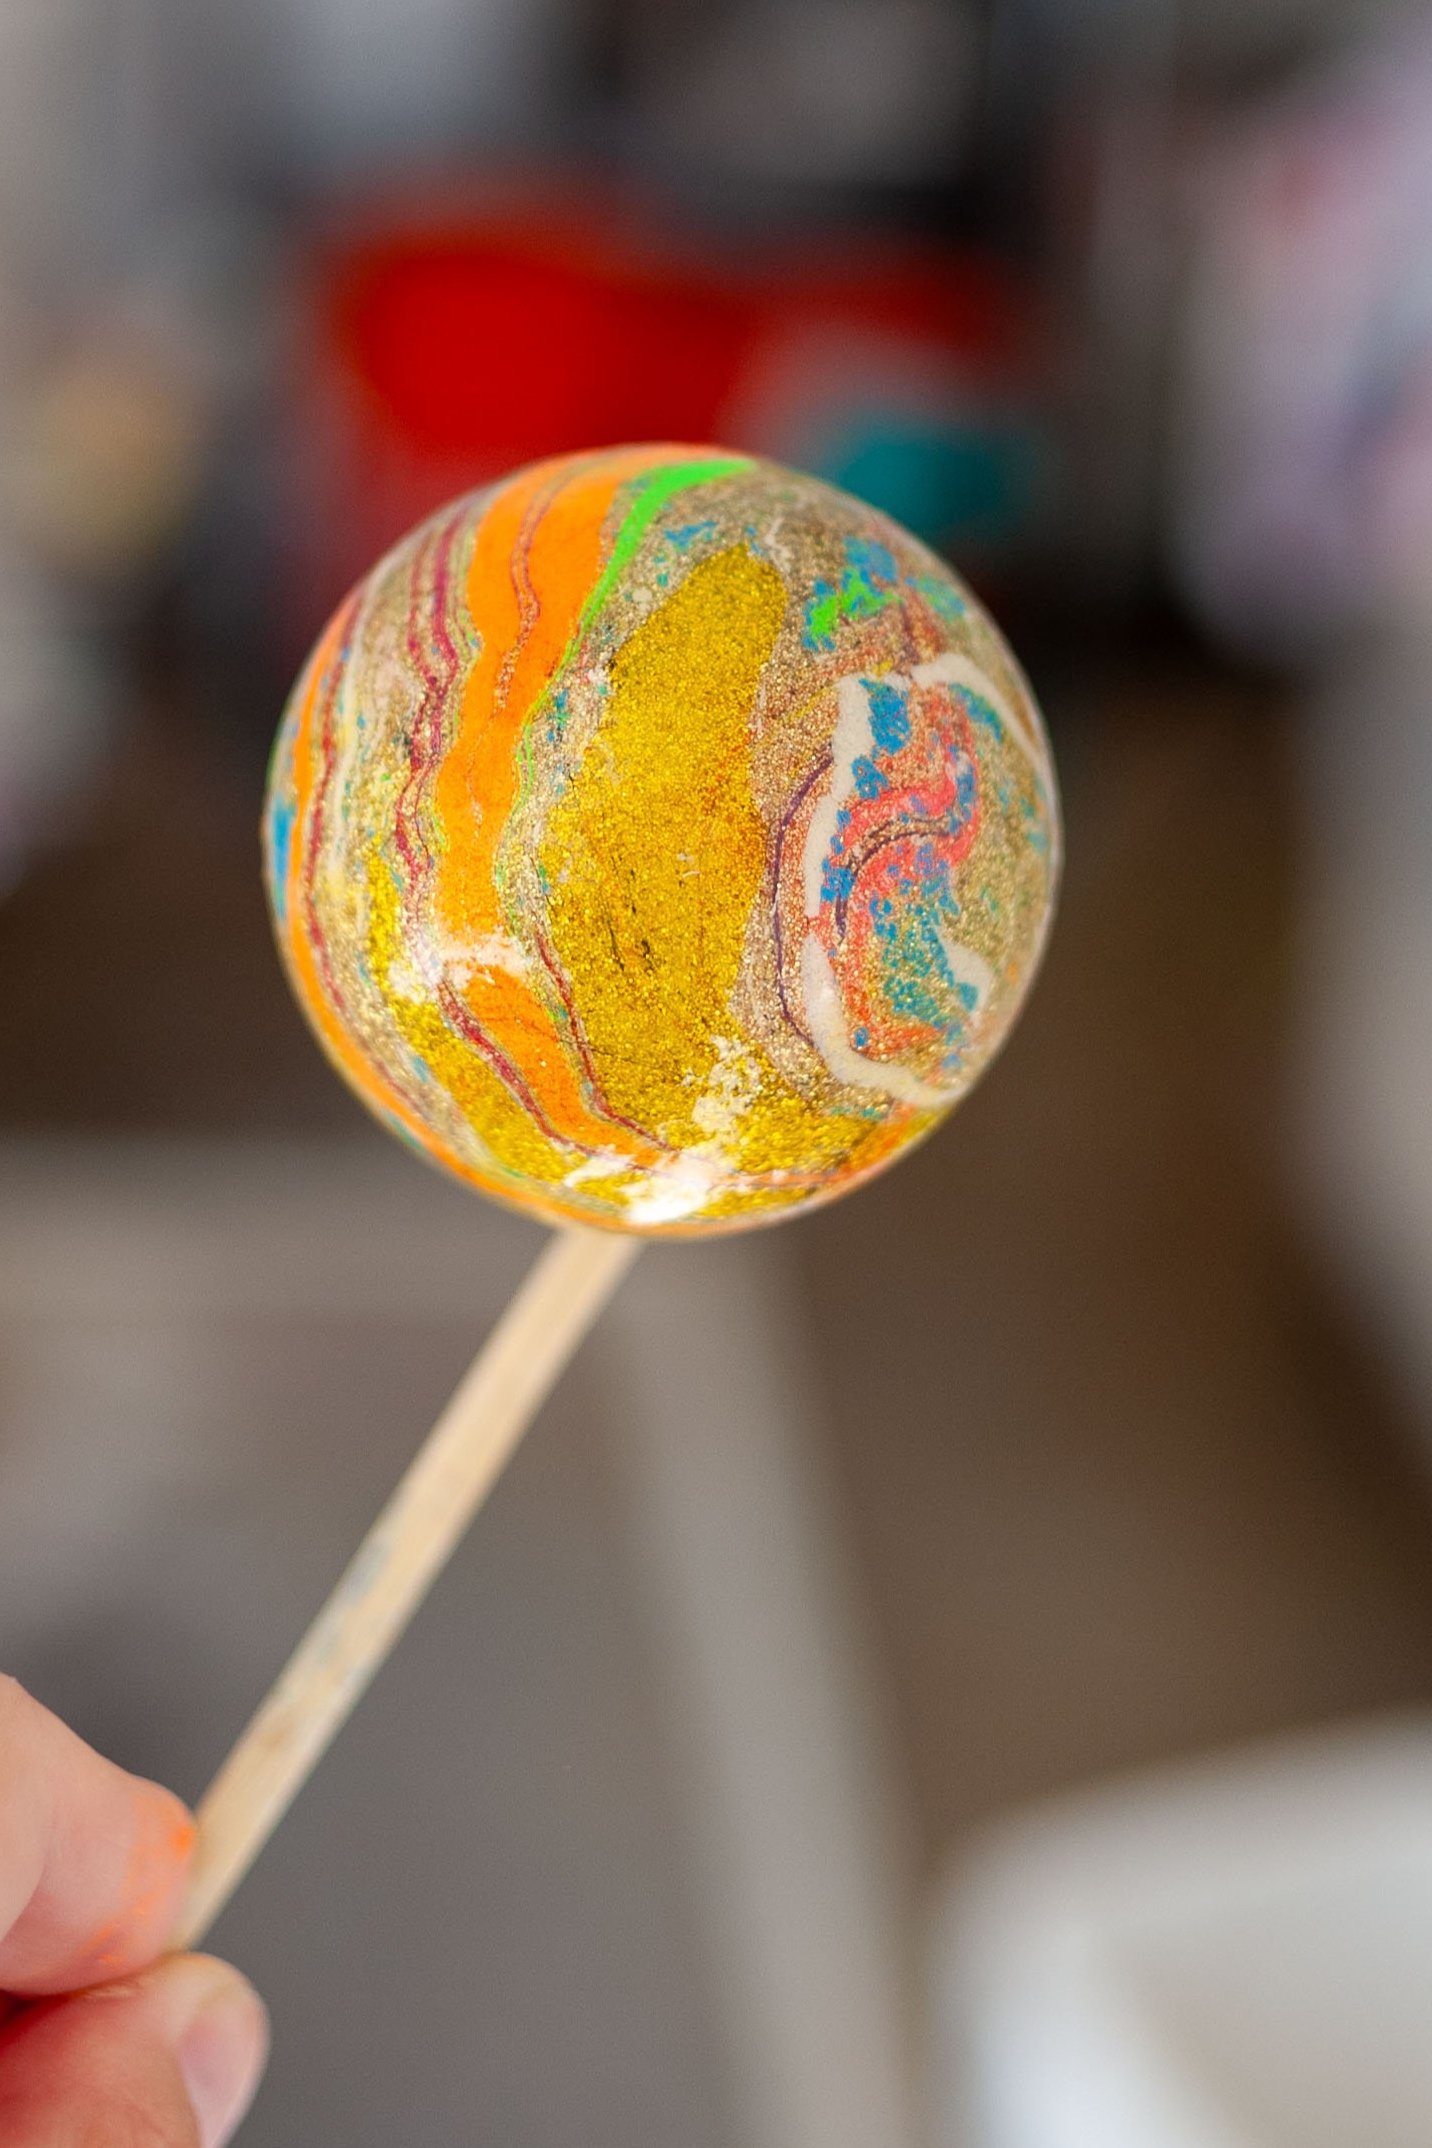
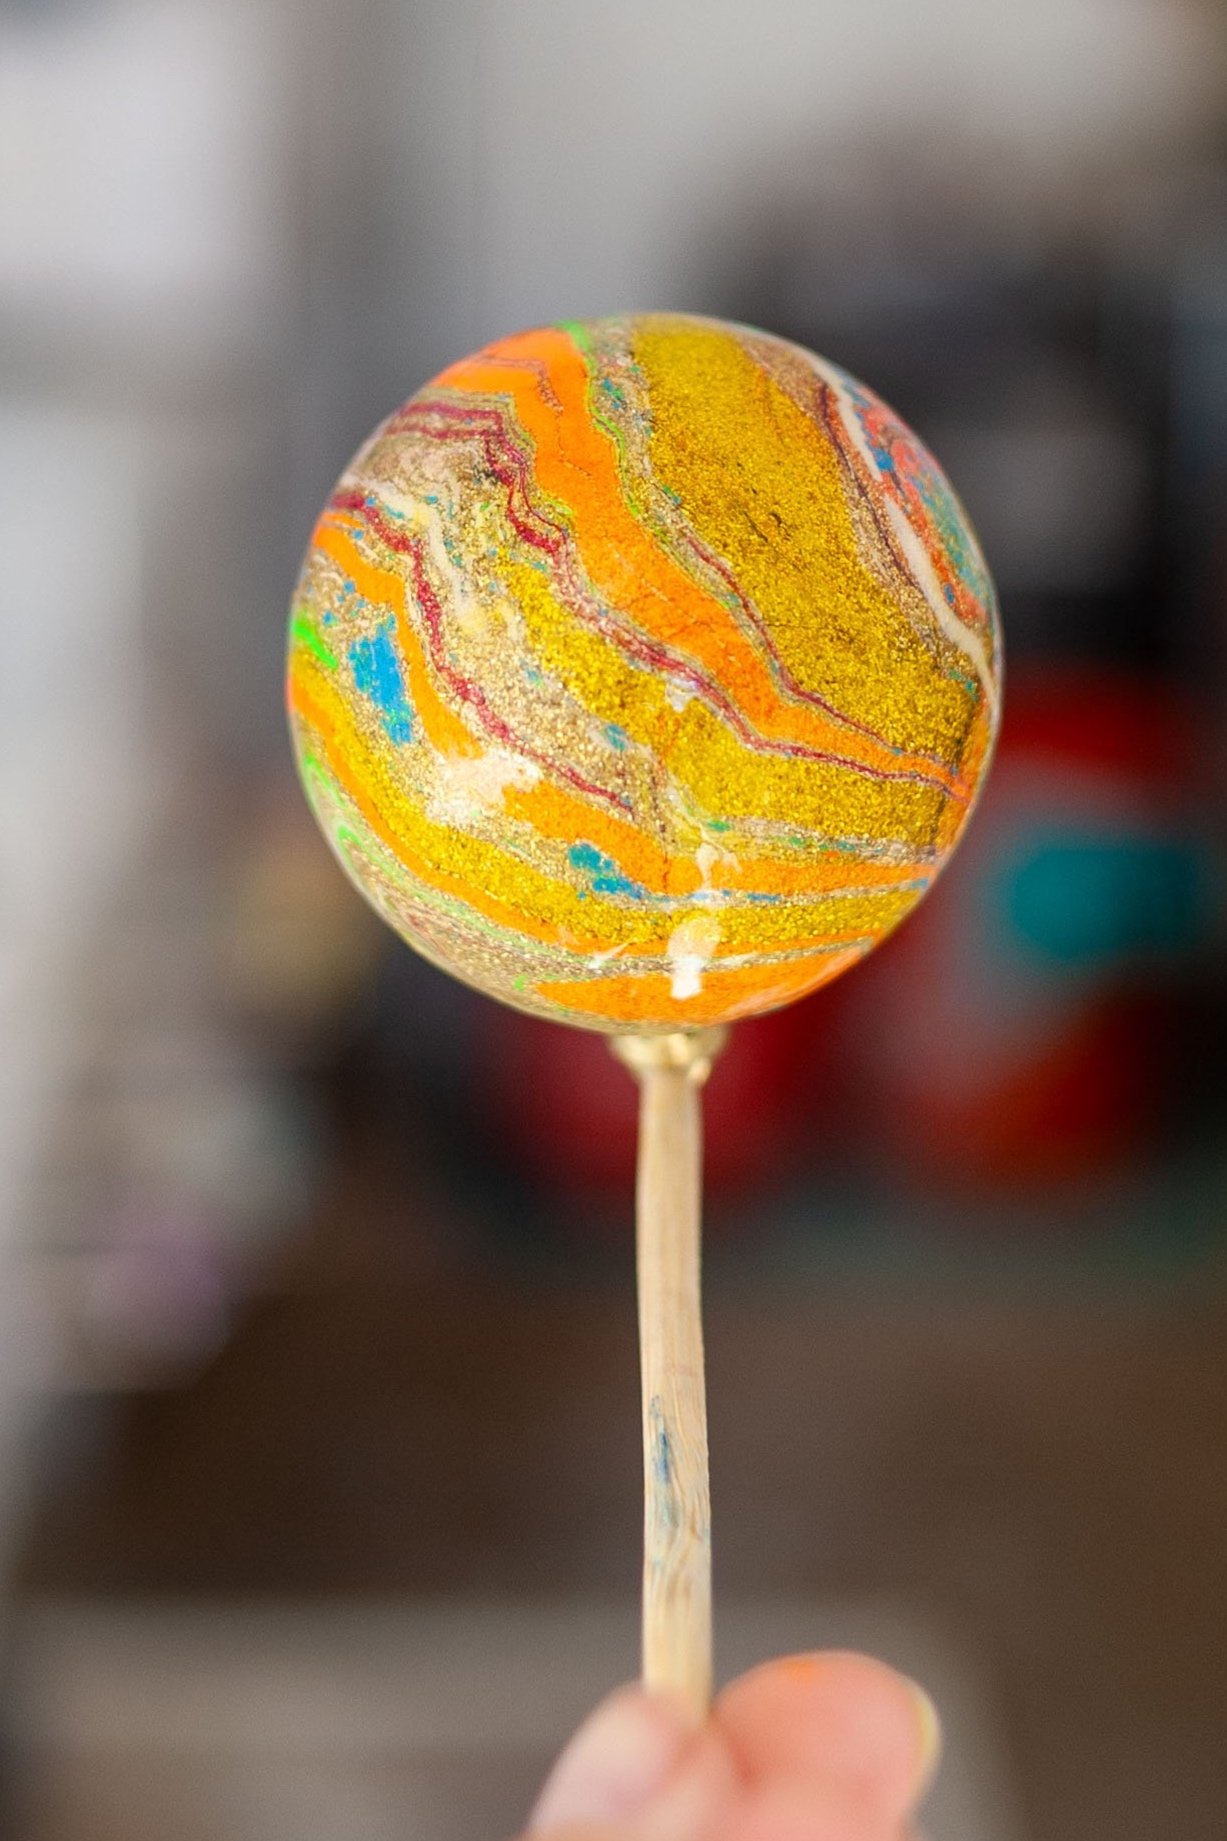
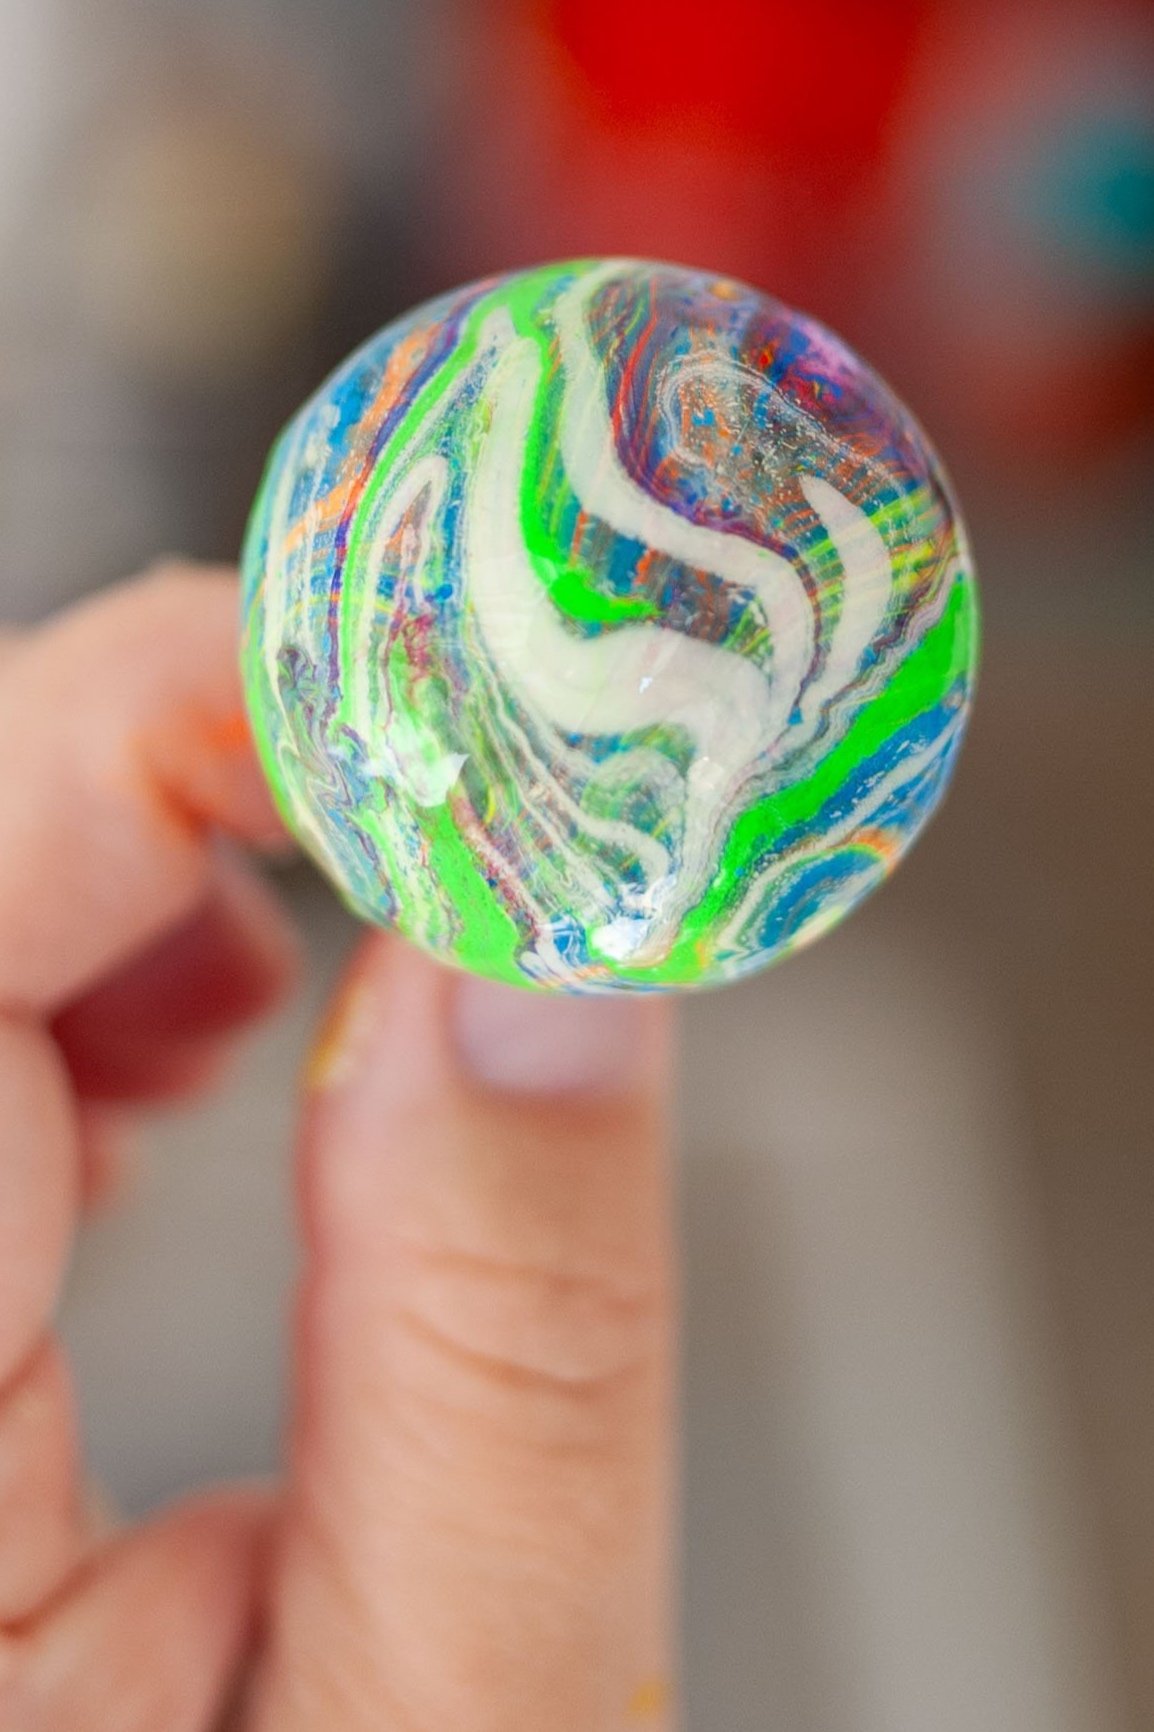
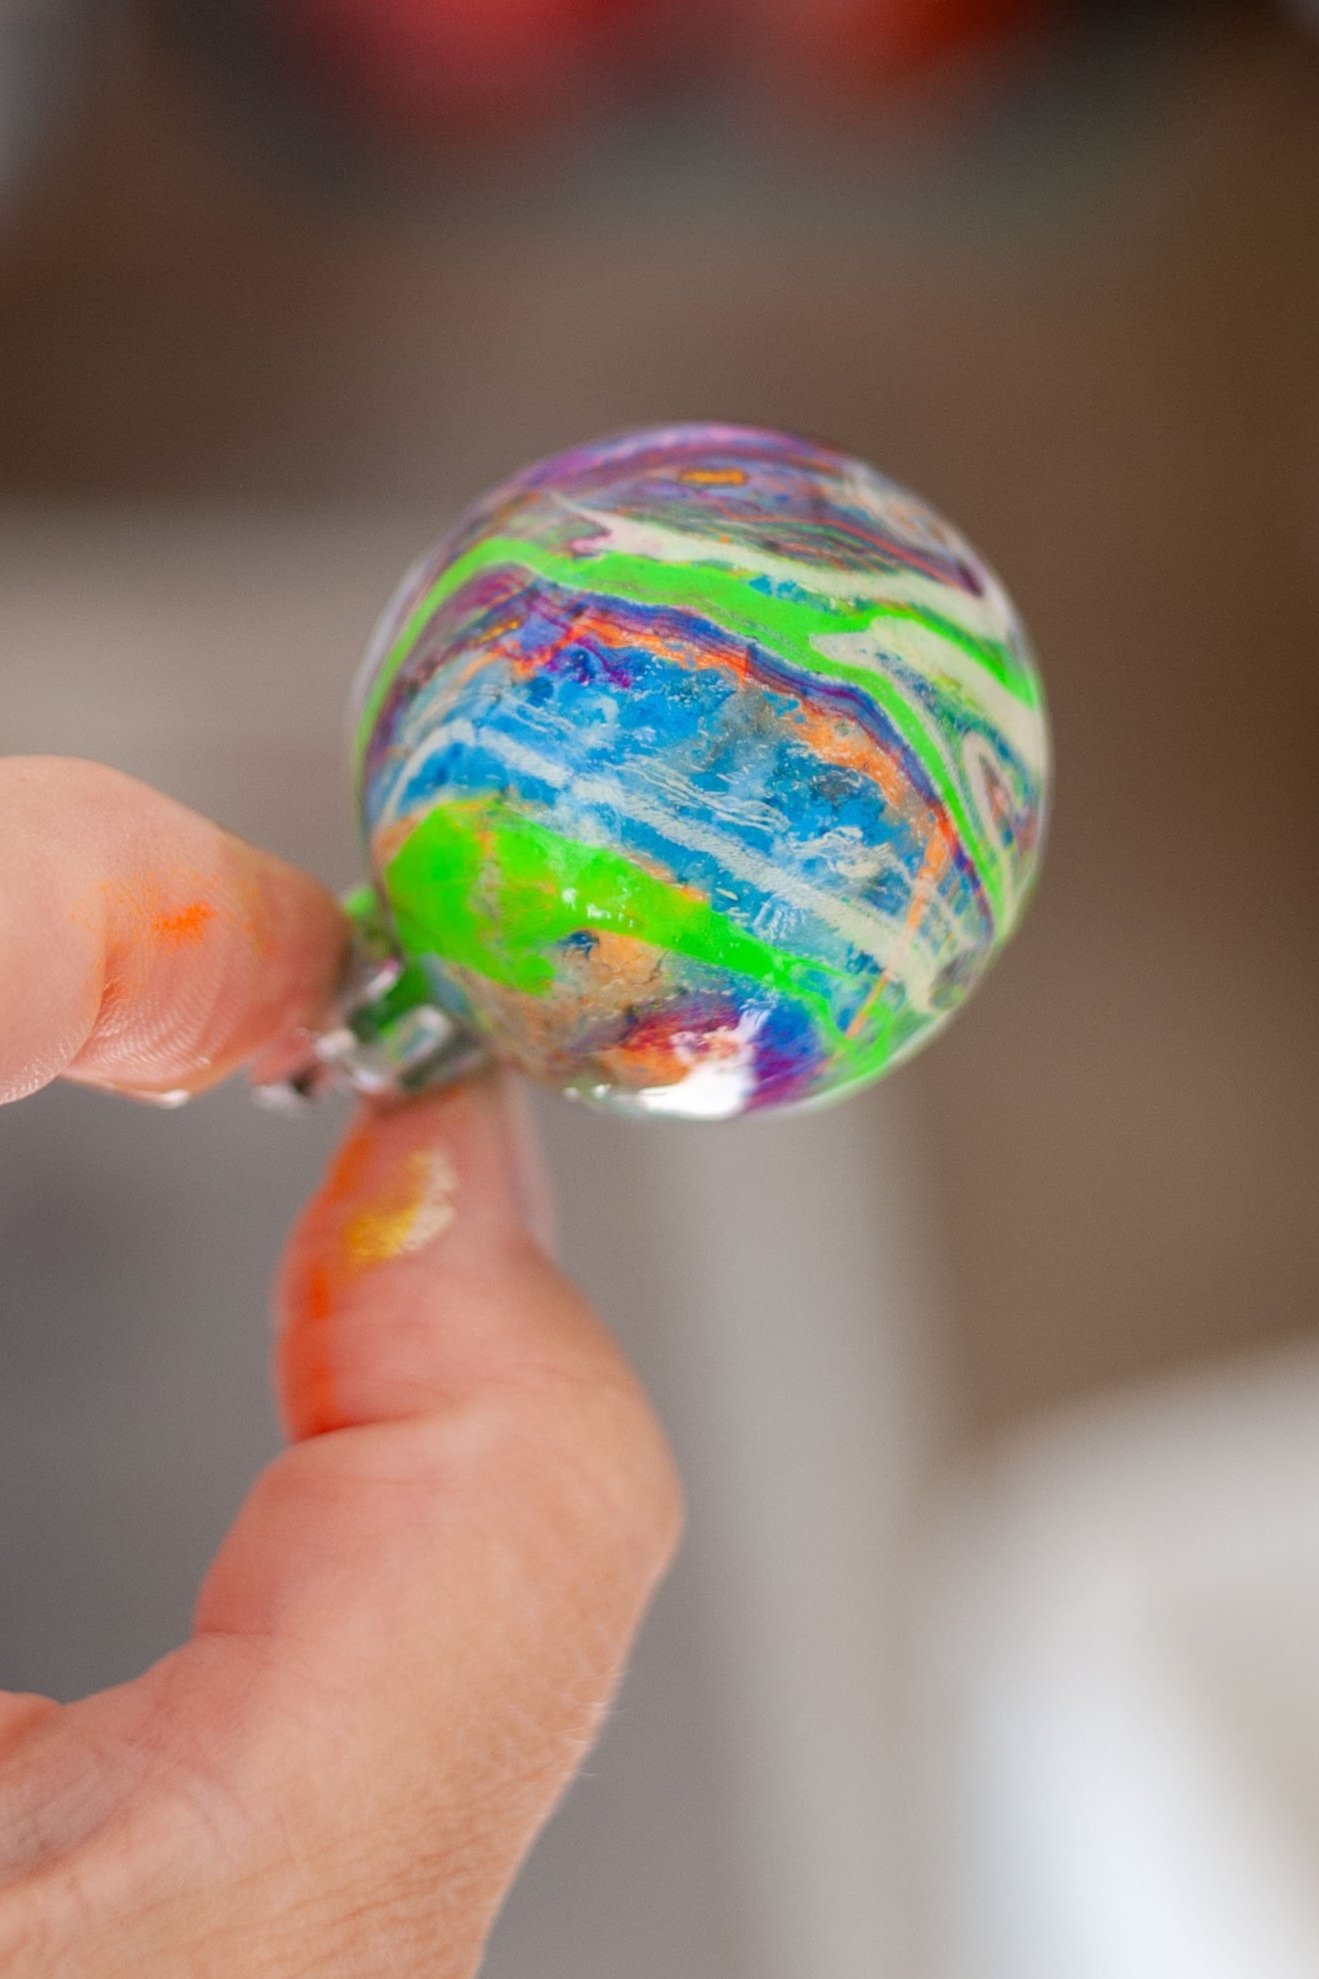
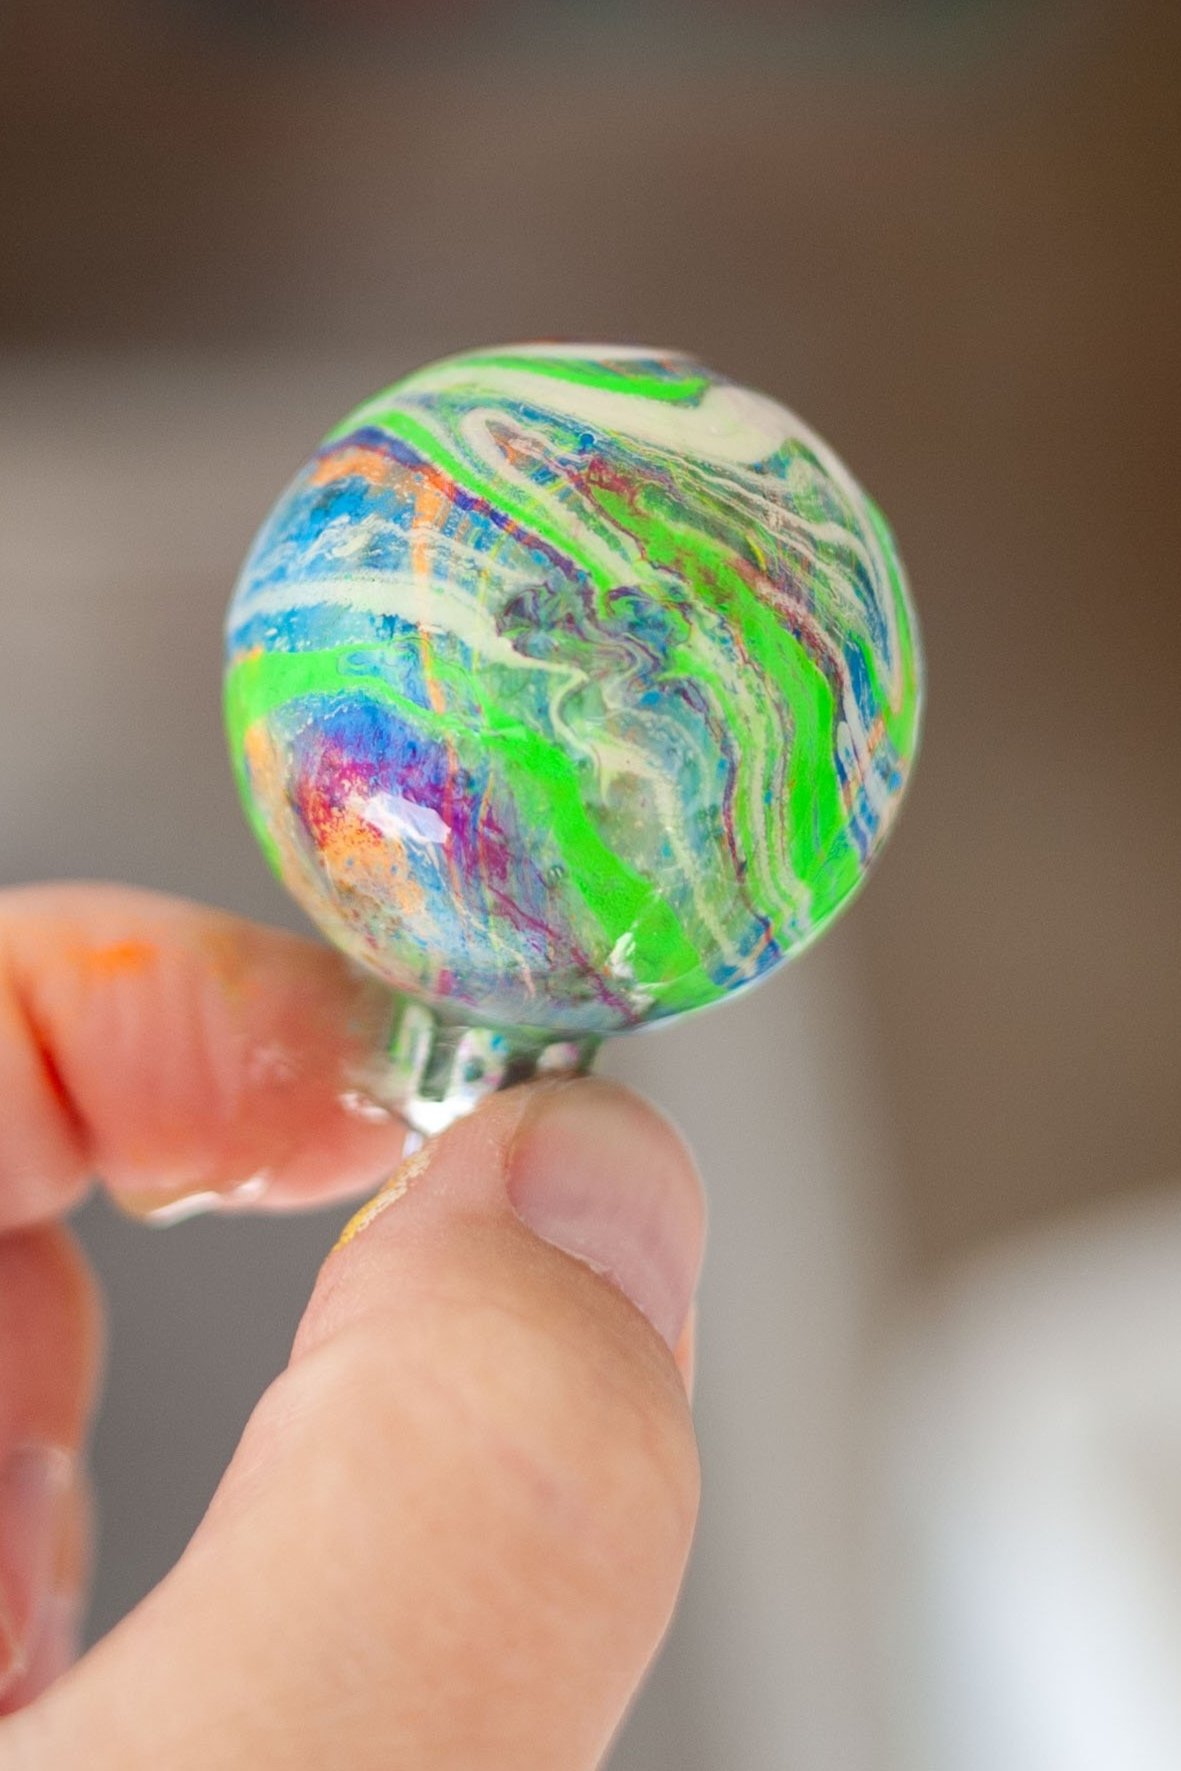
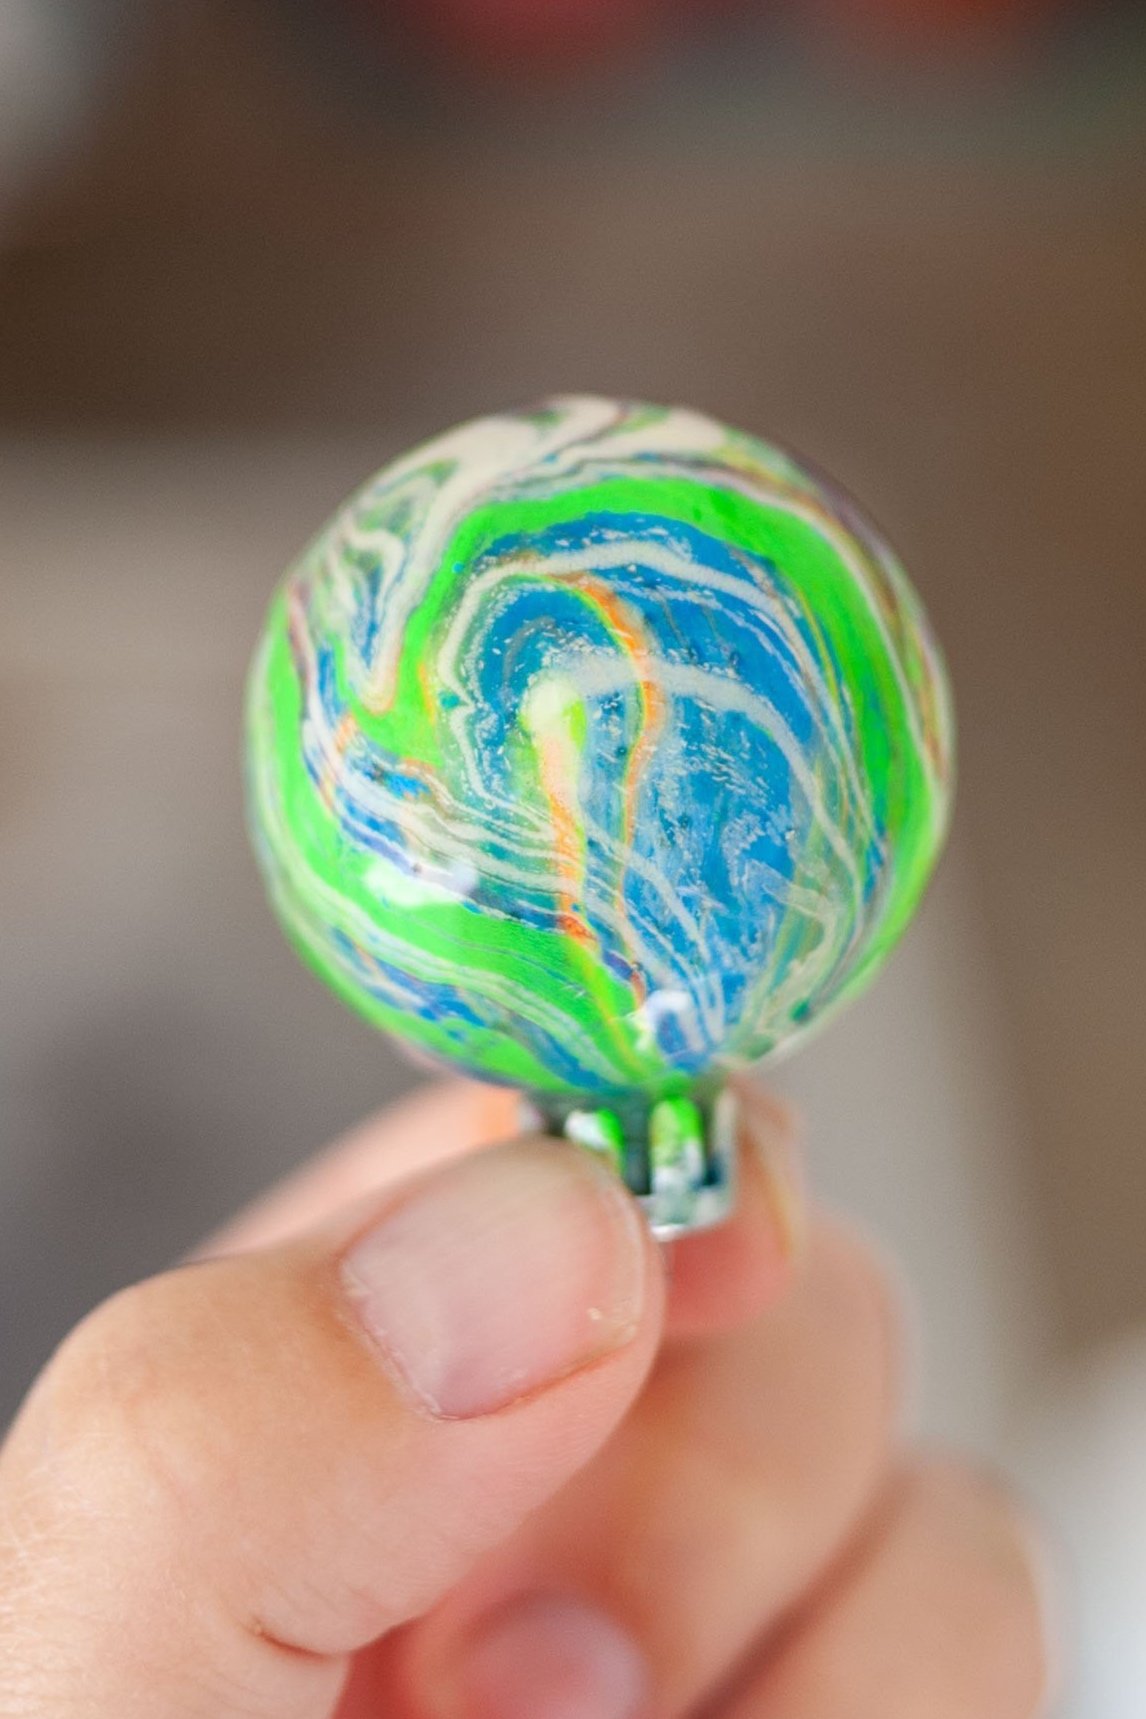
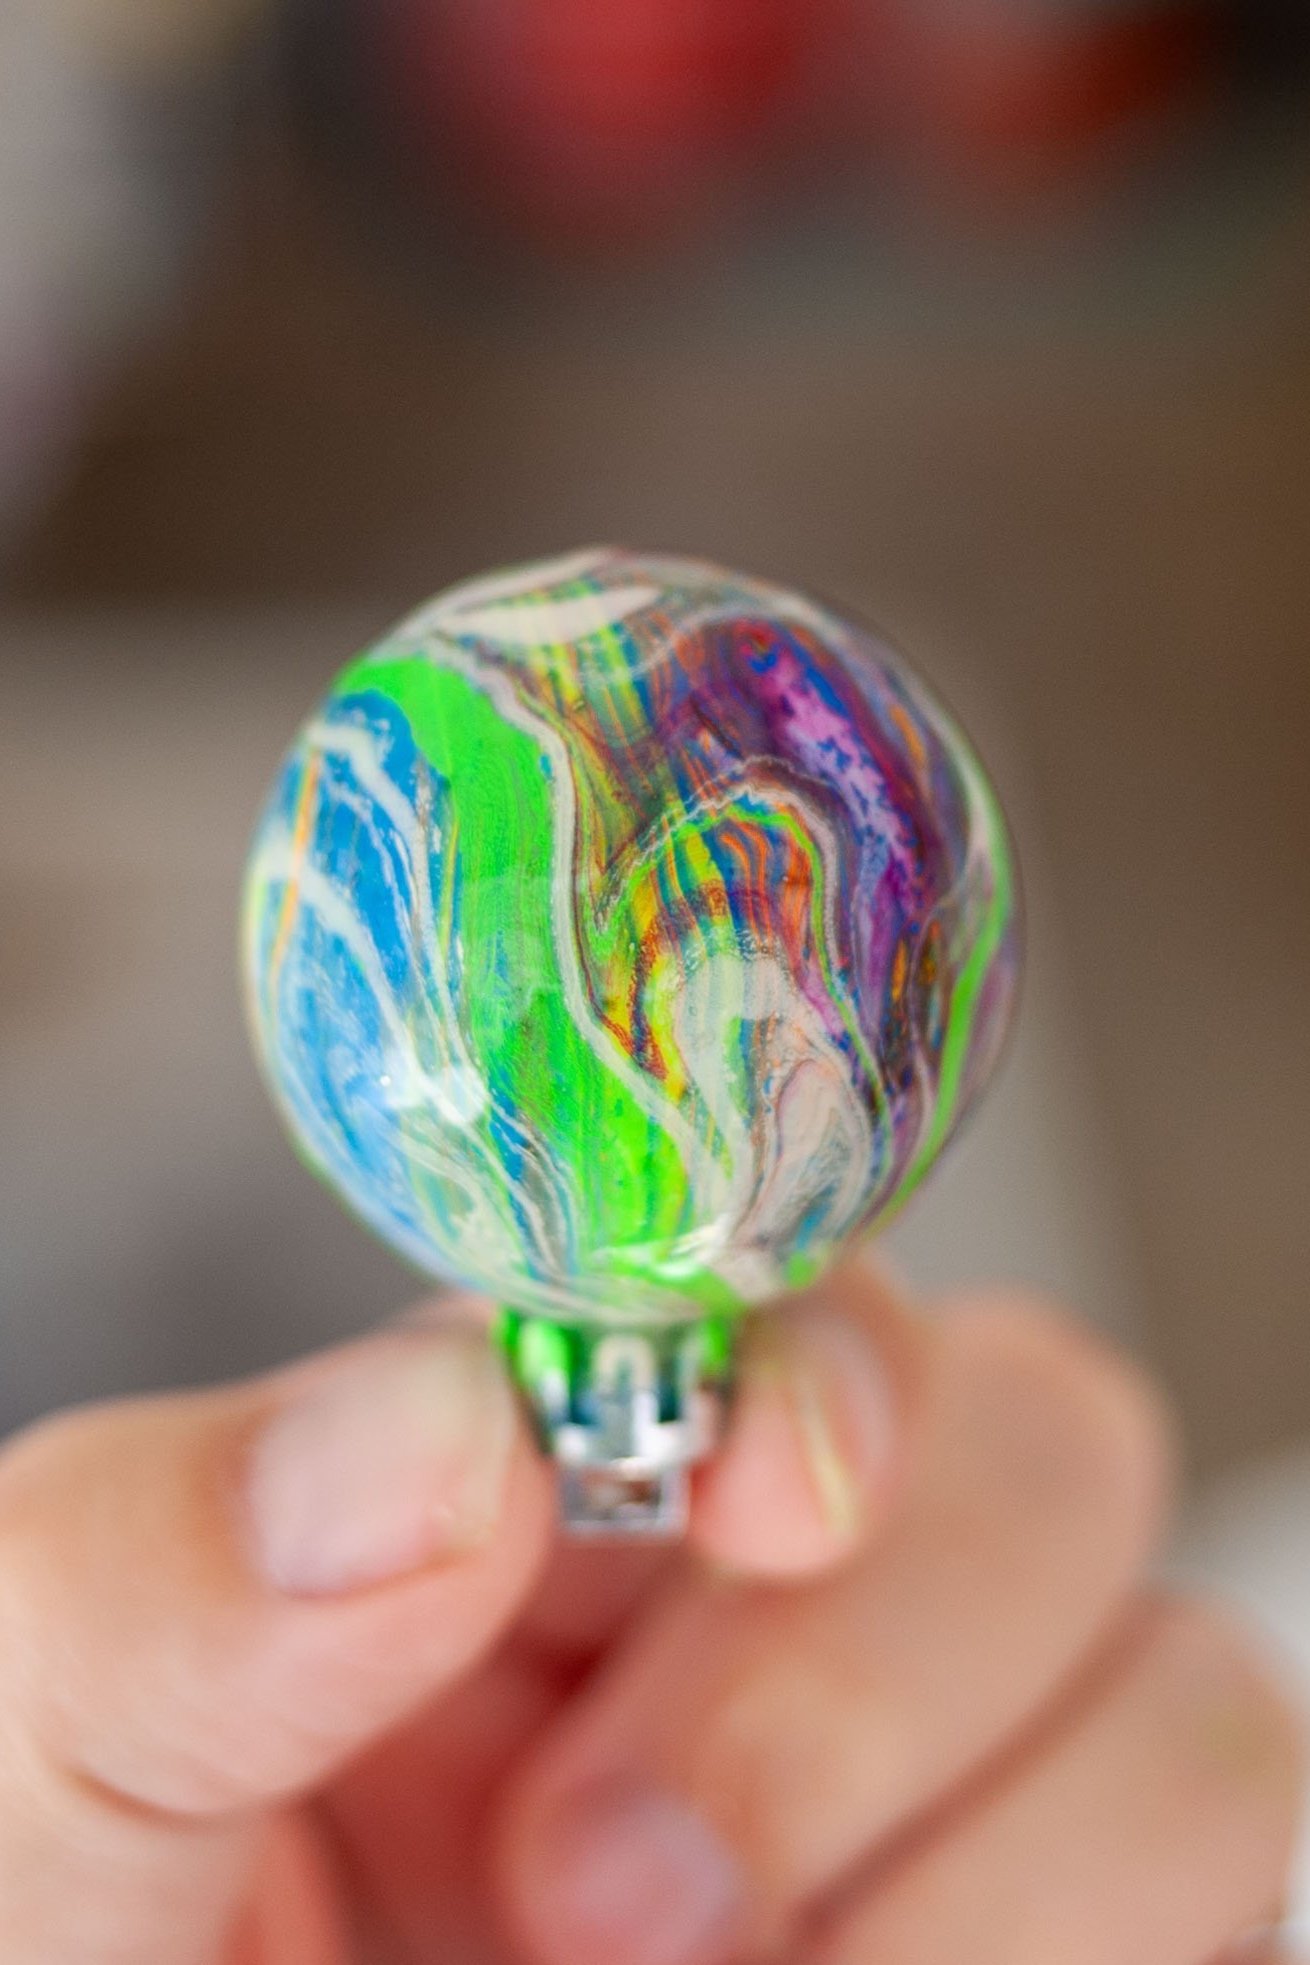
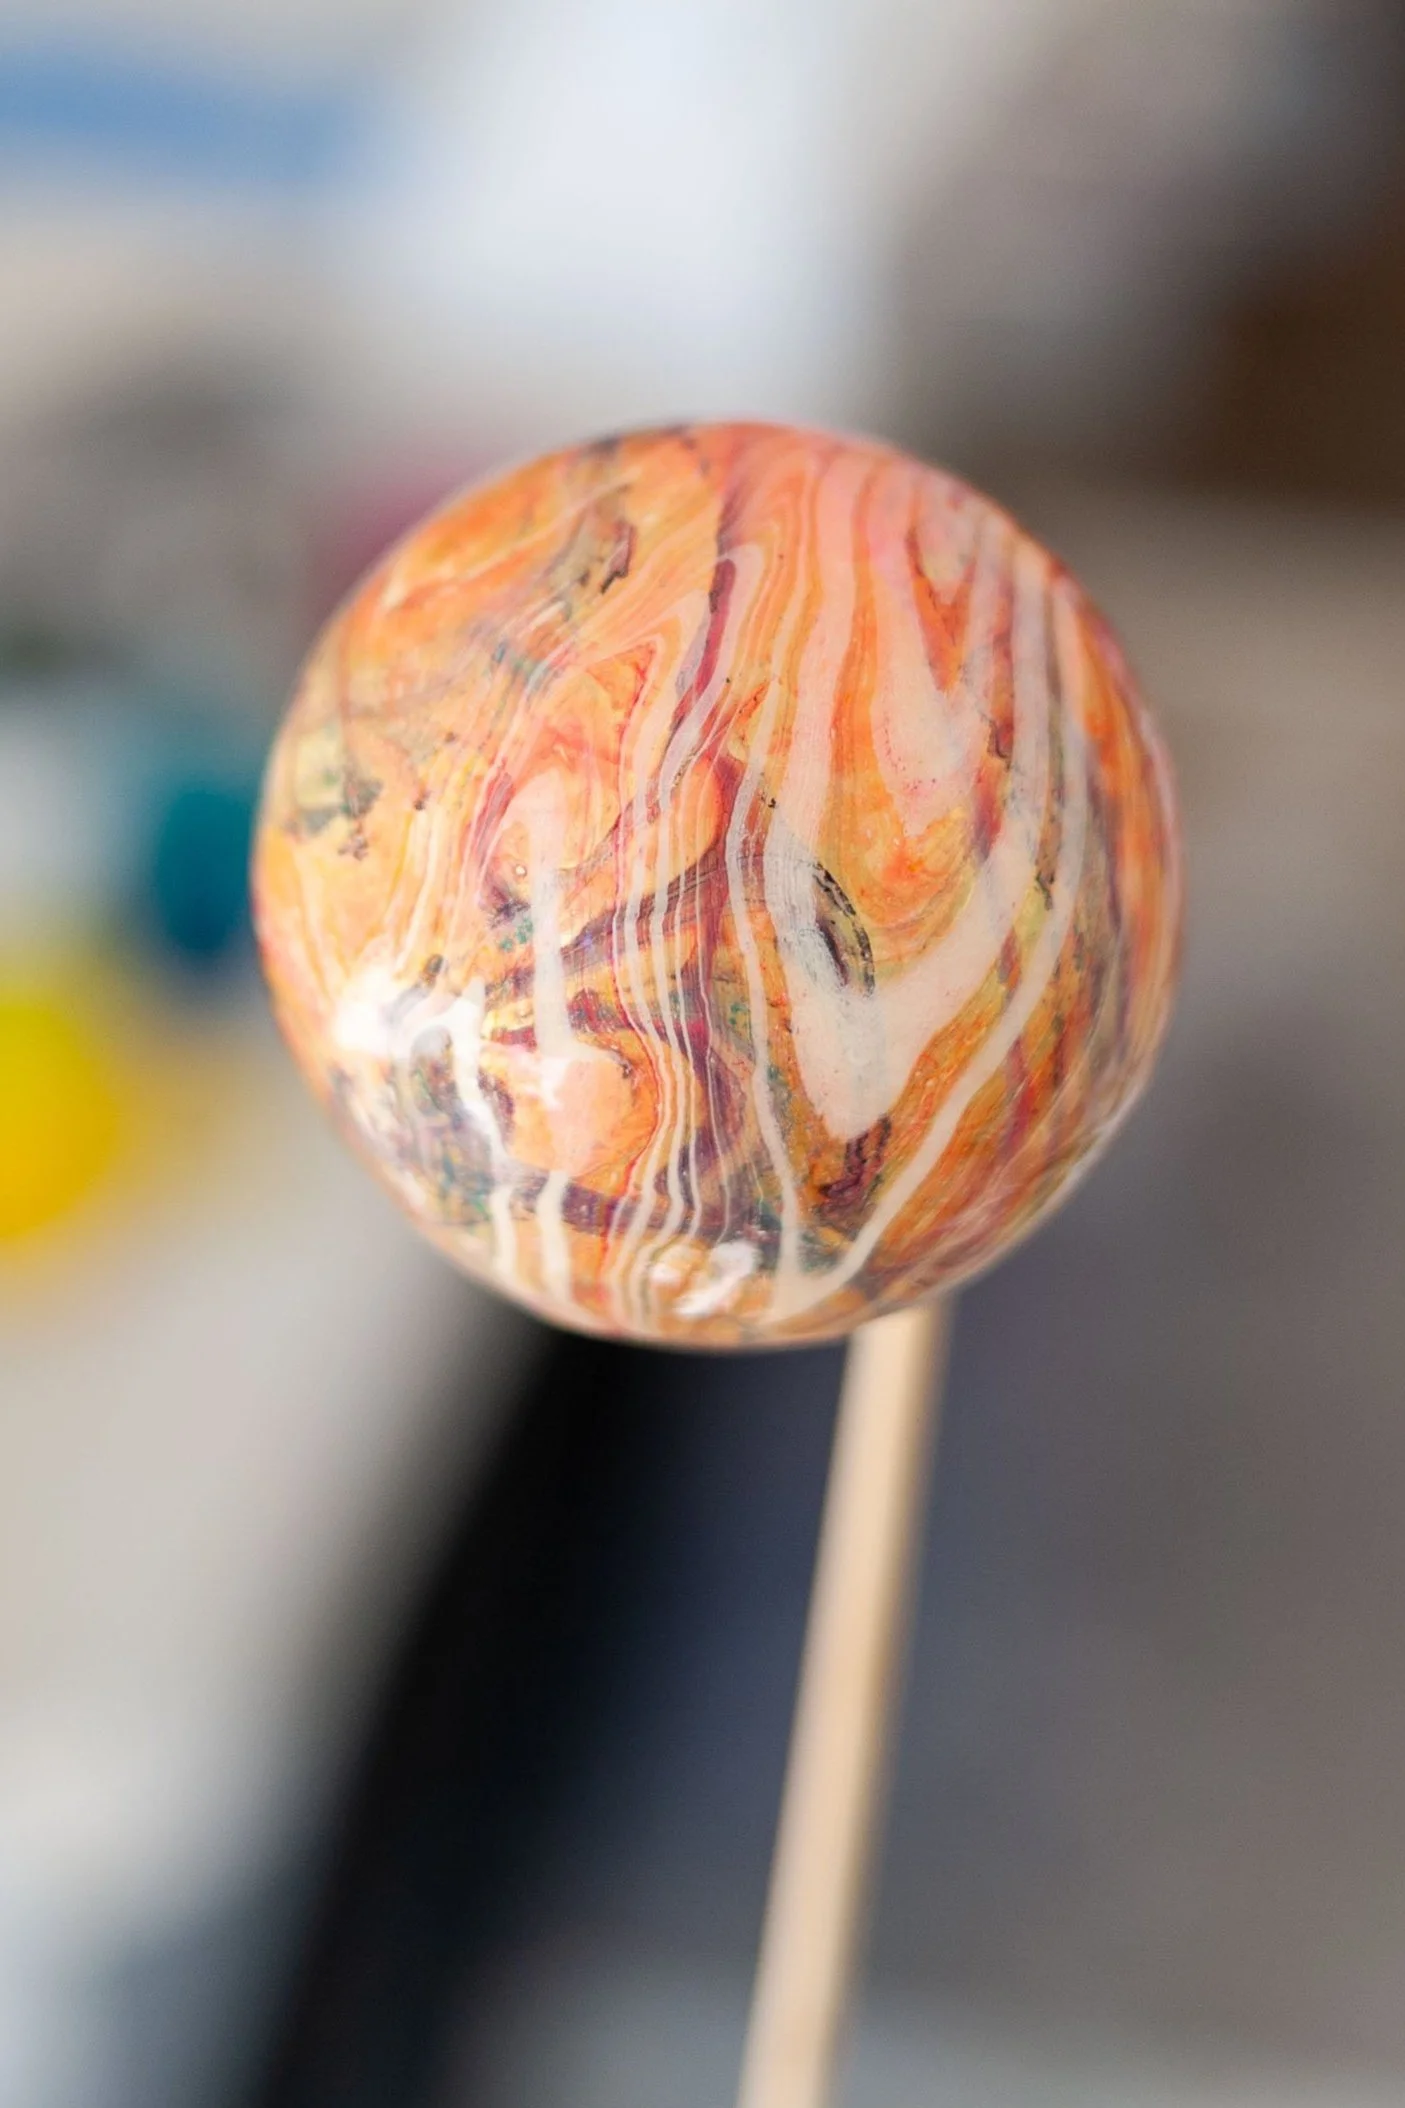
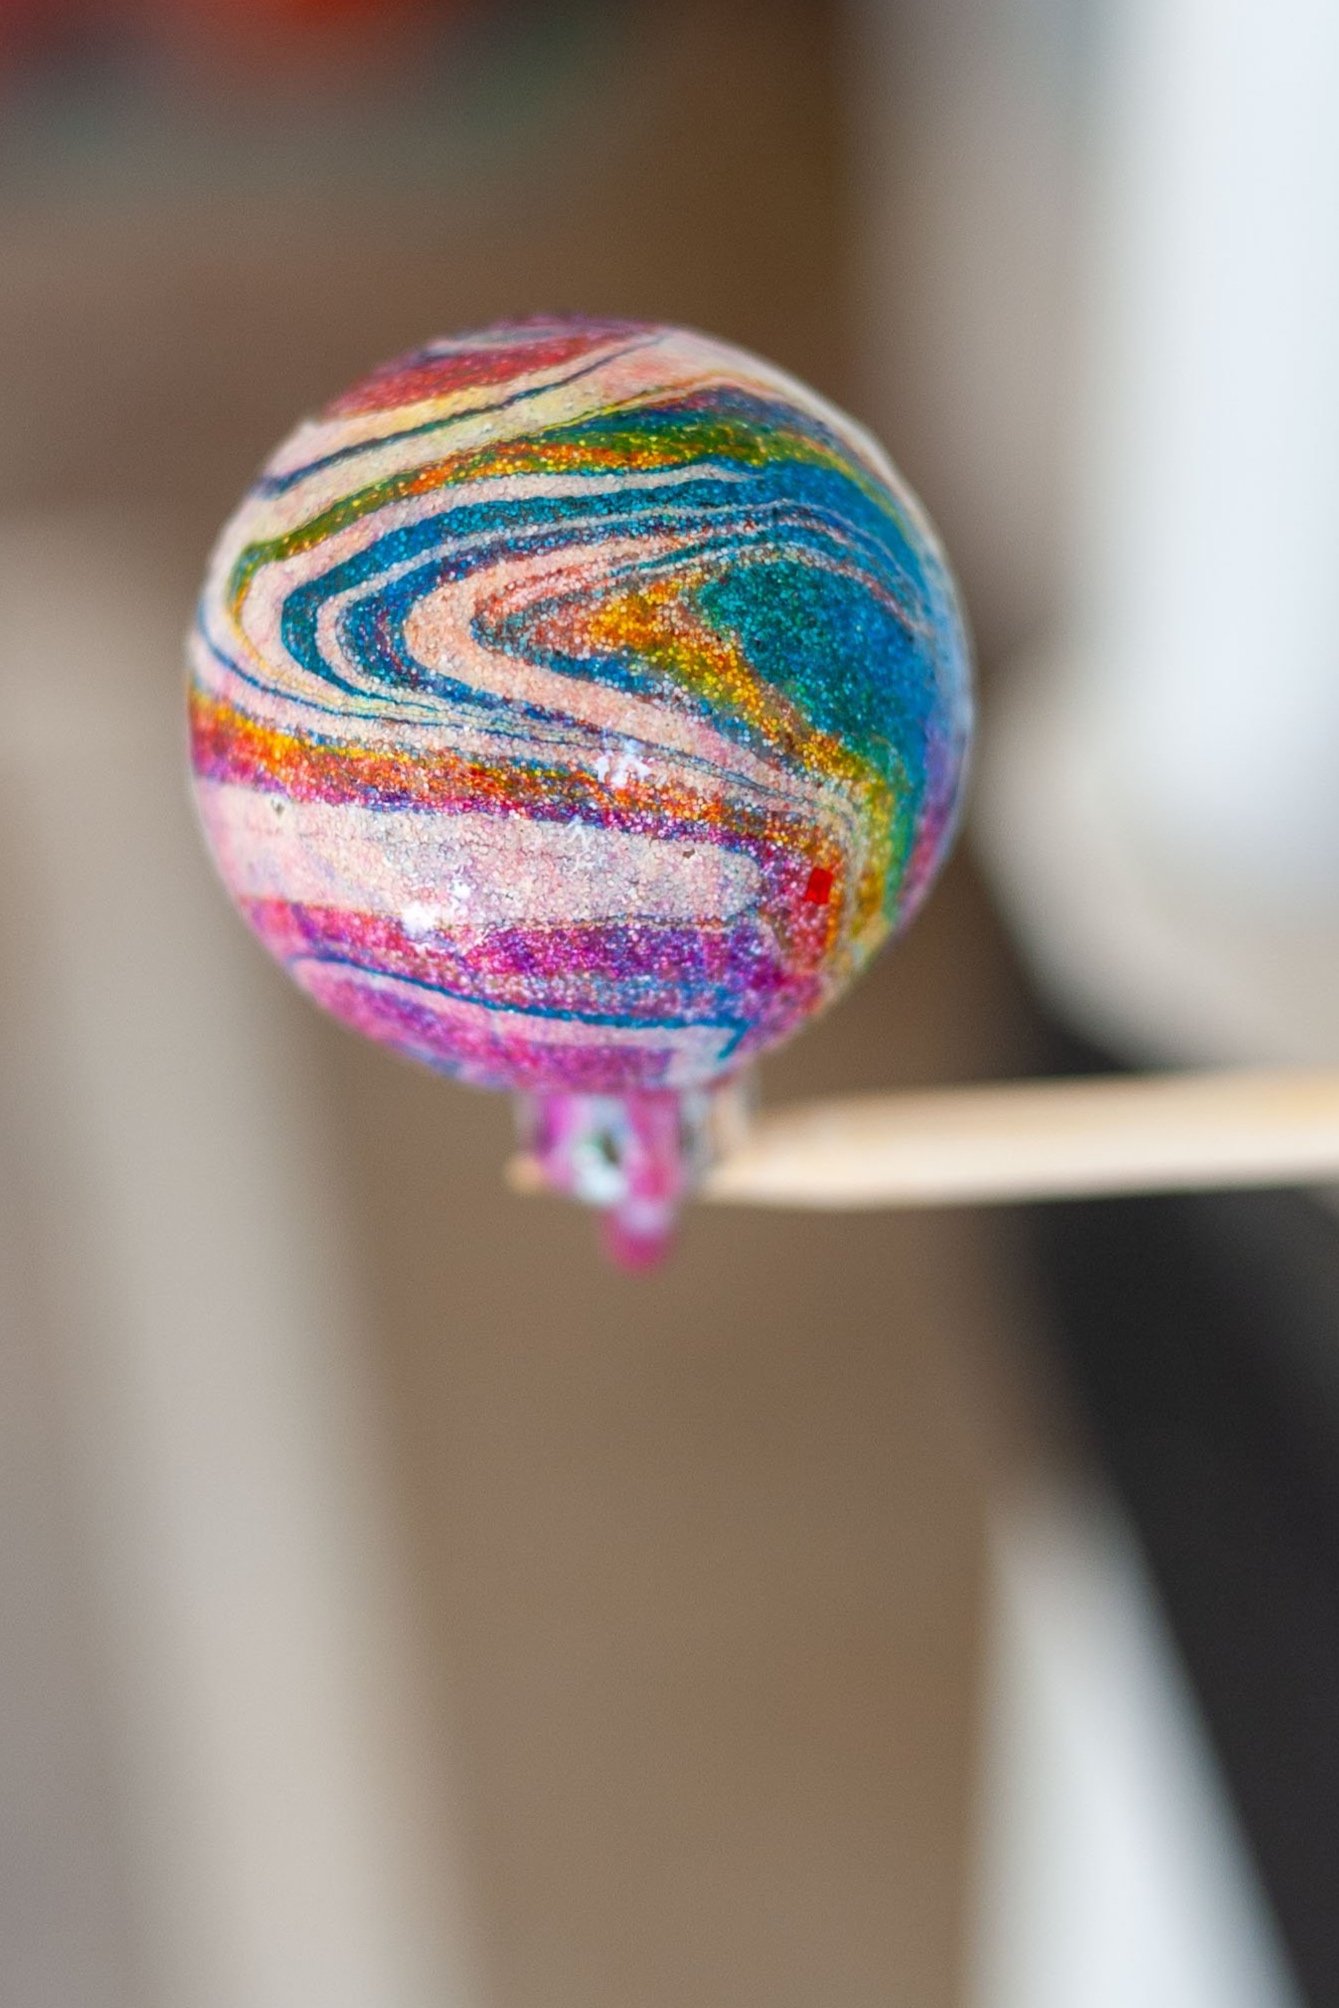
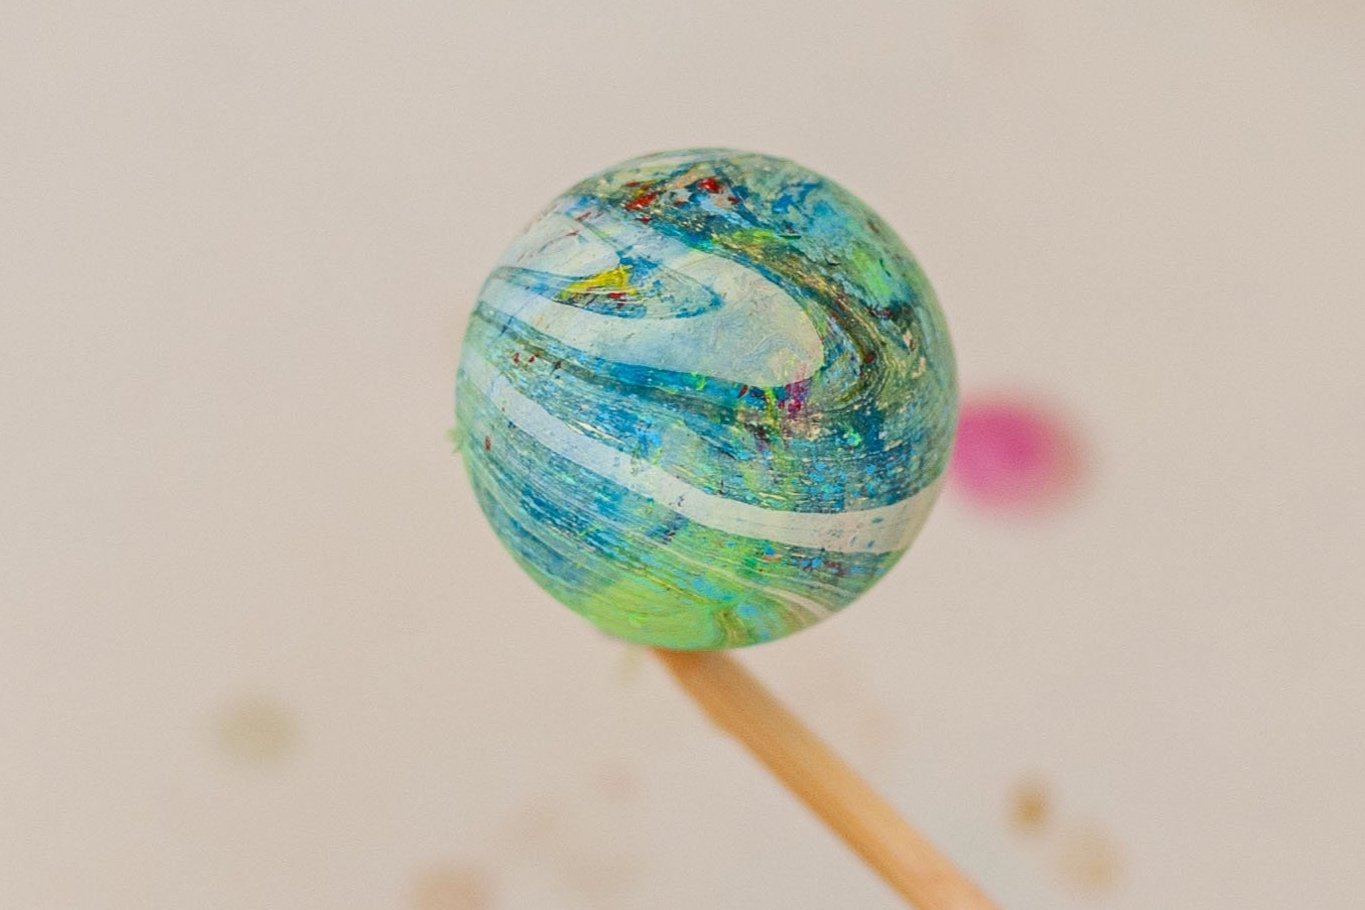
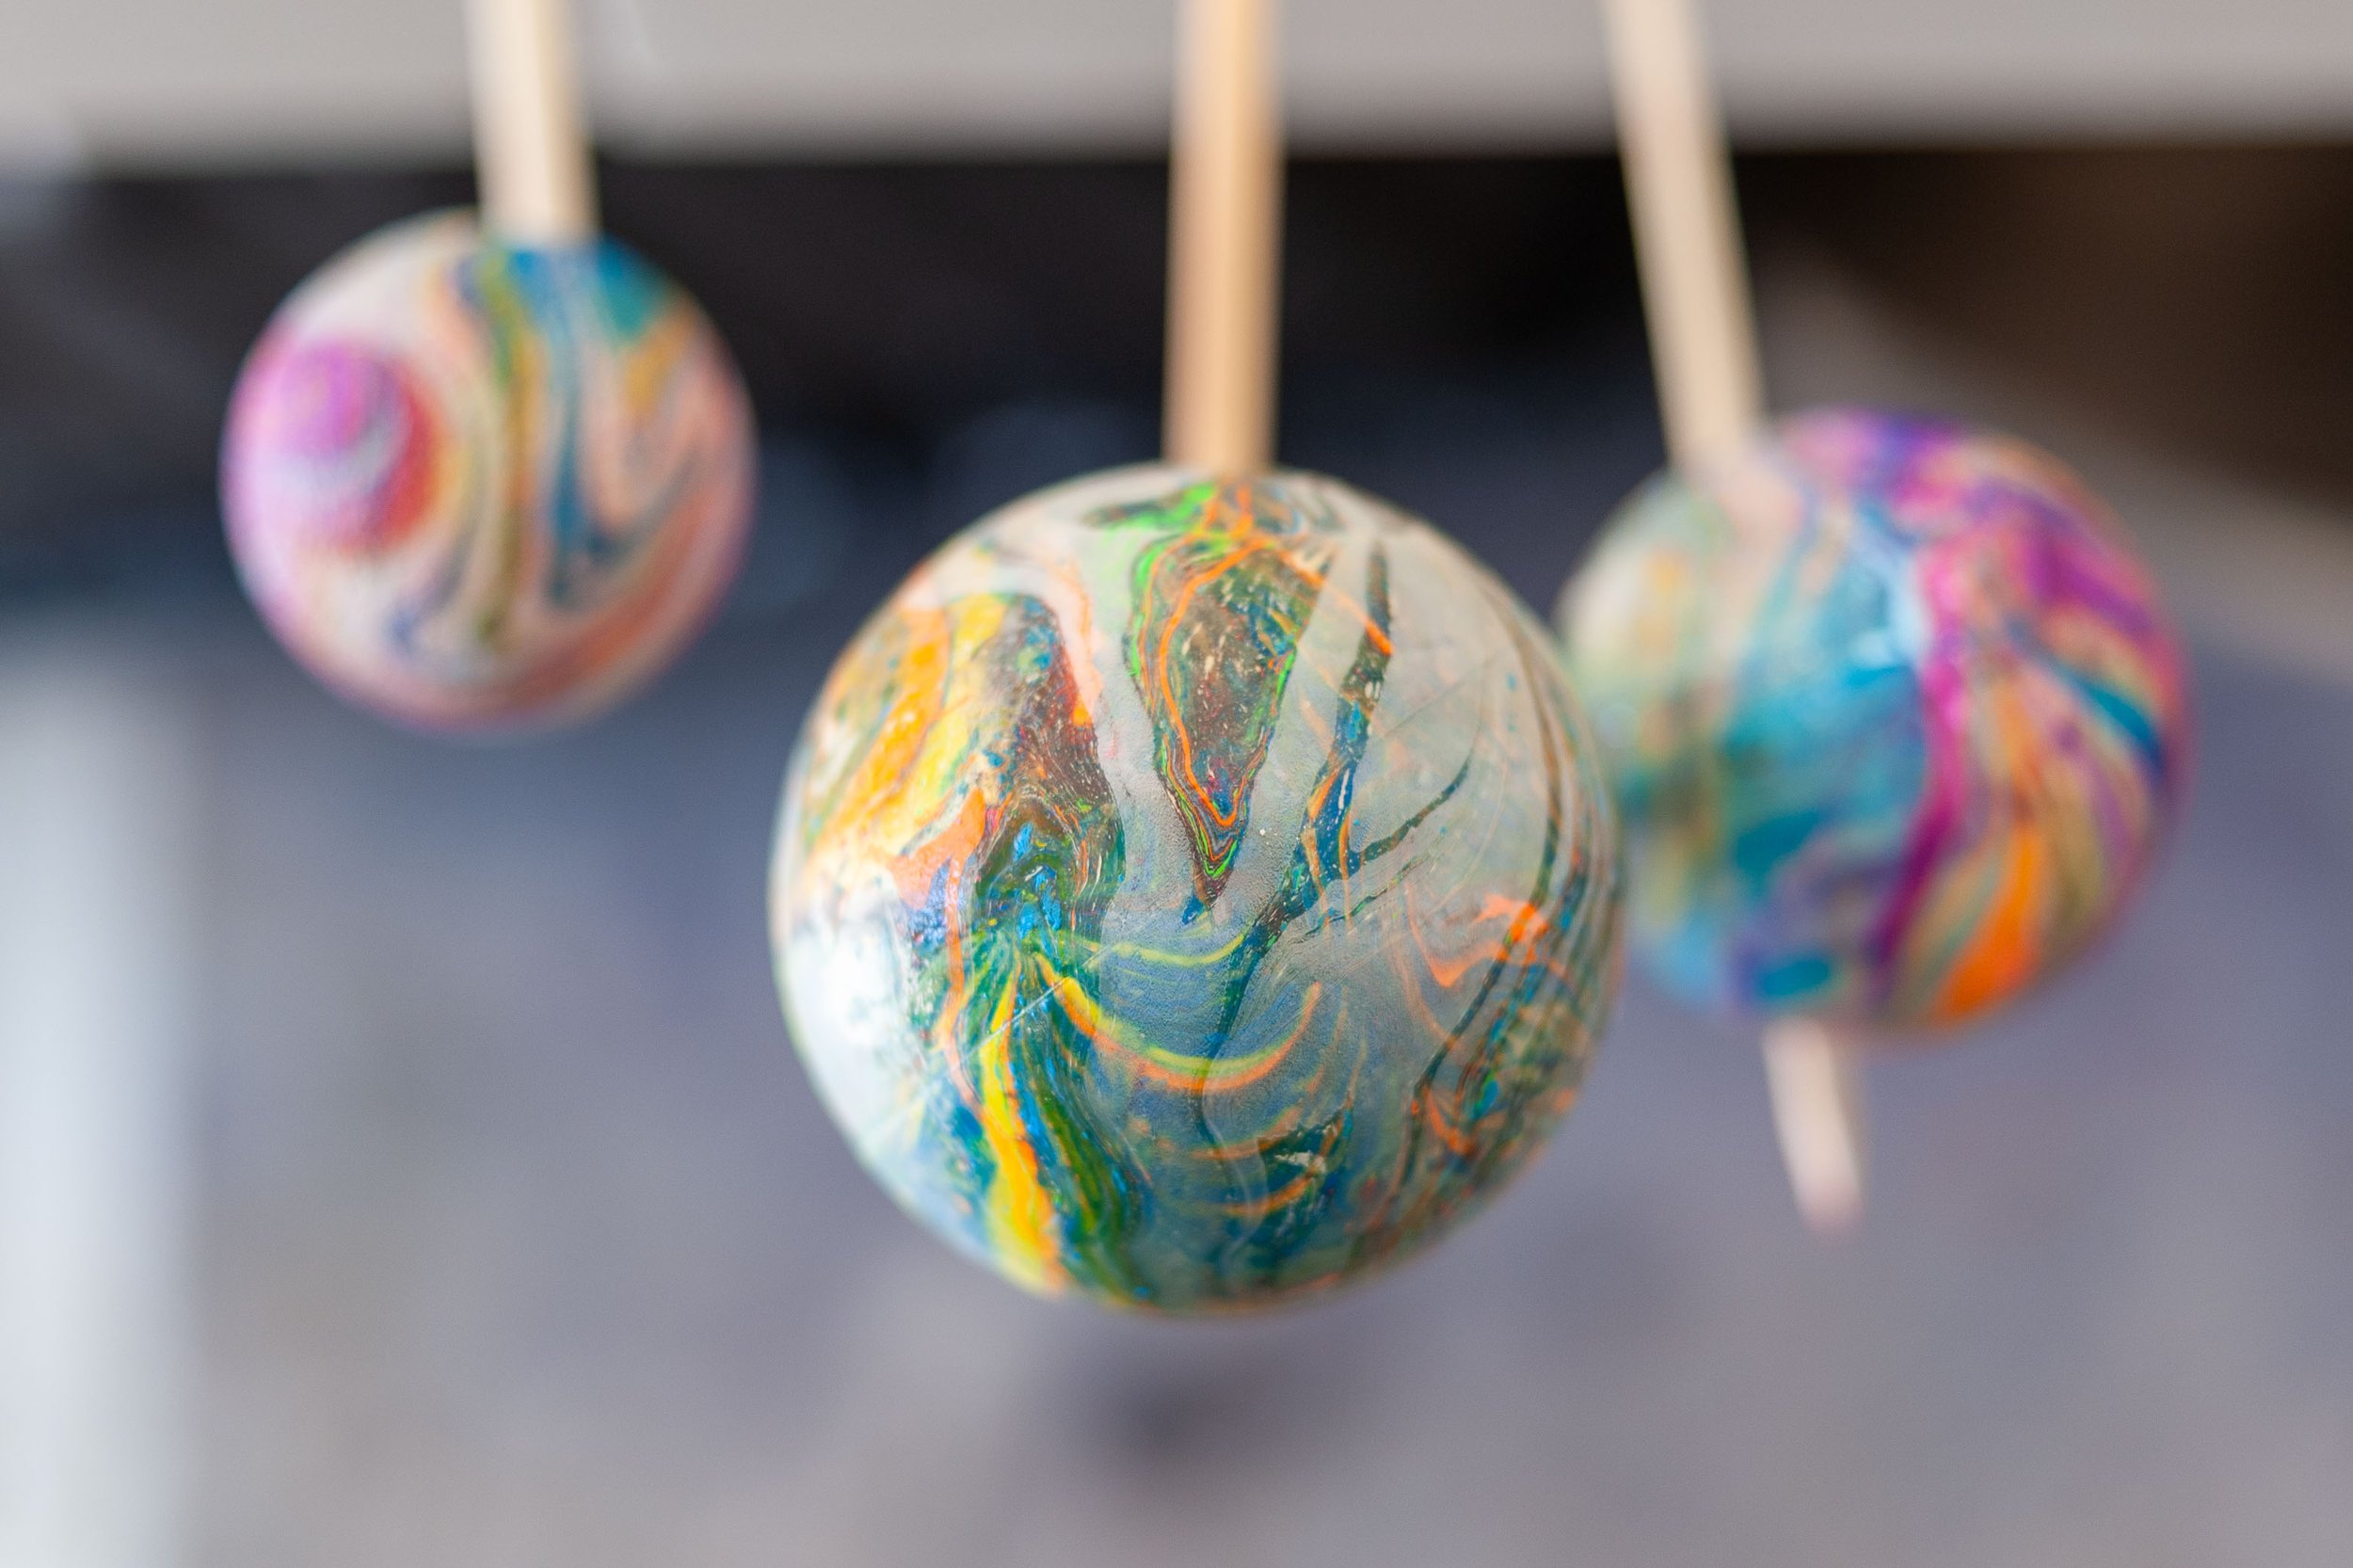
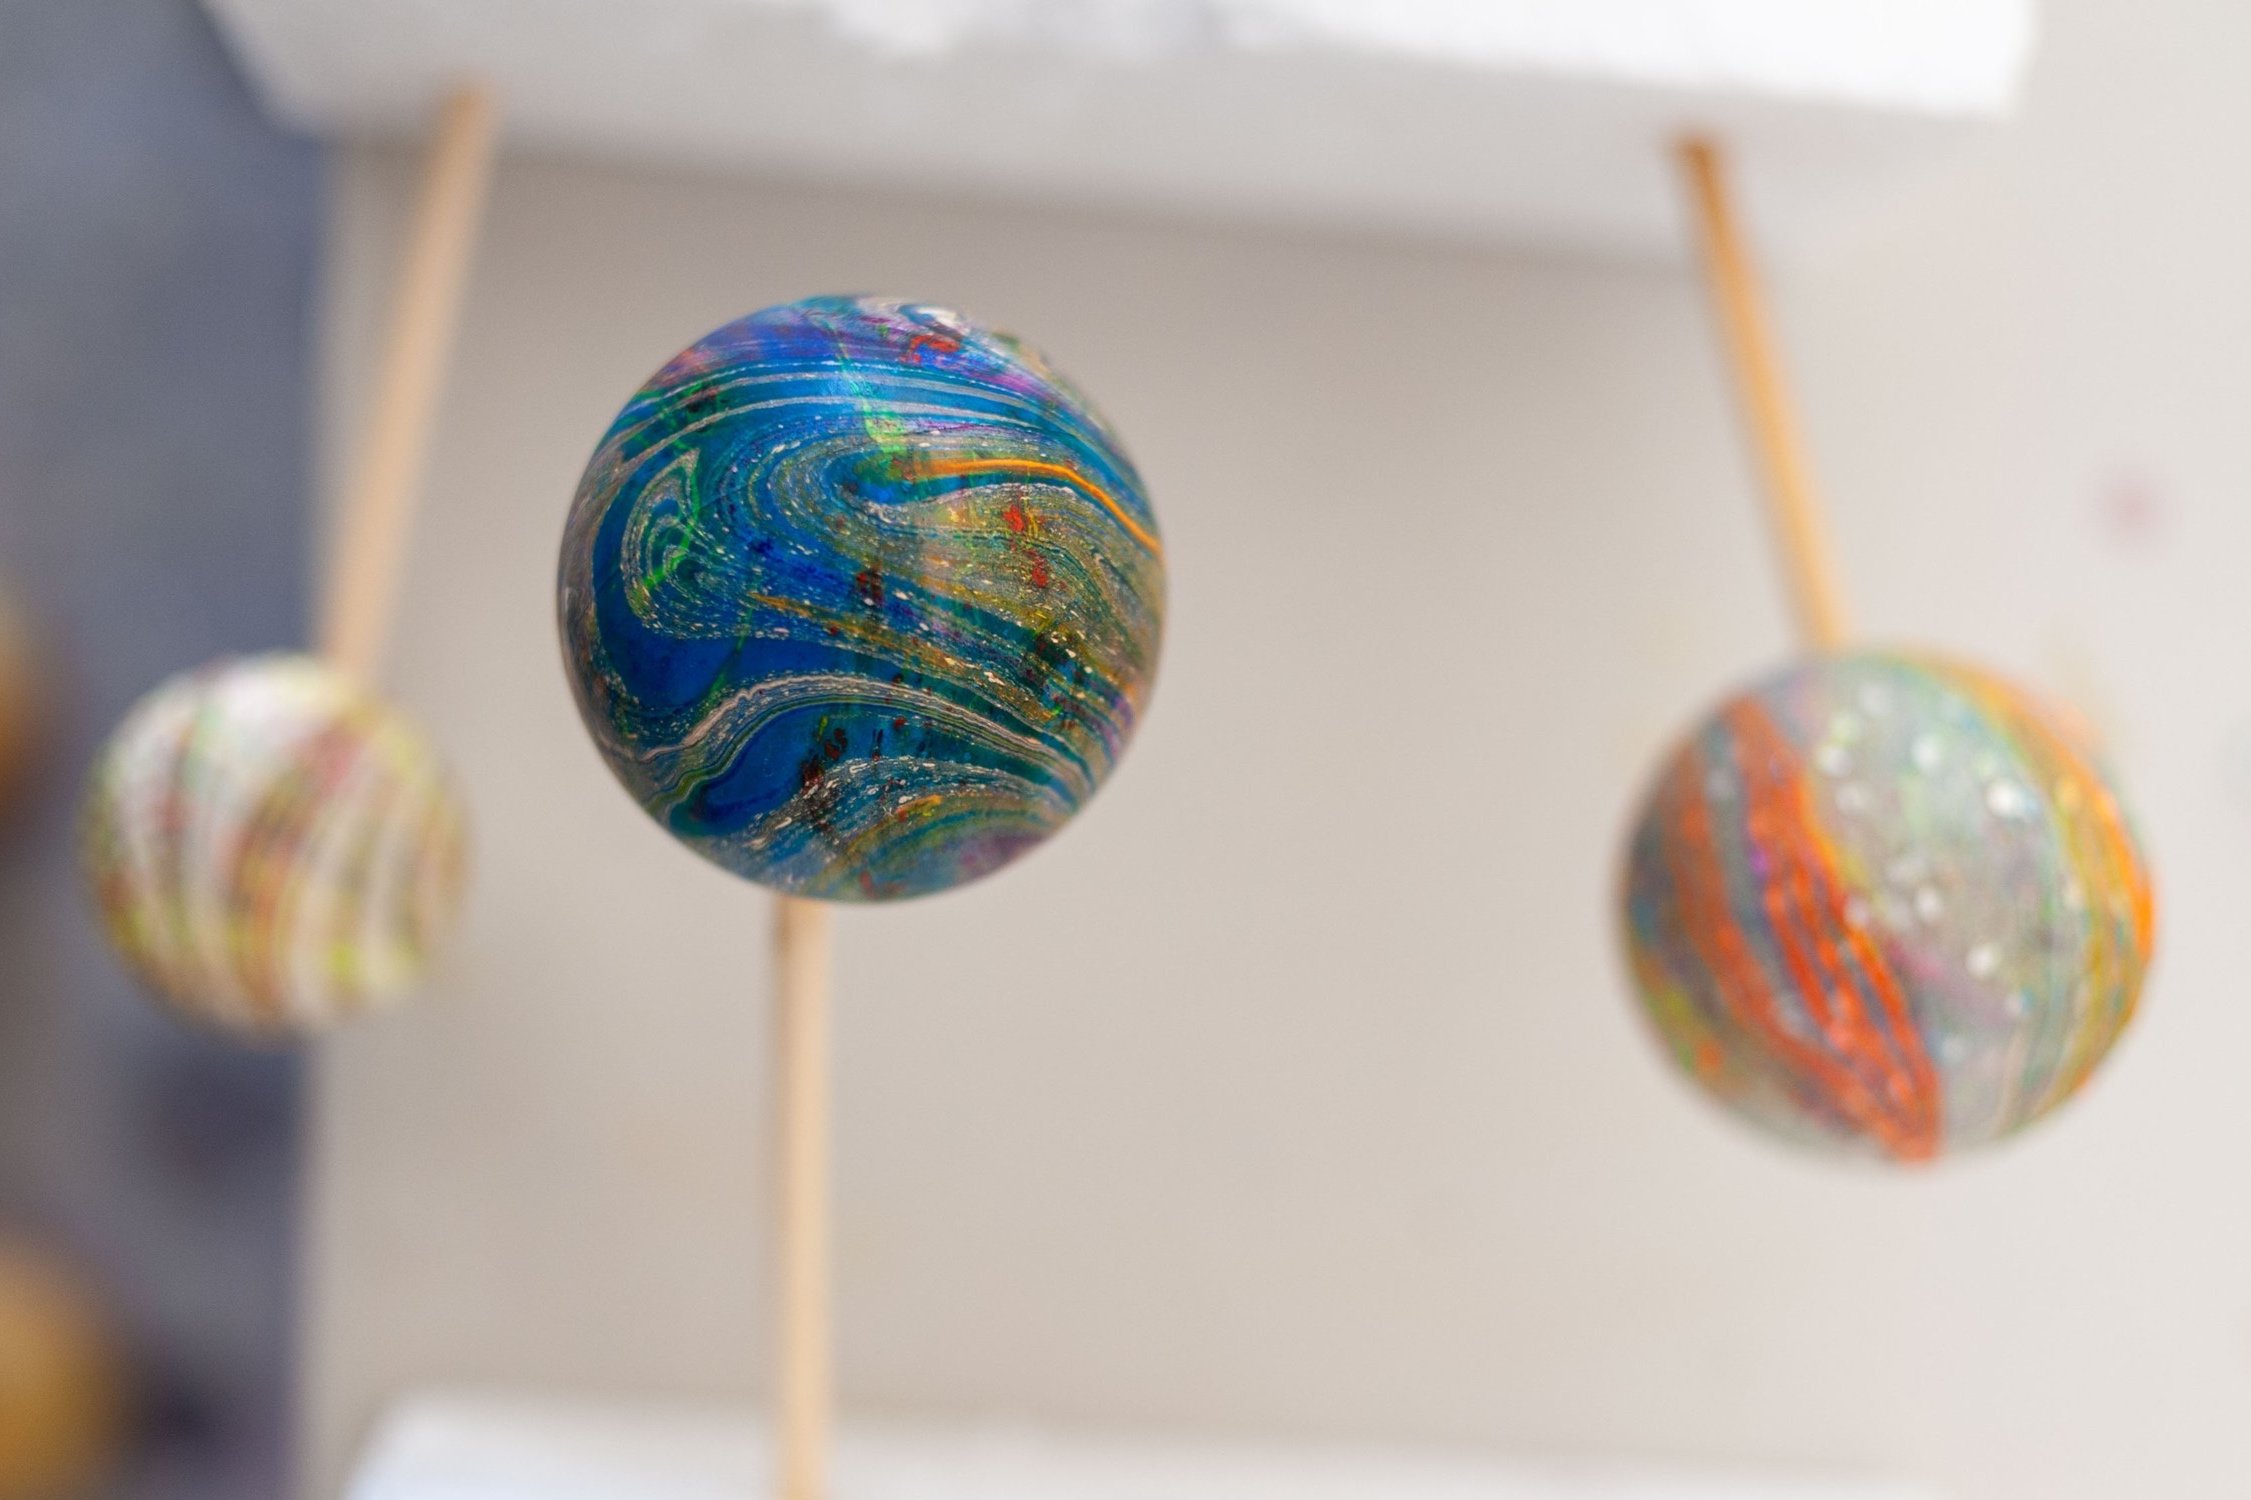
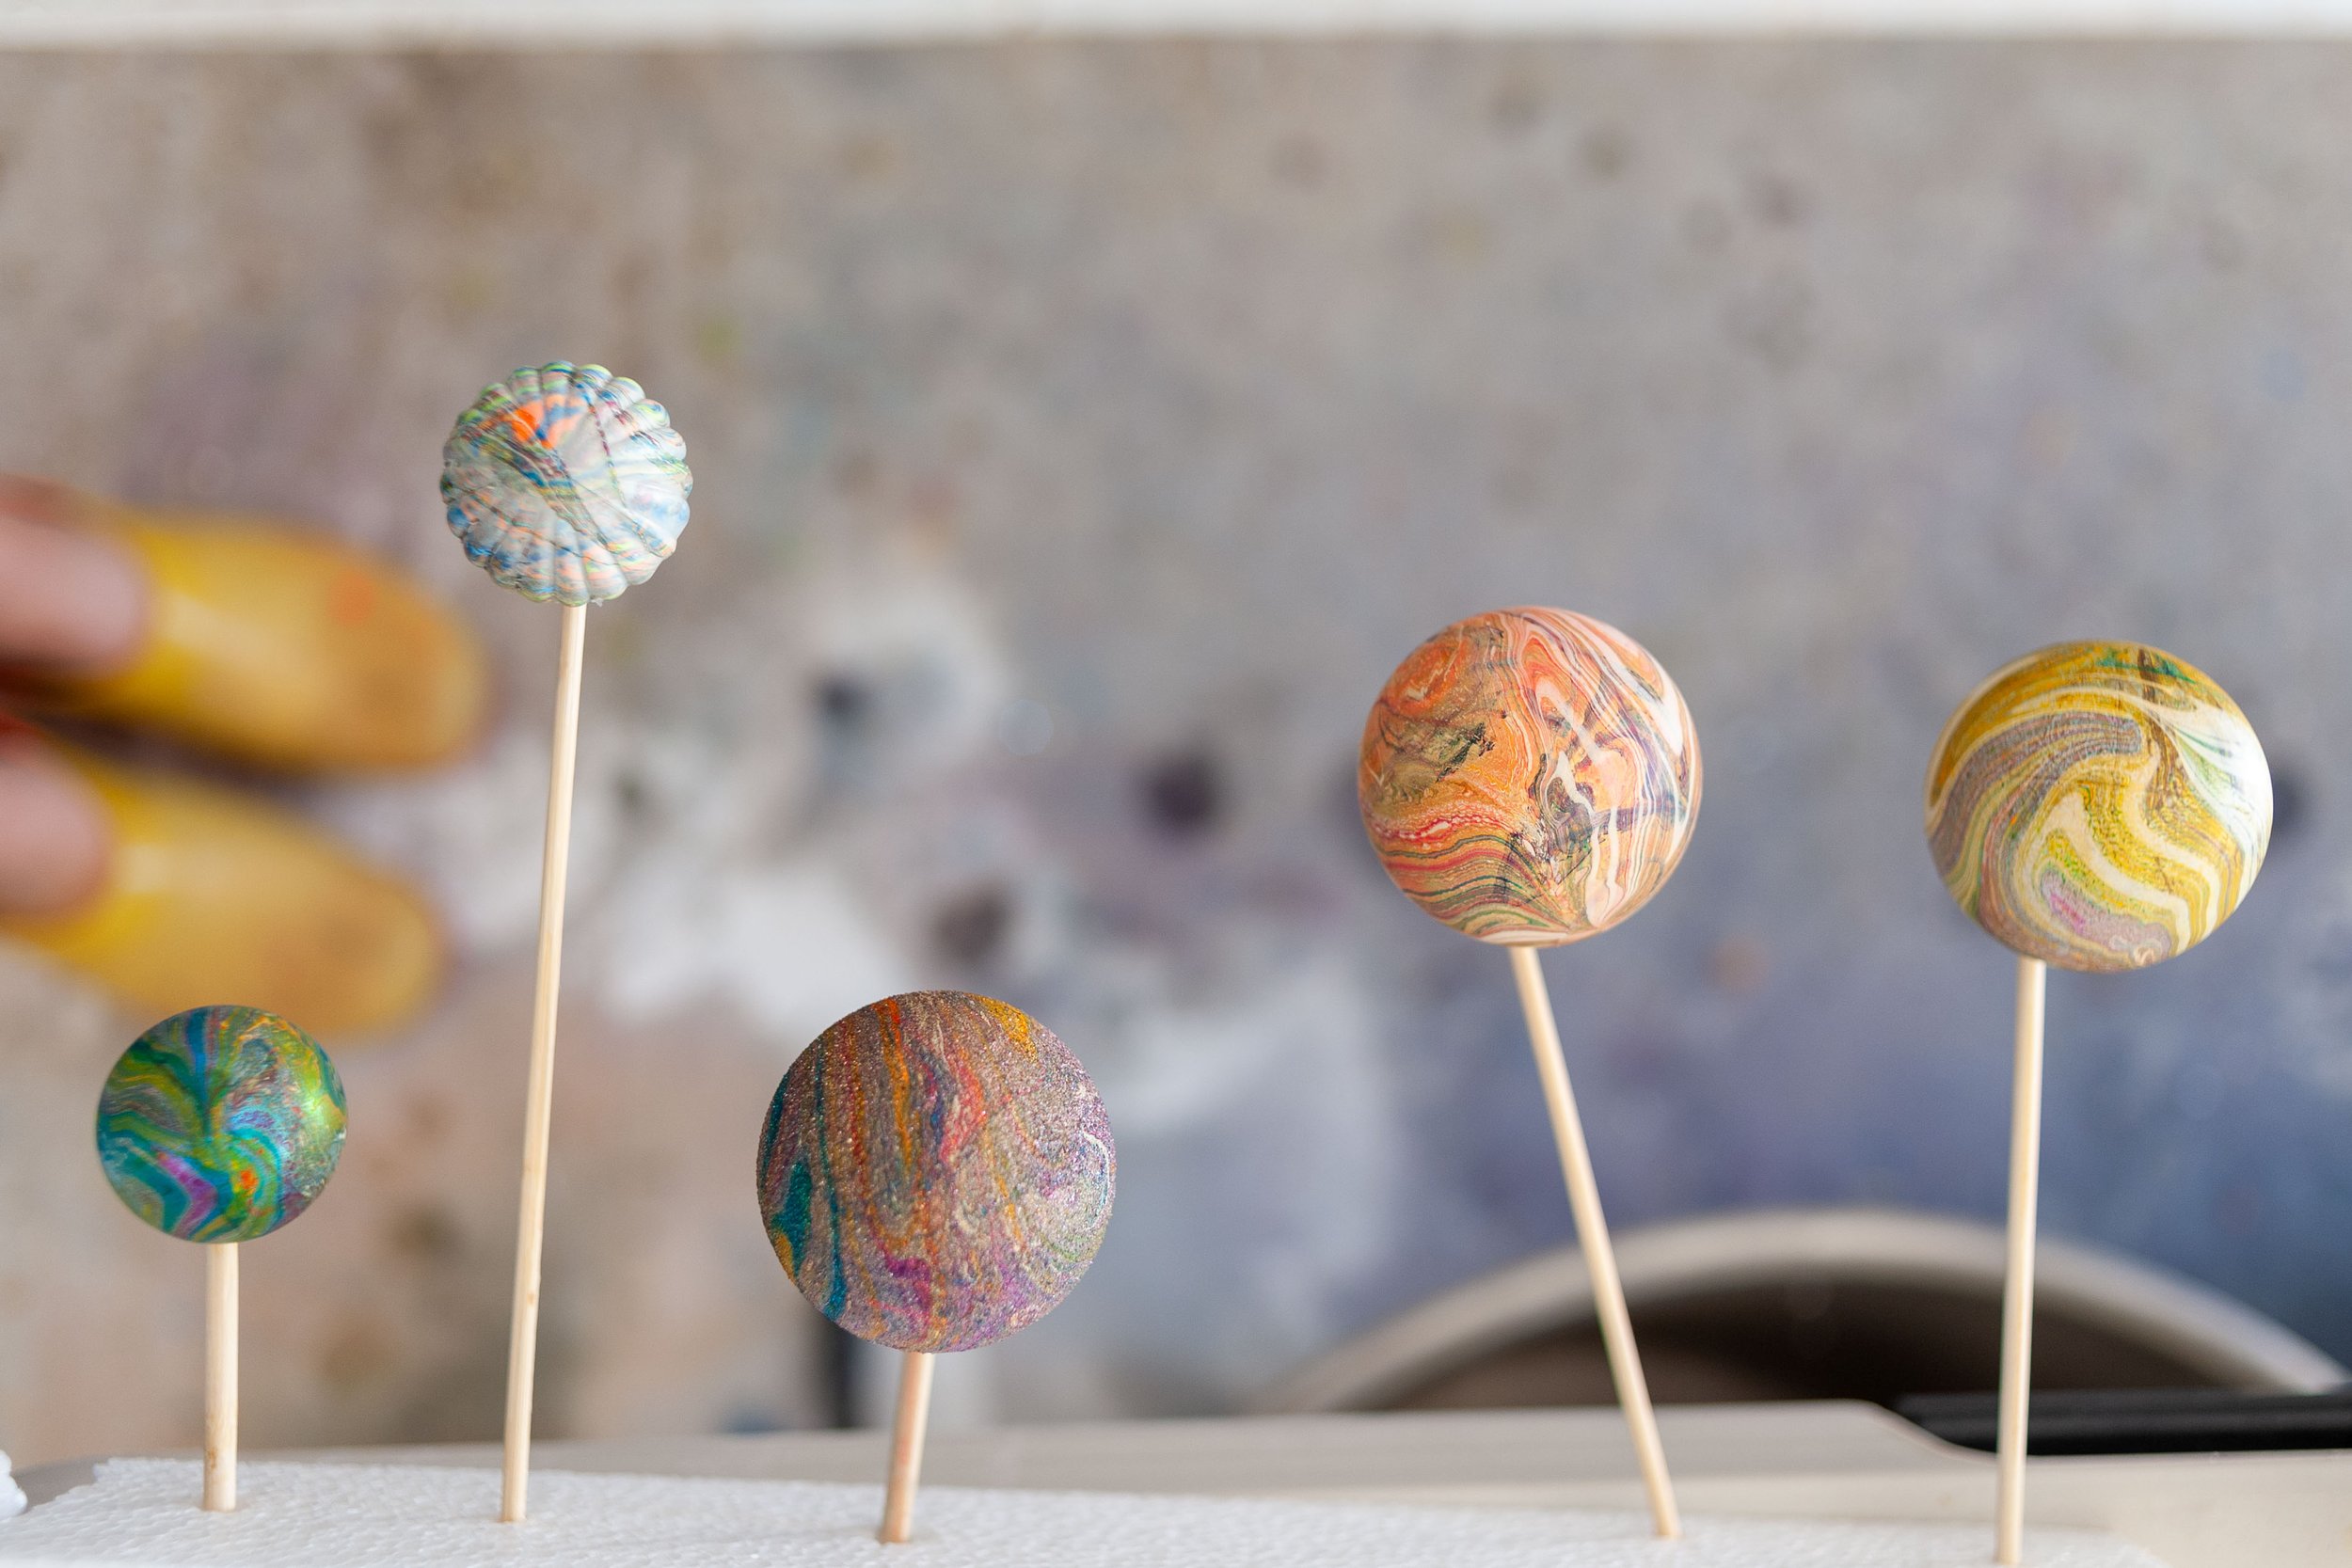
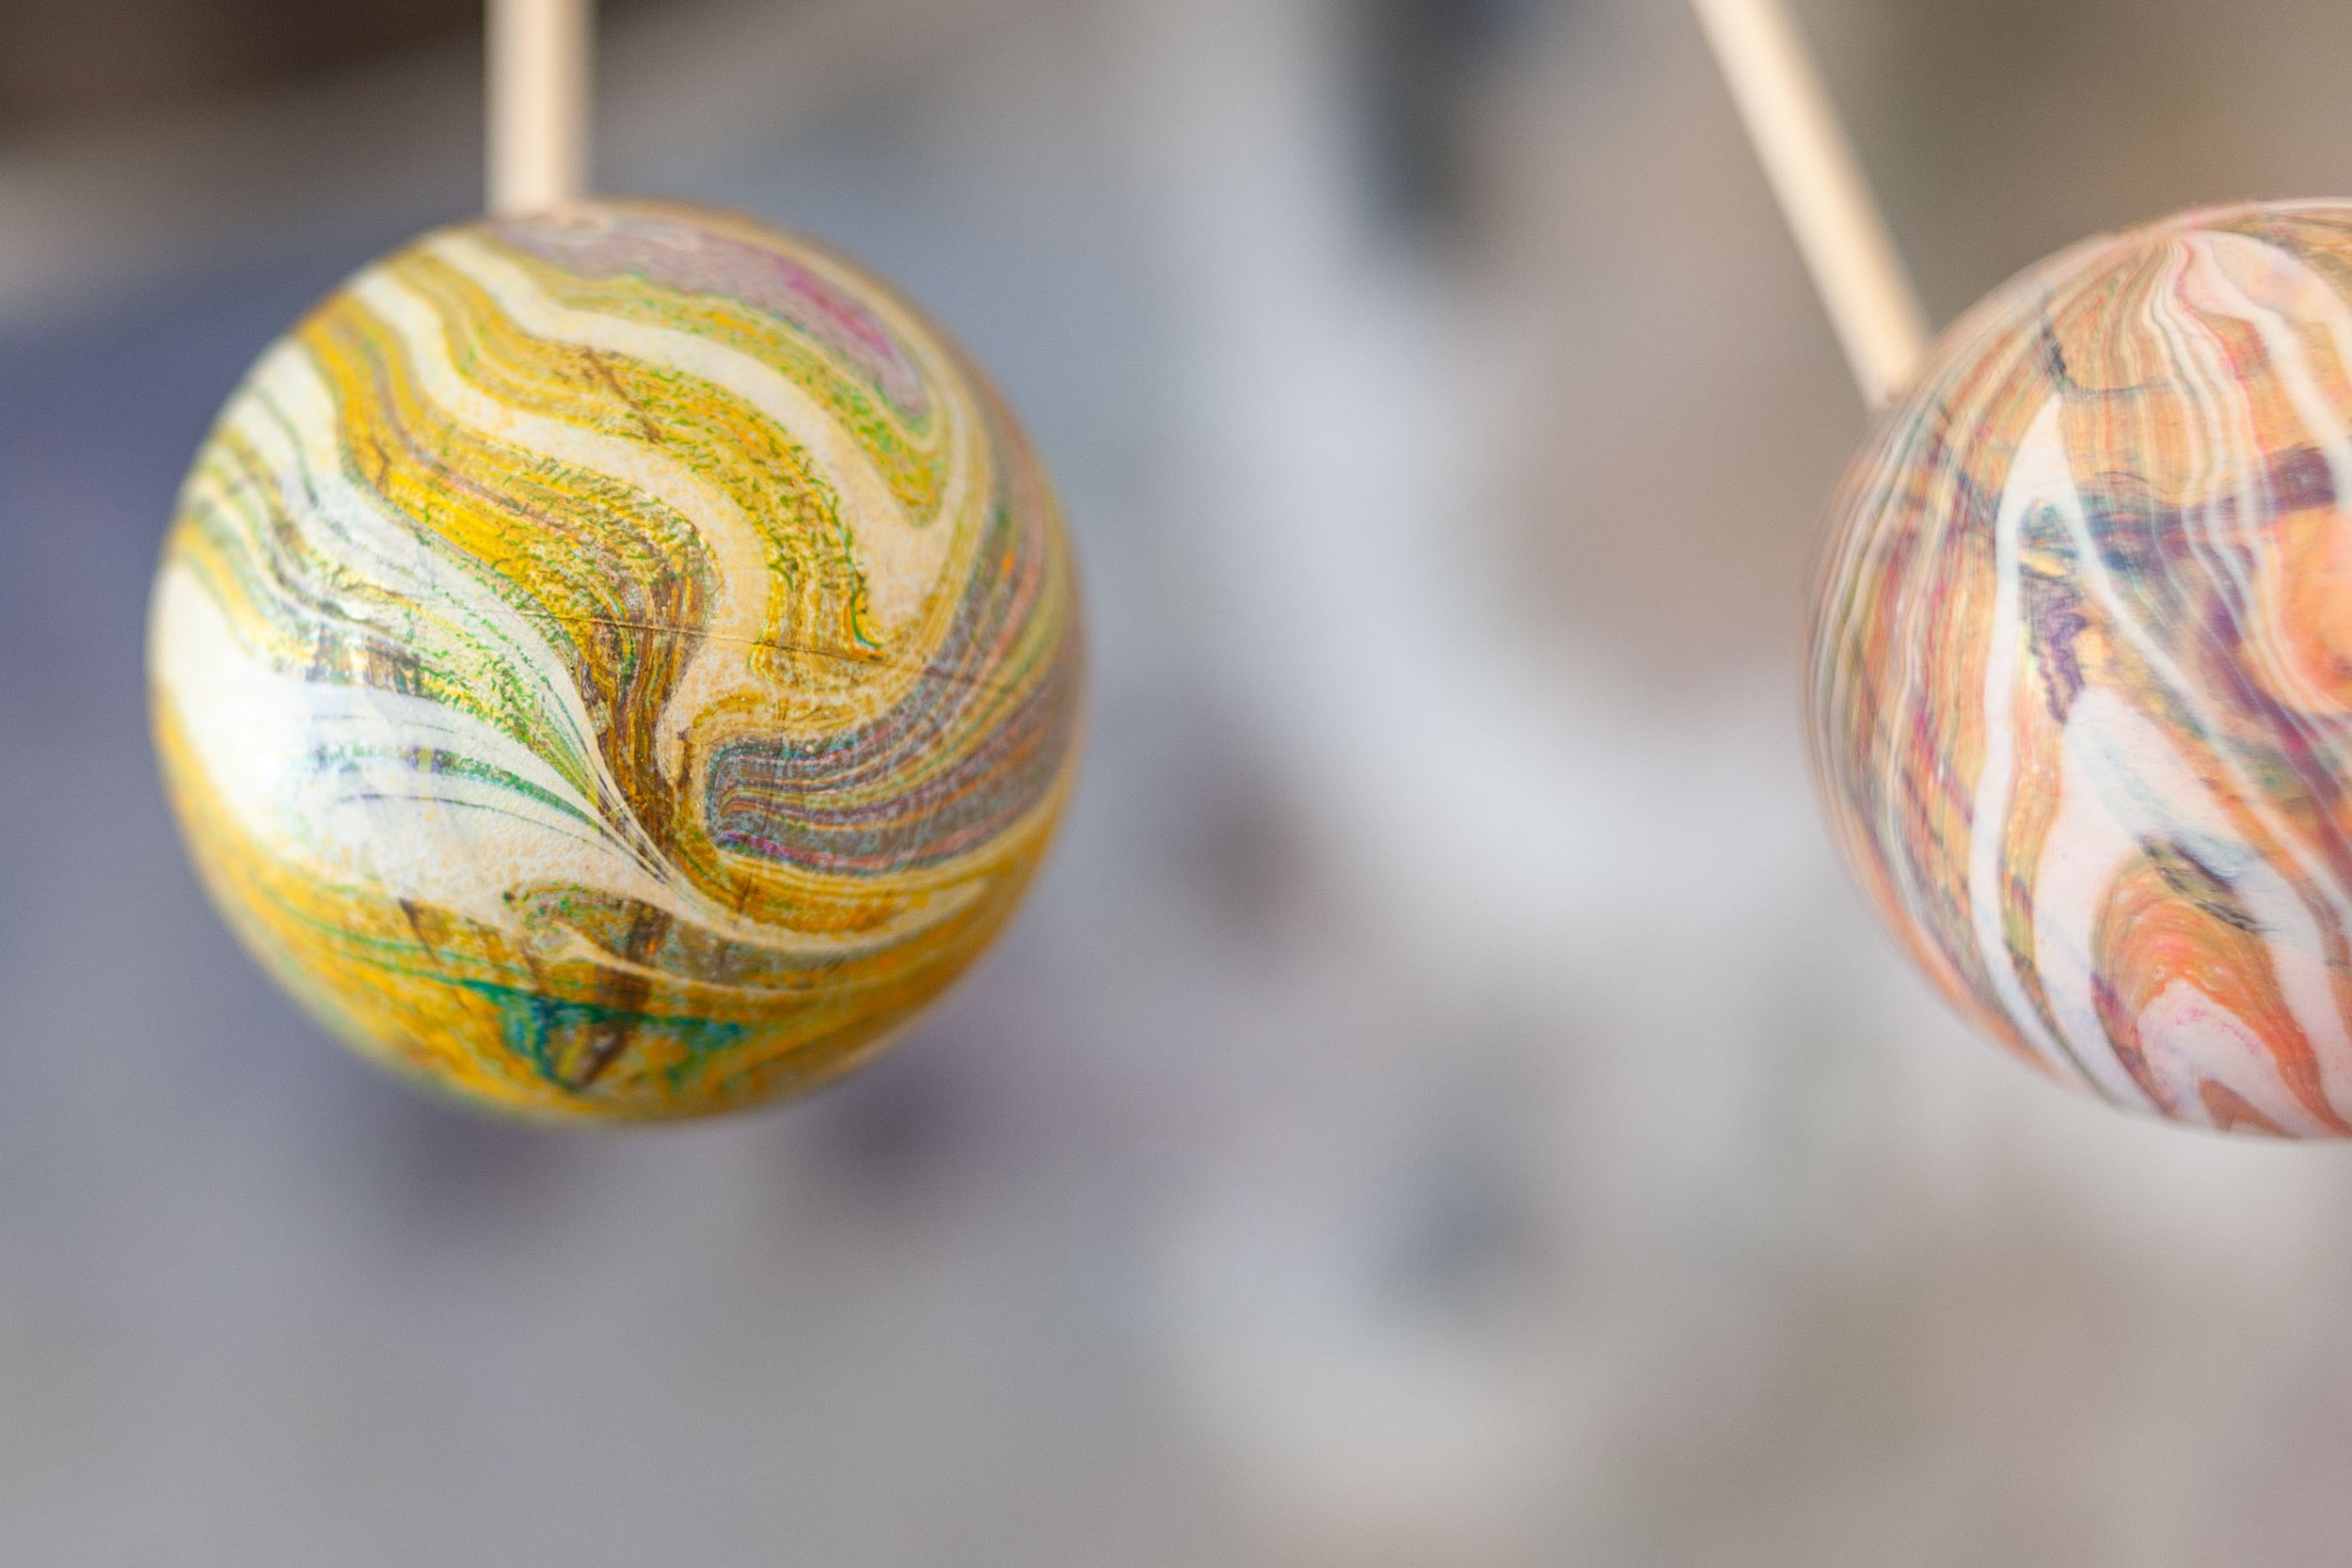
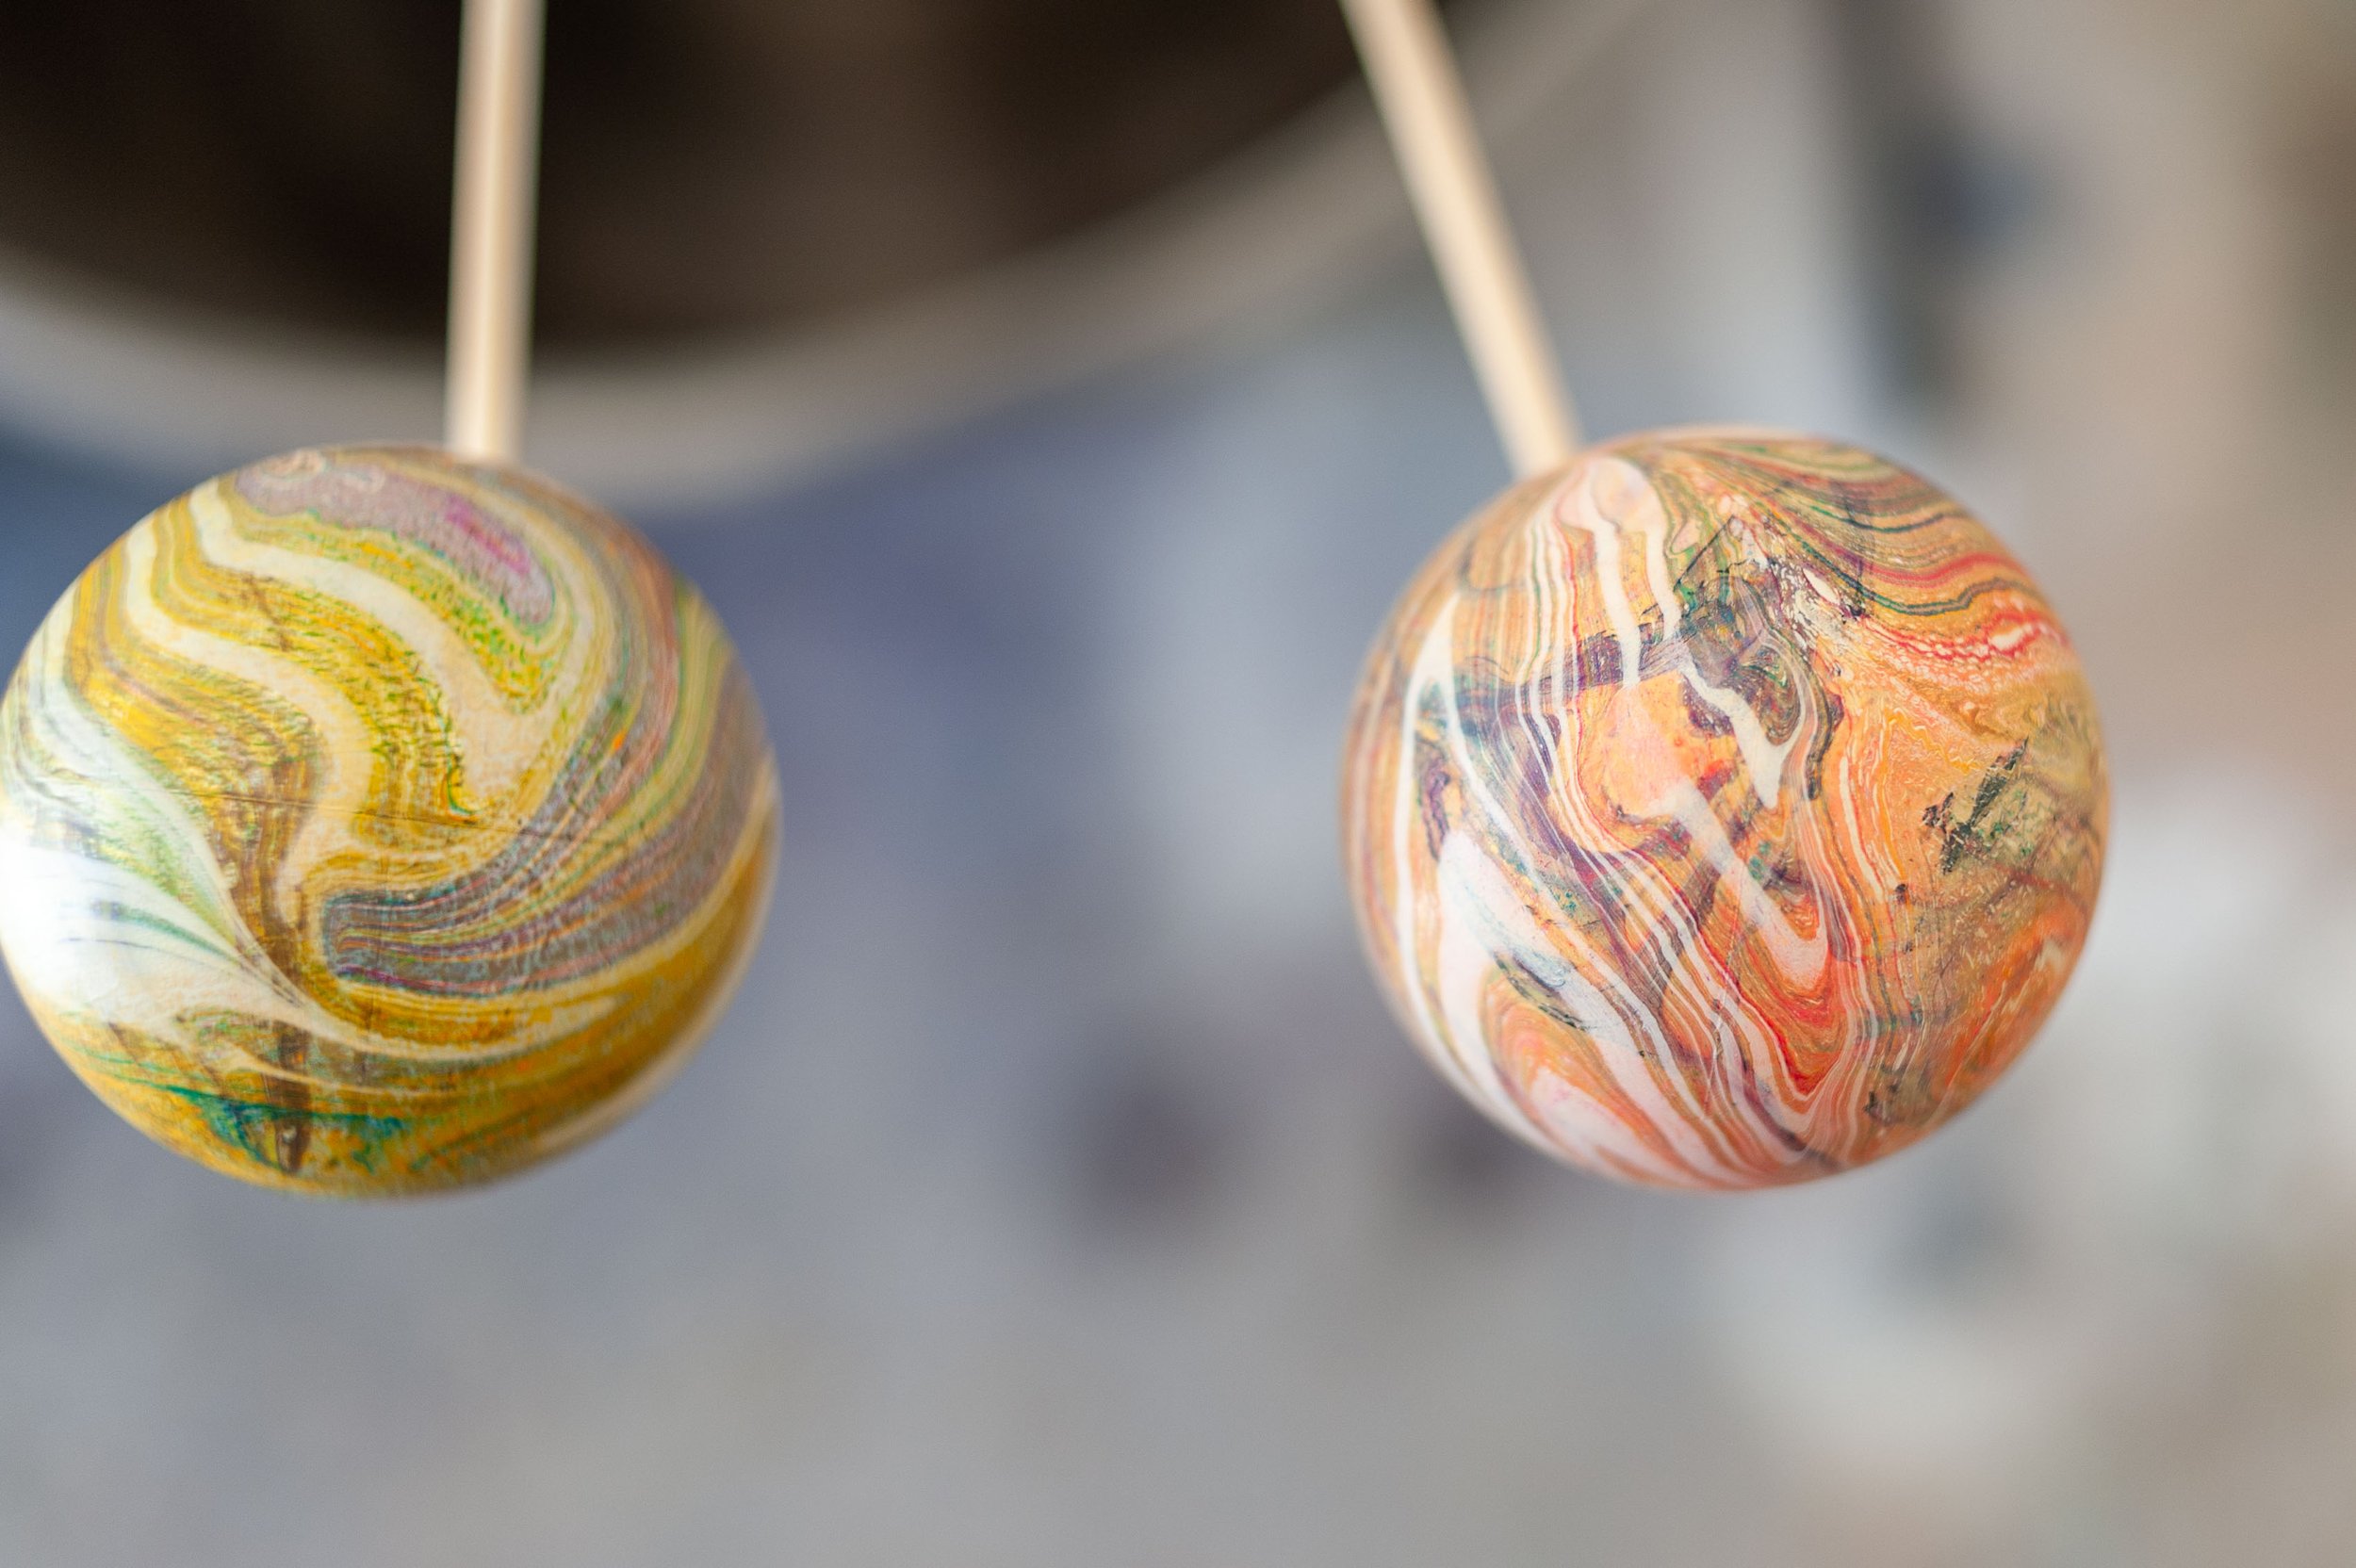
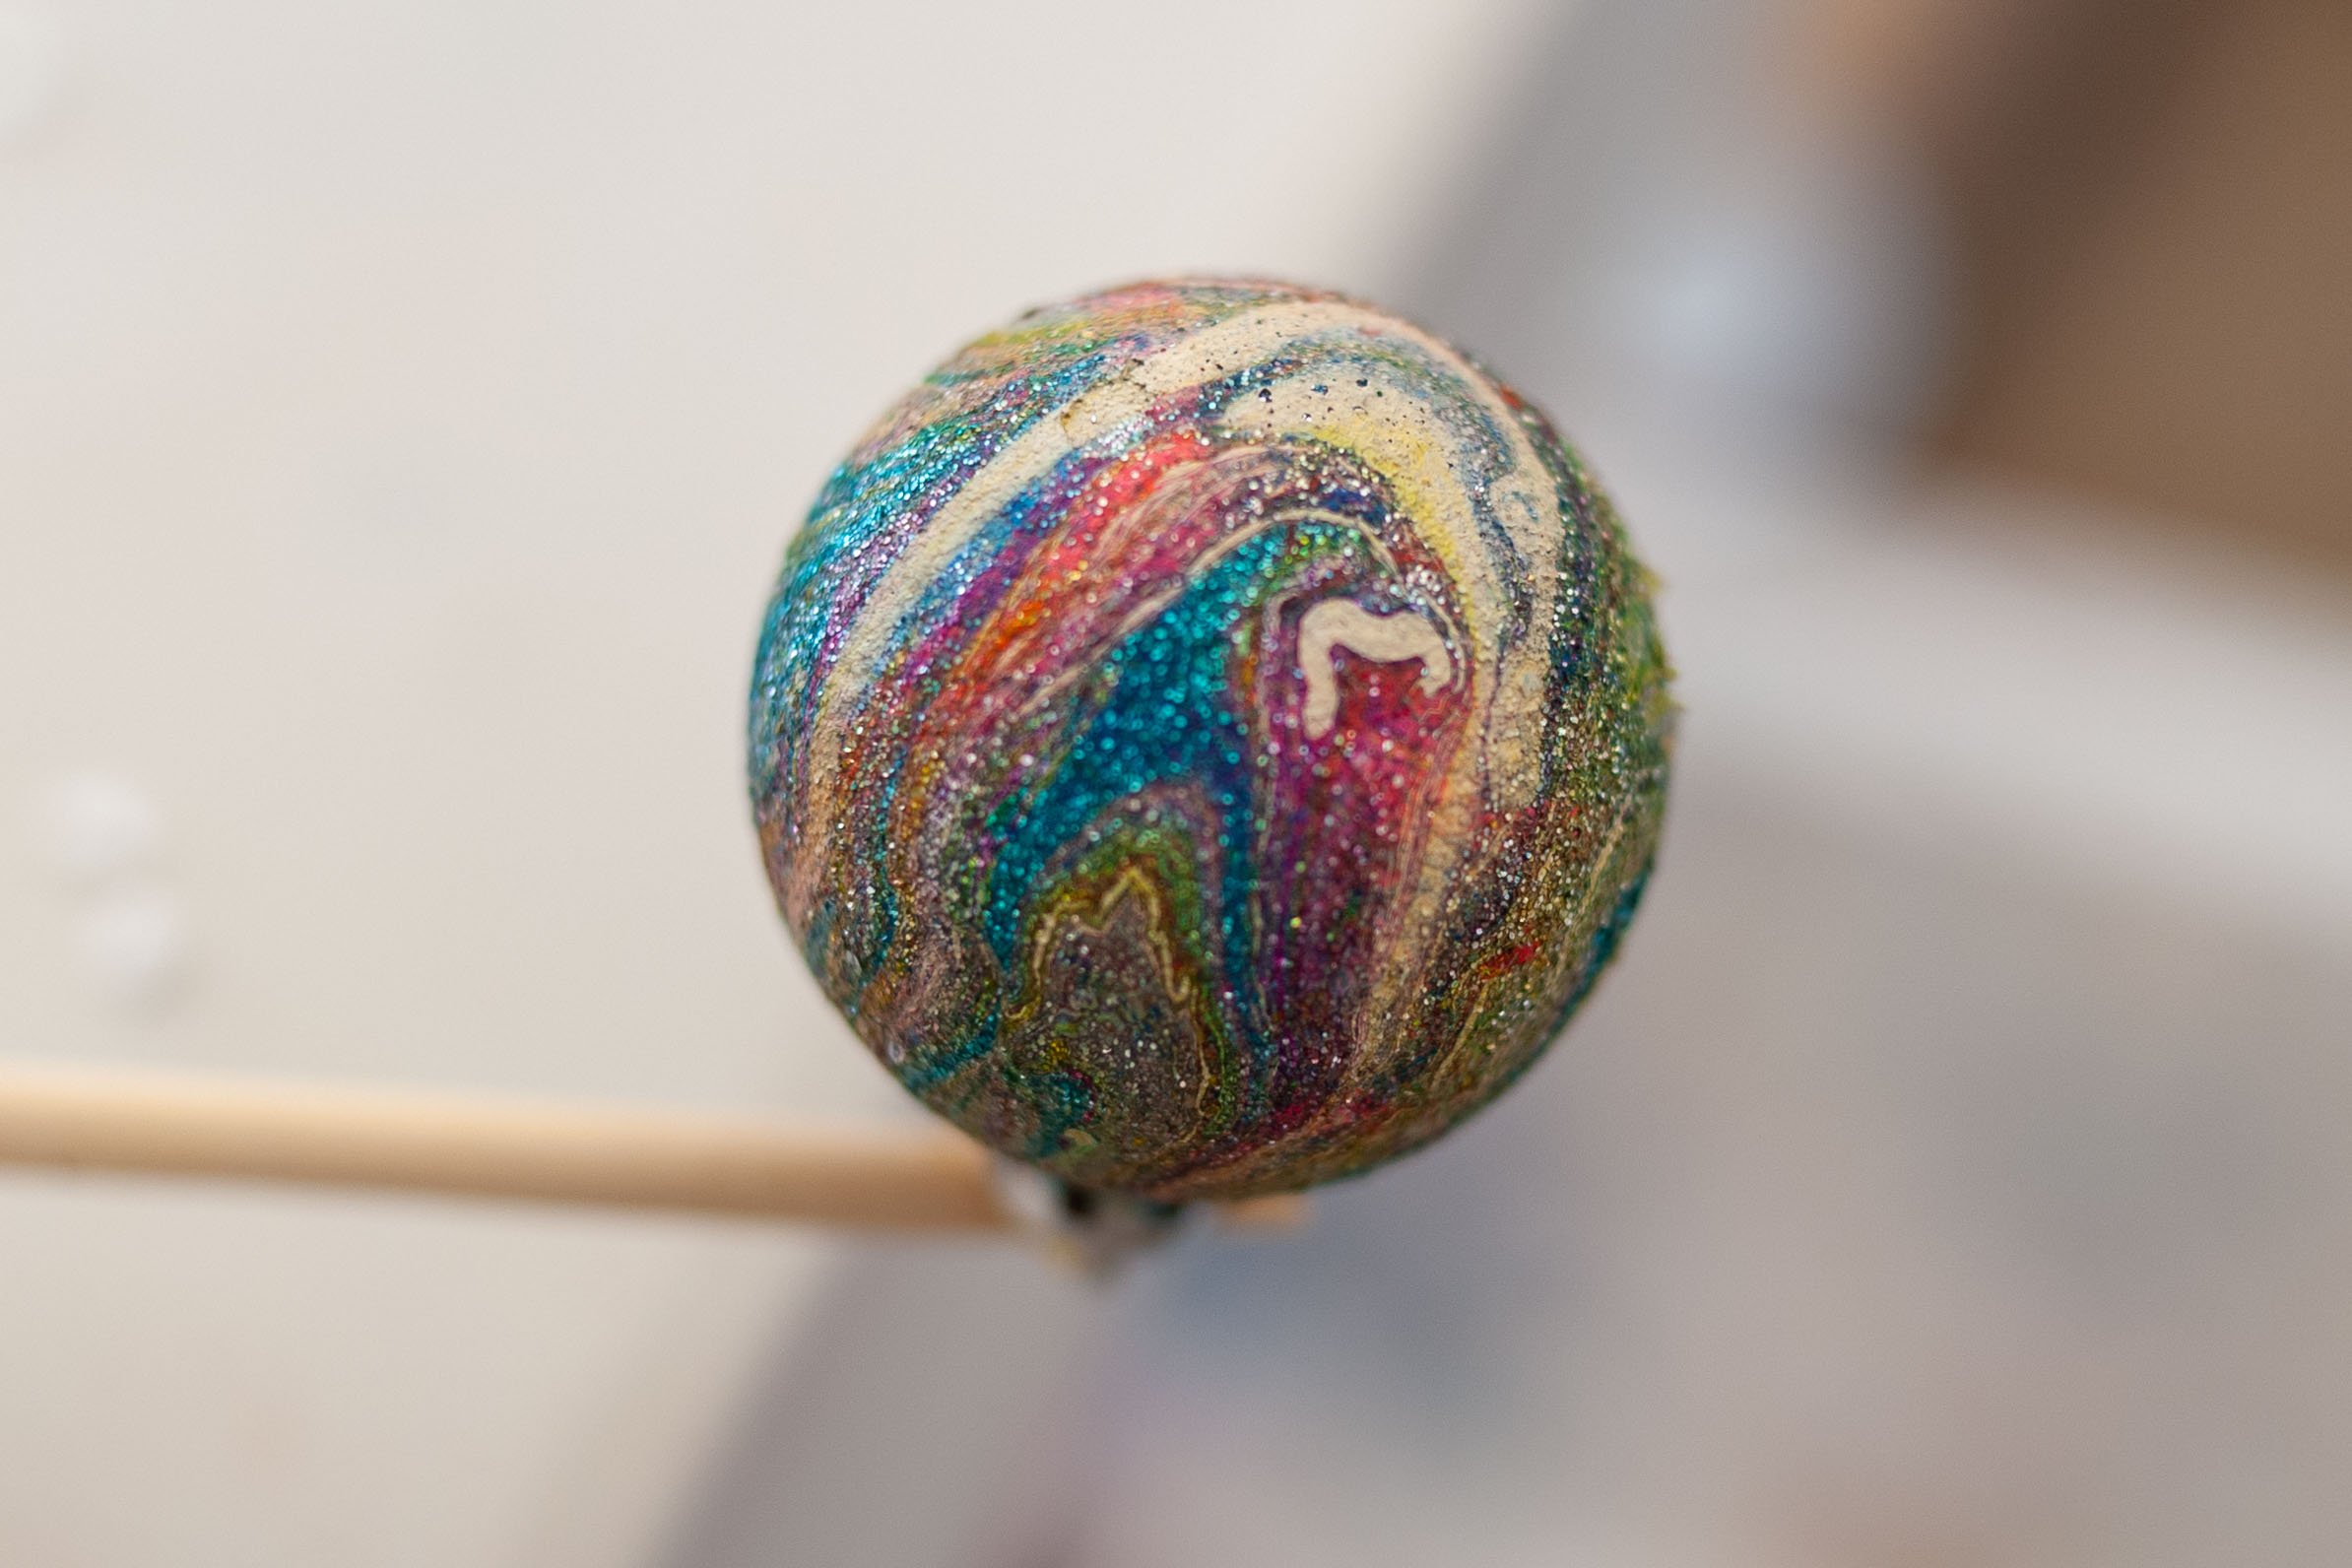
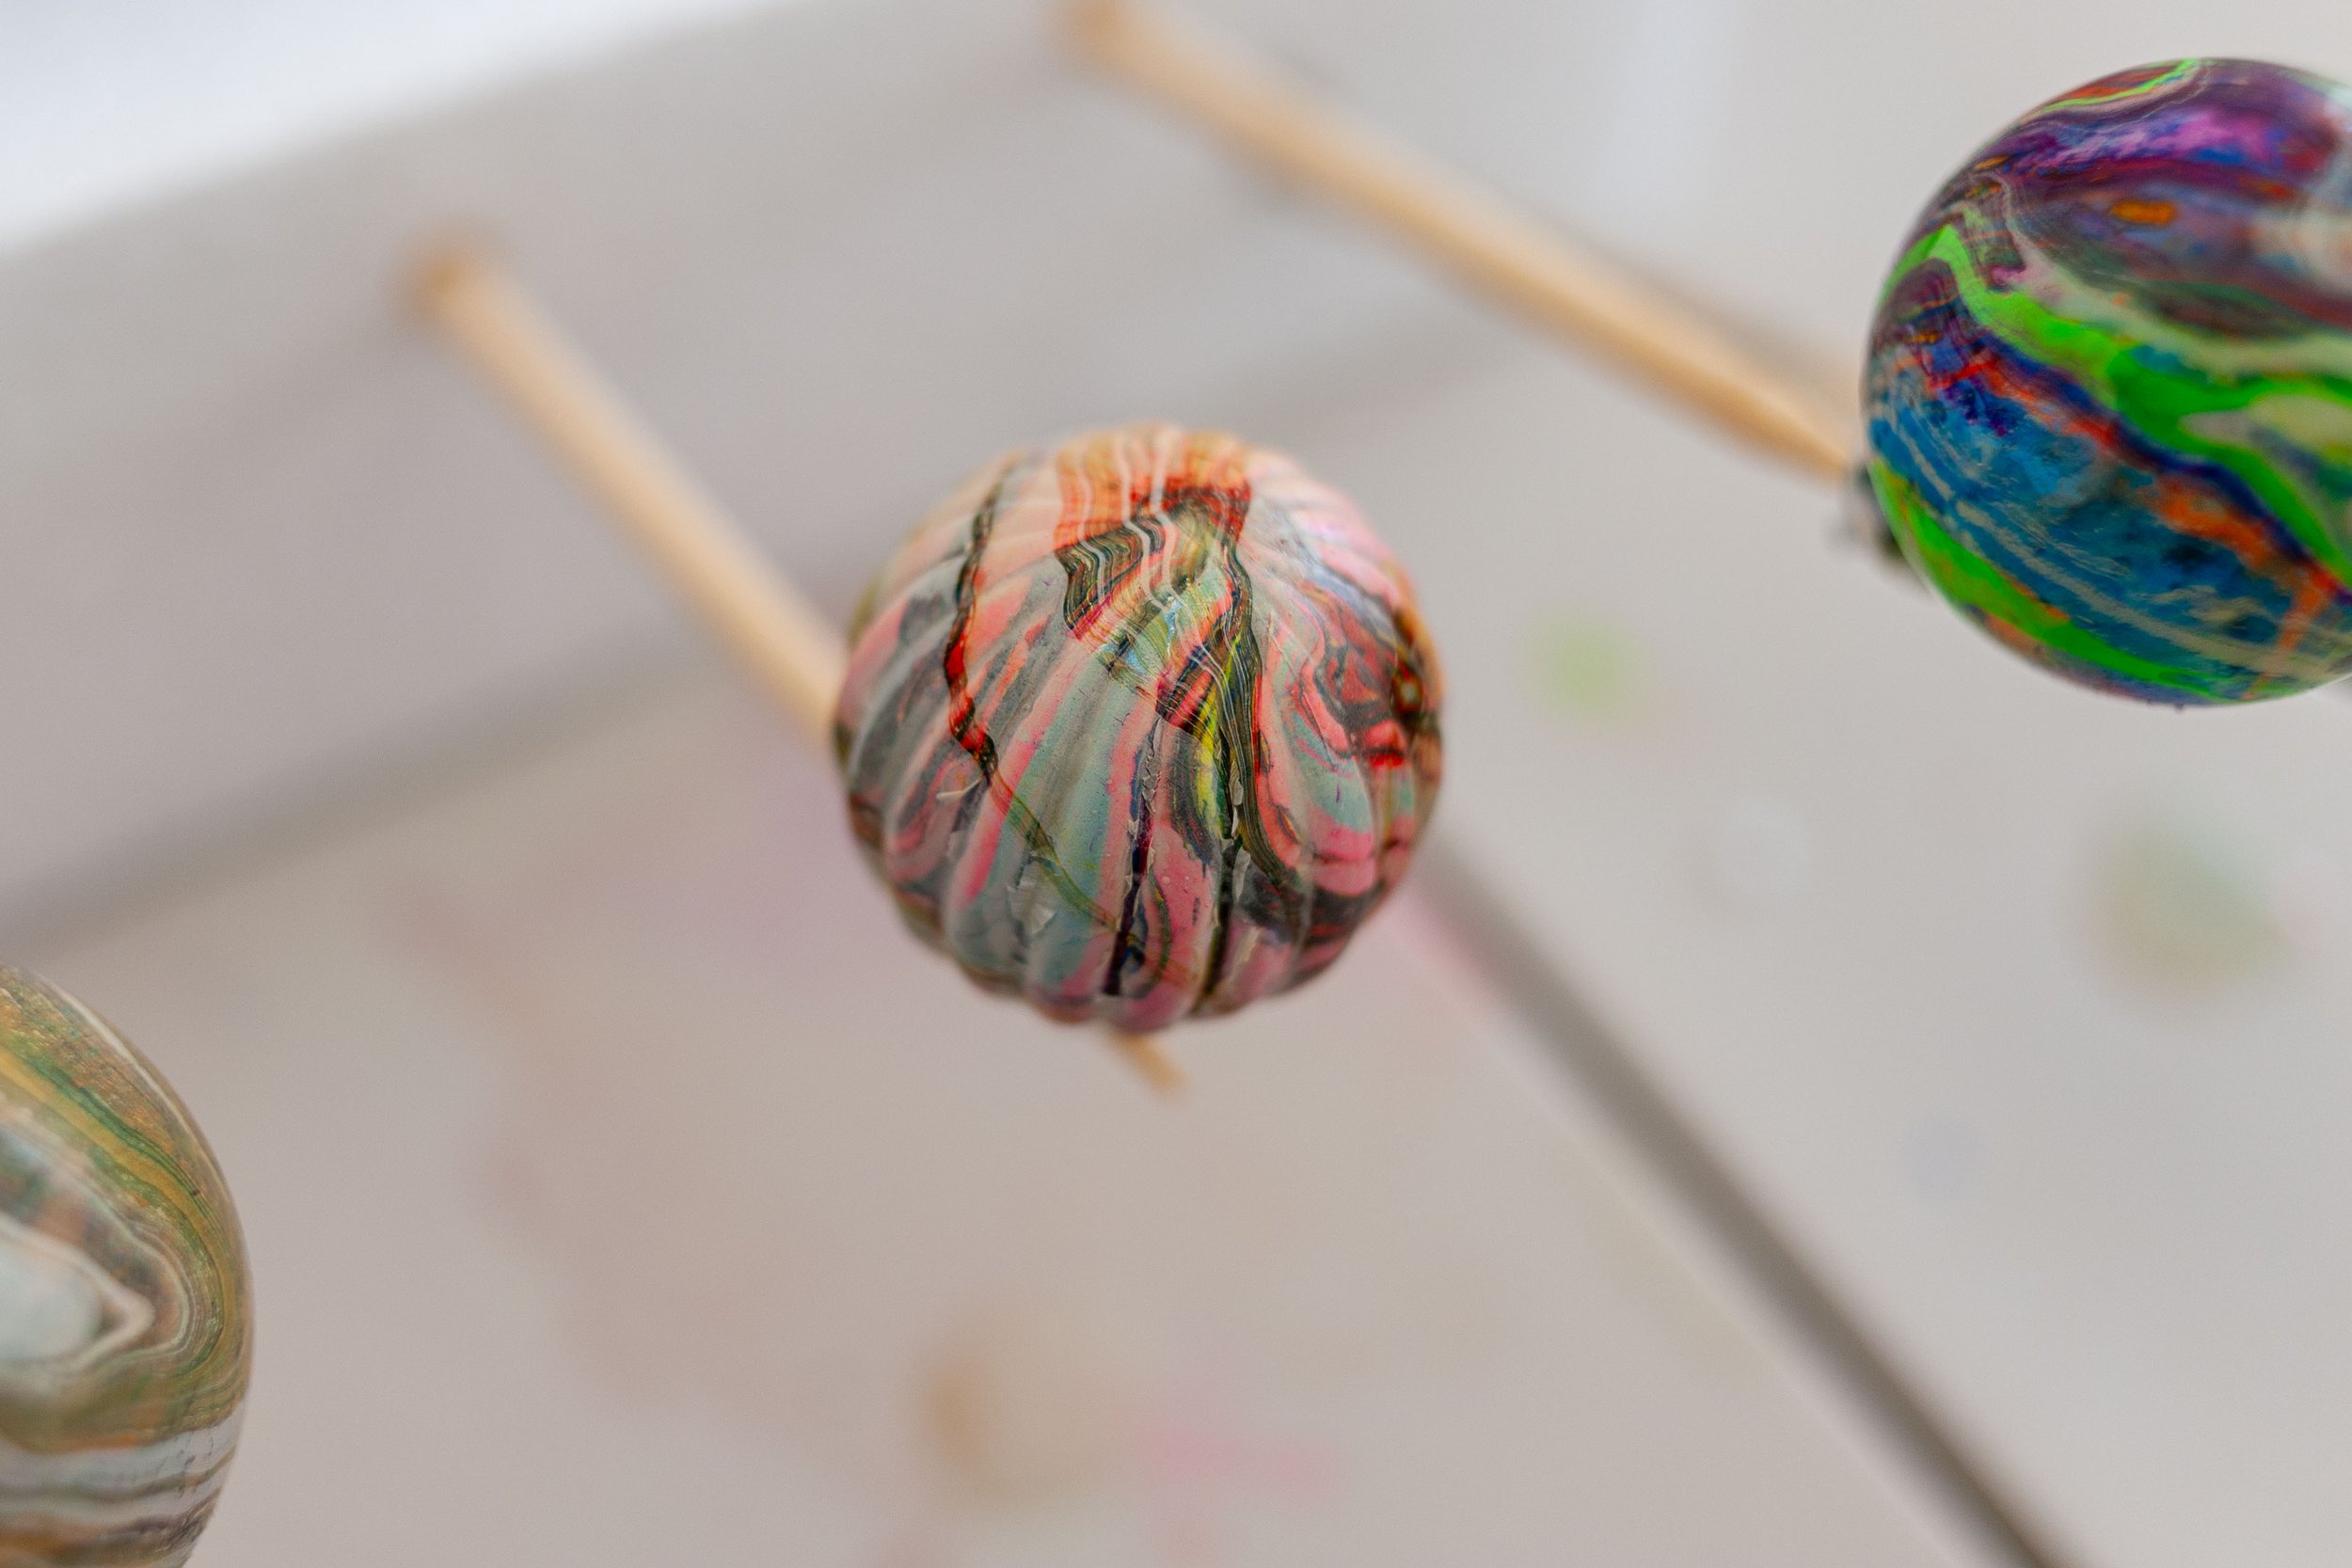
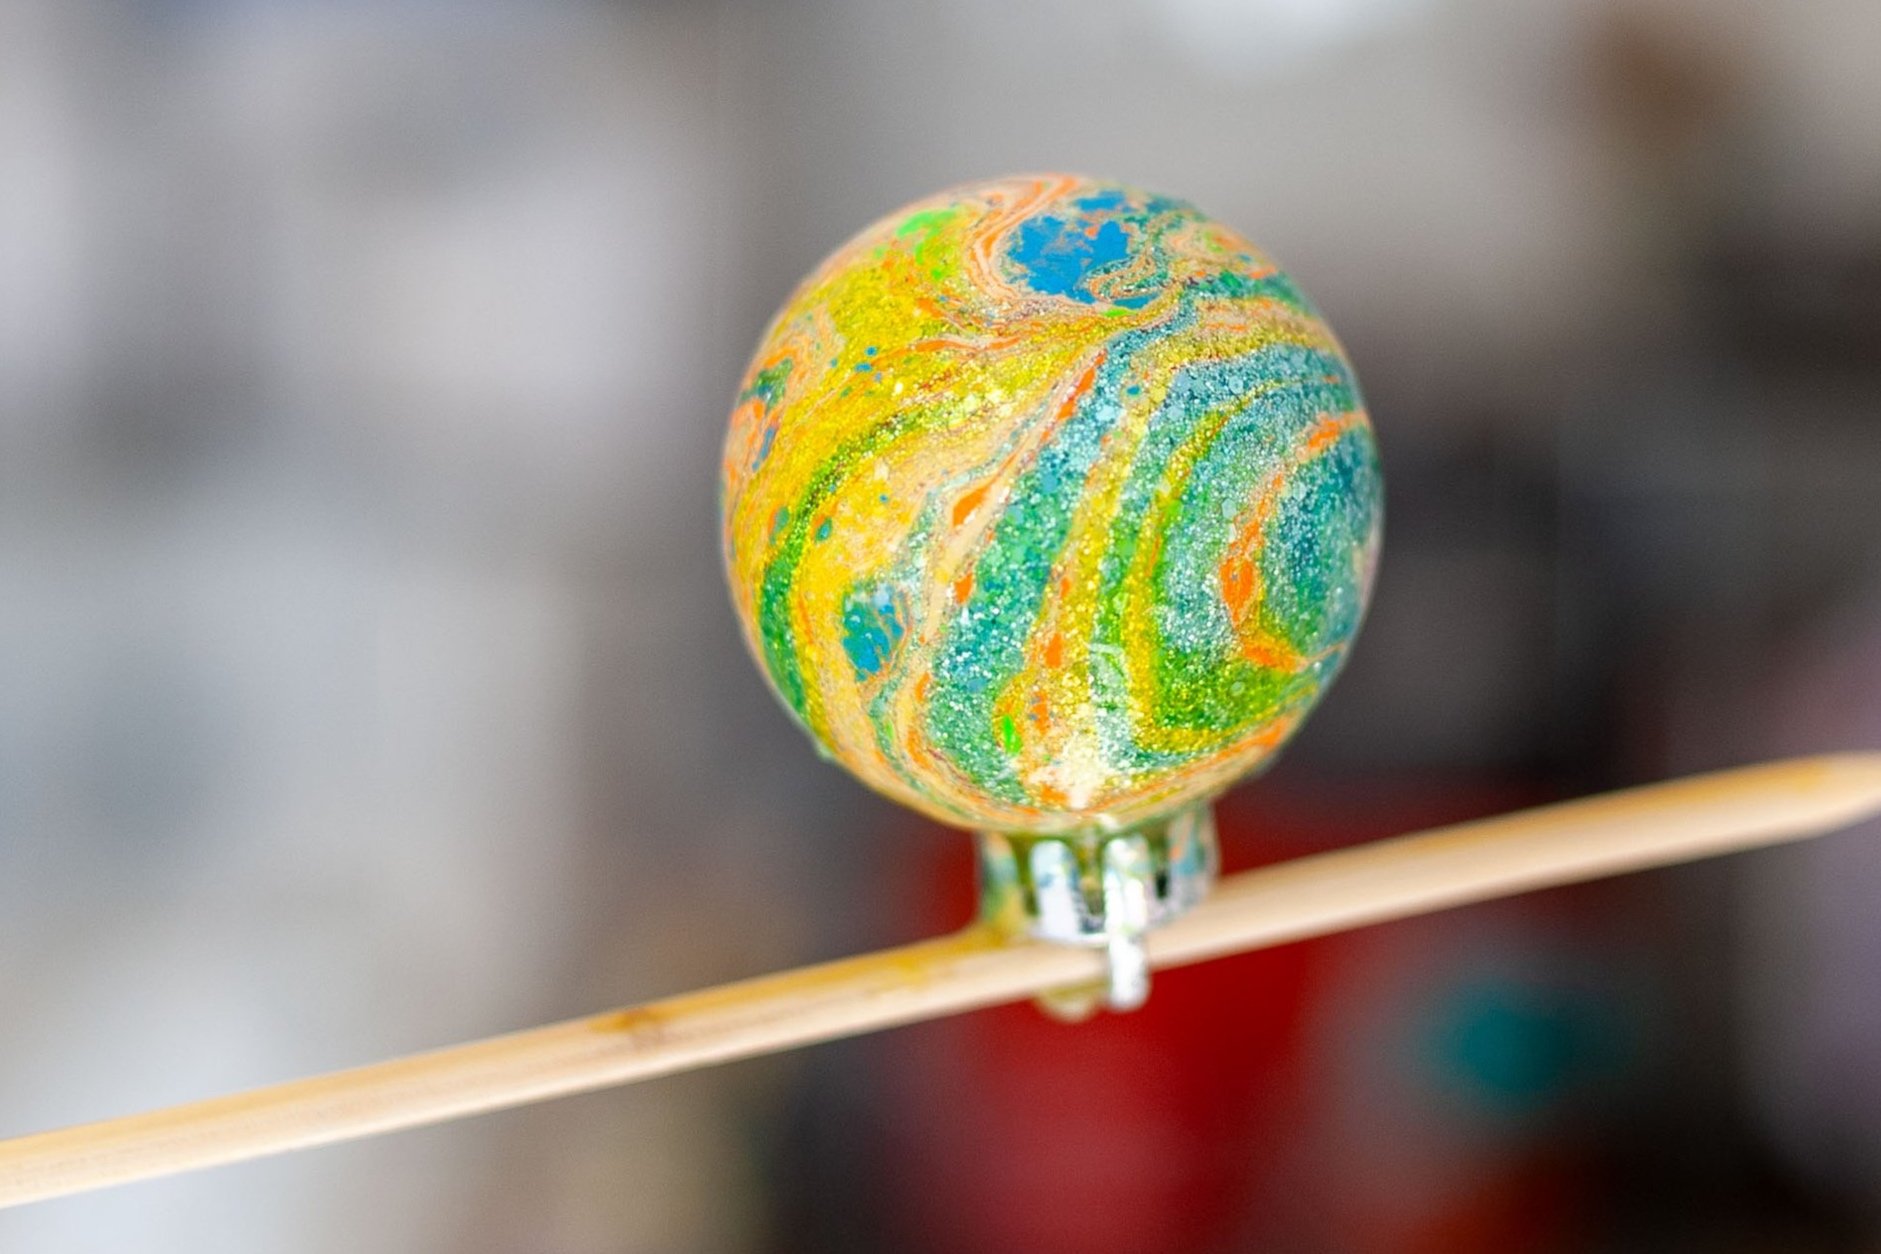
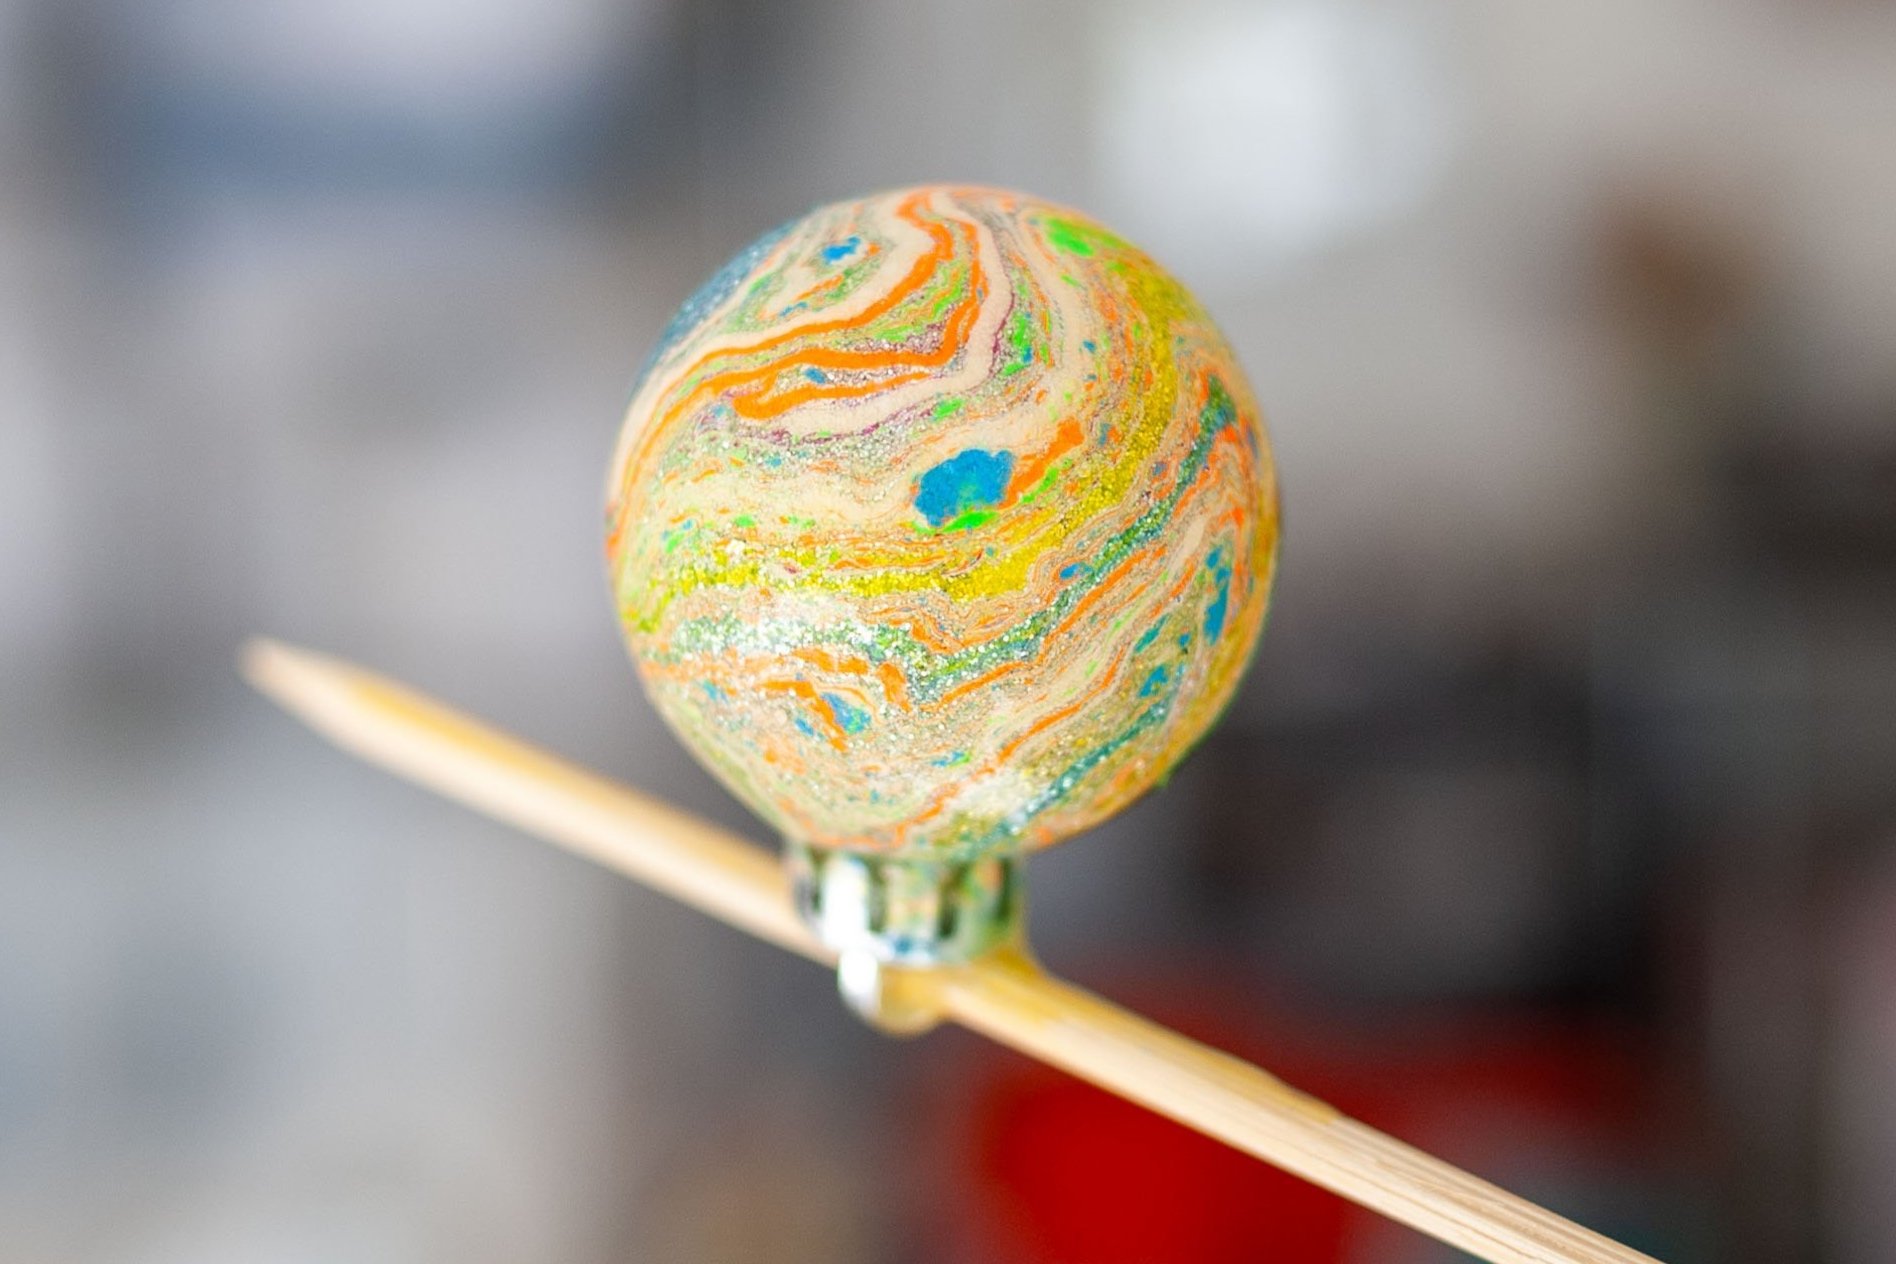
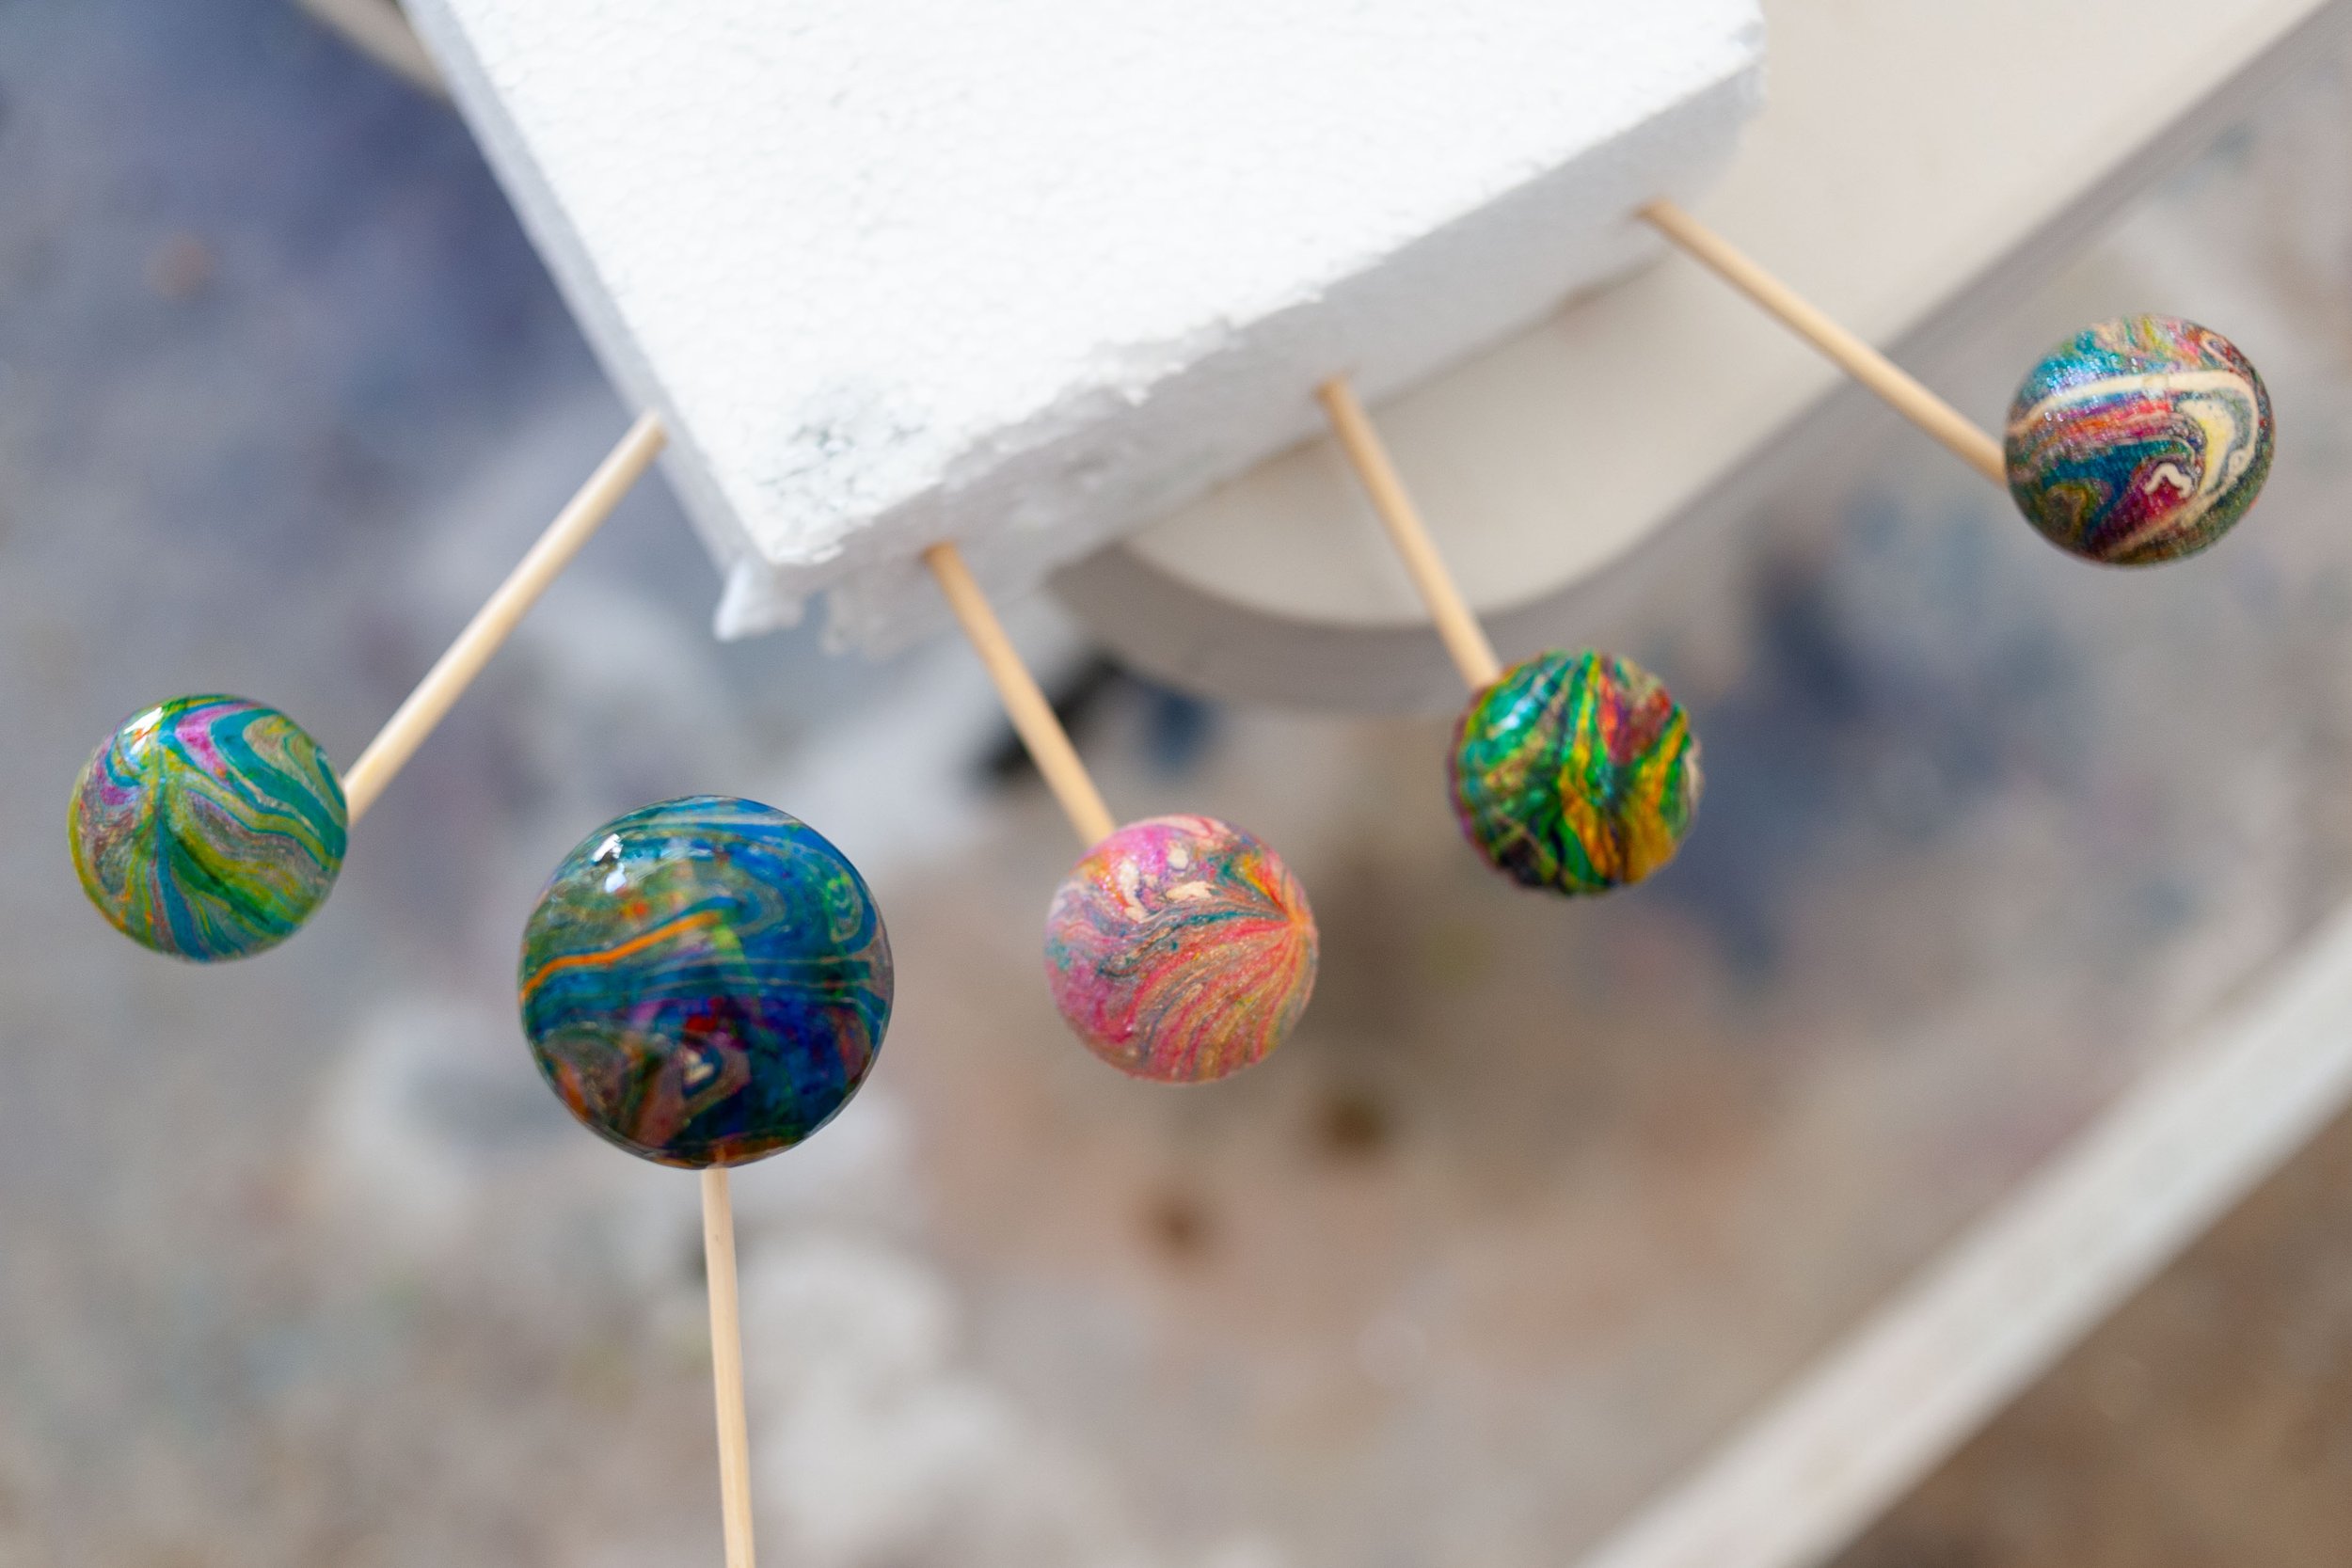
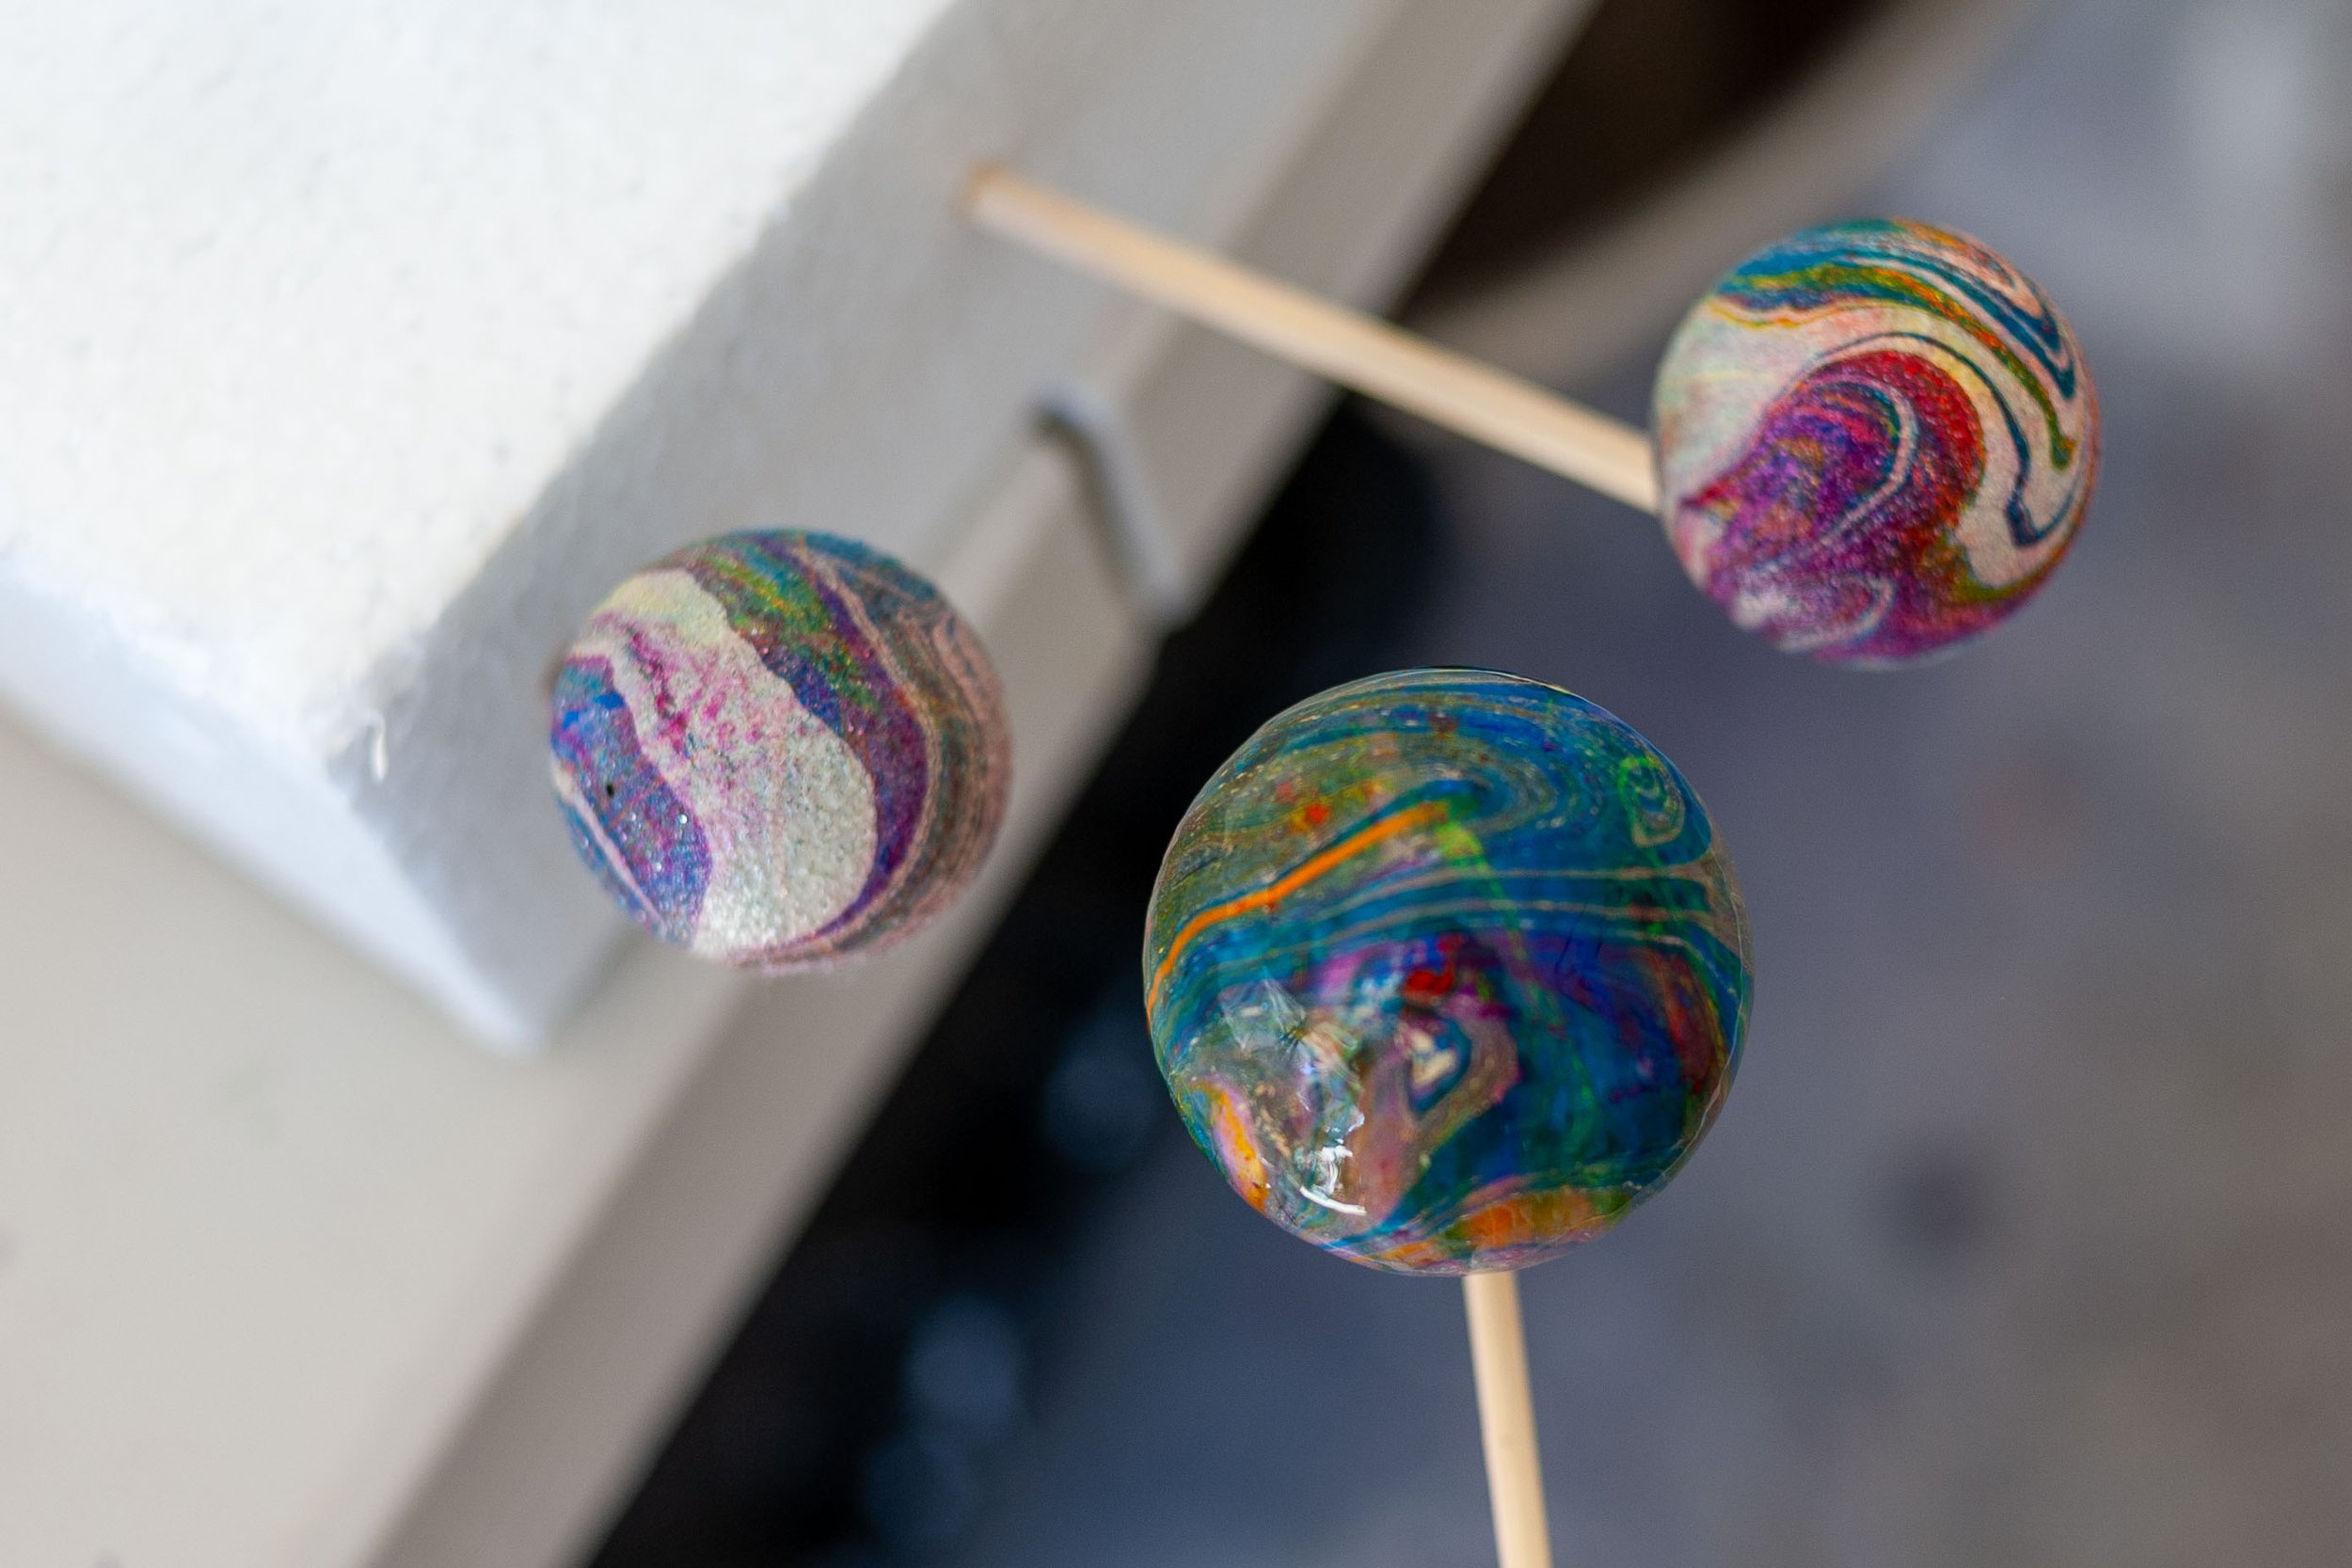
Knowing I was on to something, I did a couple more and ohmygosh— just look at these babies!!!
They’re like magical galaxy bouncy ball- lollipop- planets, and I’m a million percent obsessed with all of them.
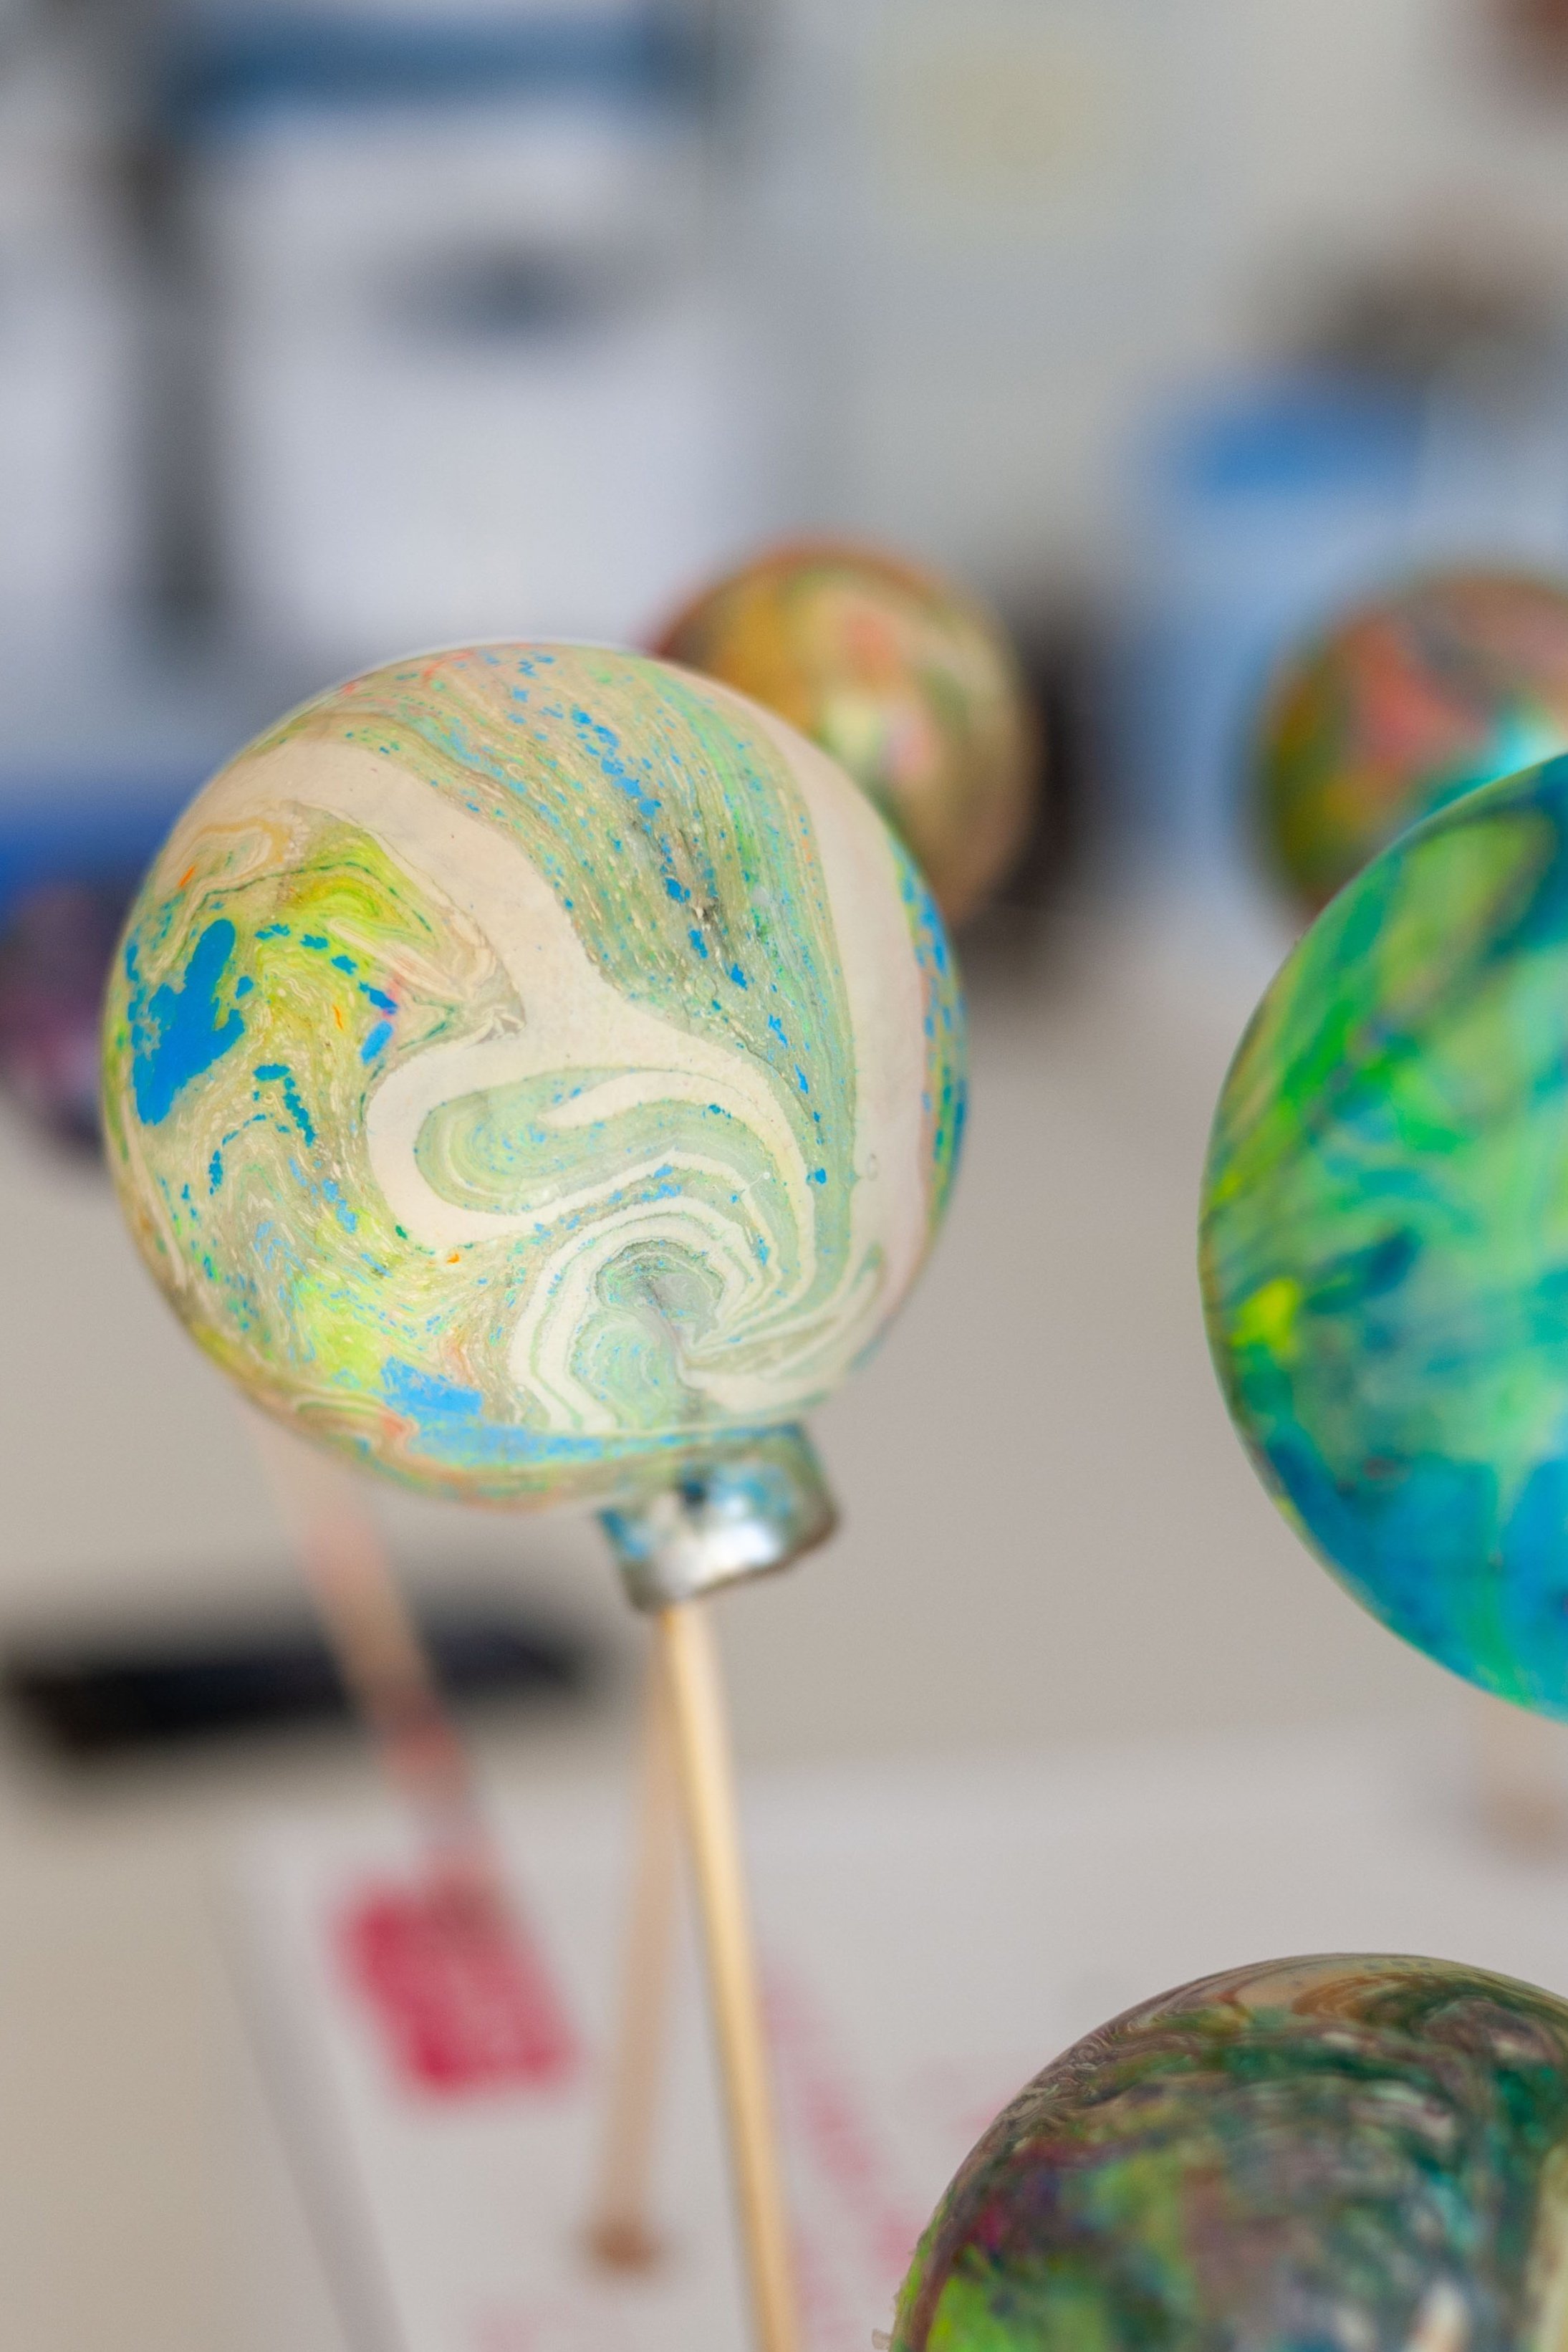
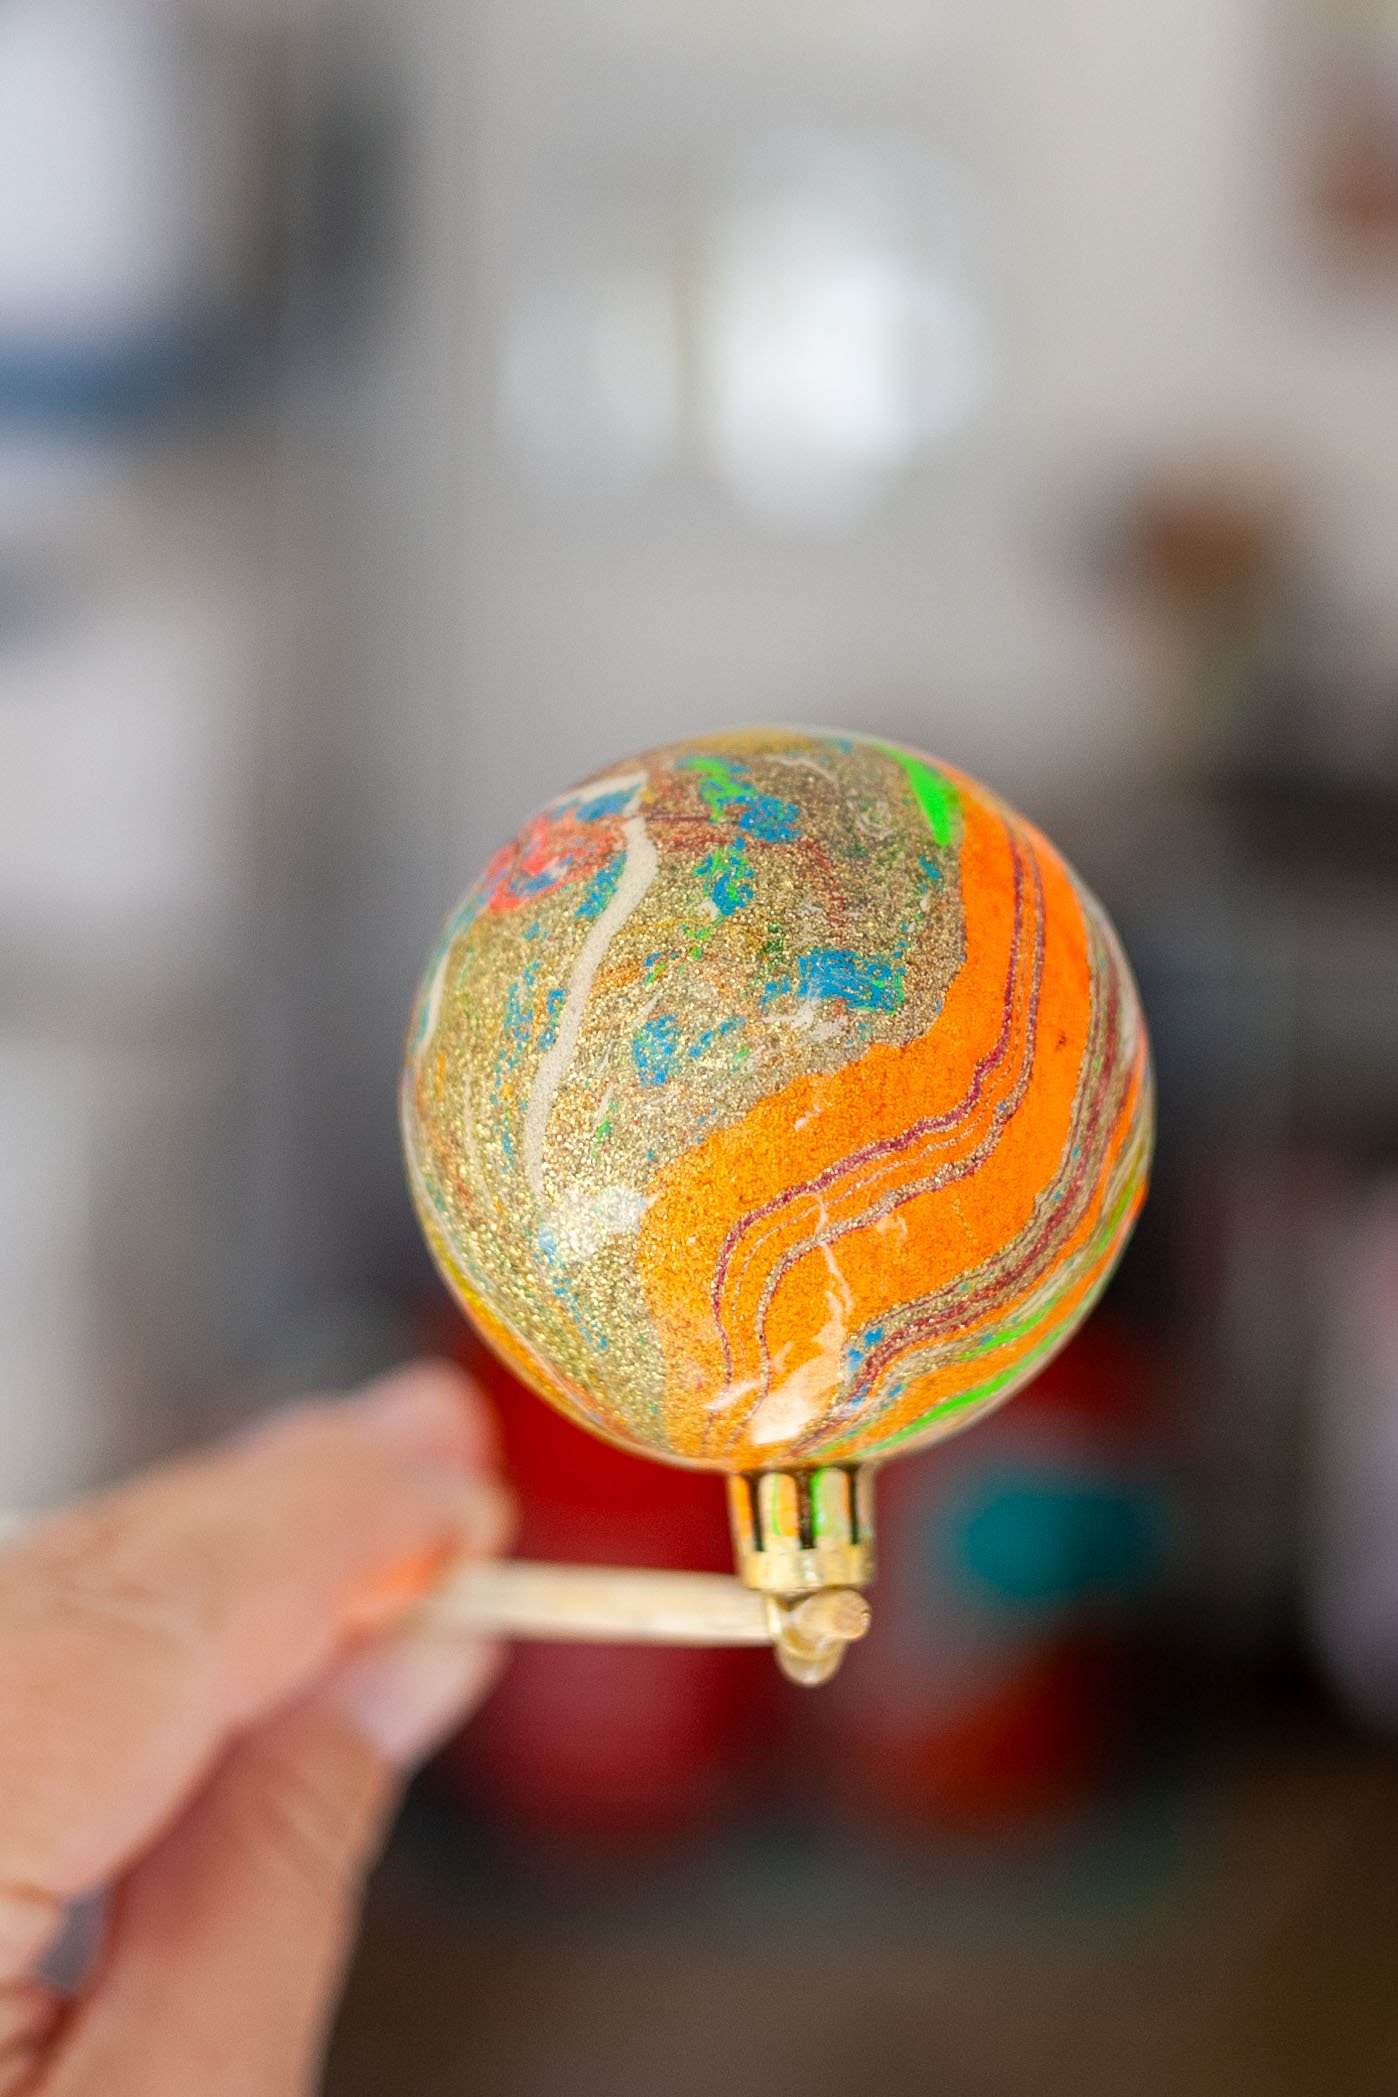
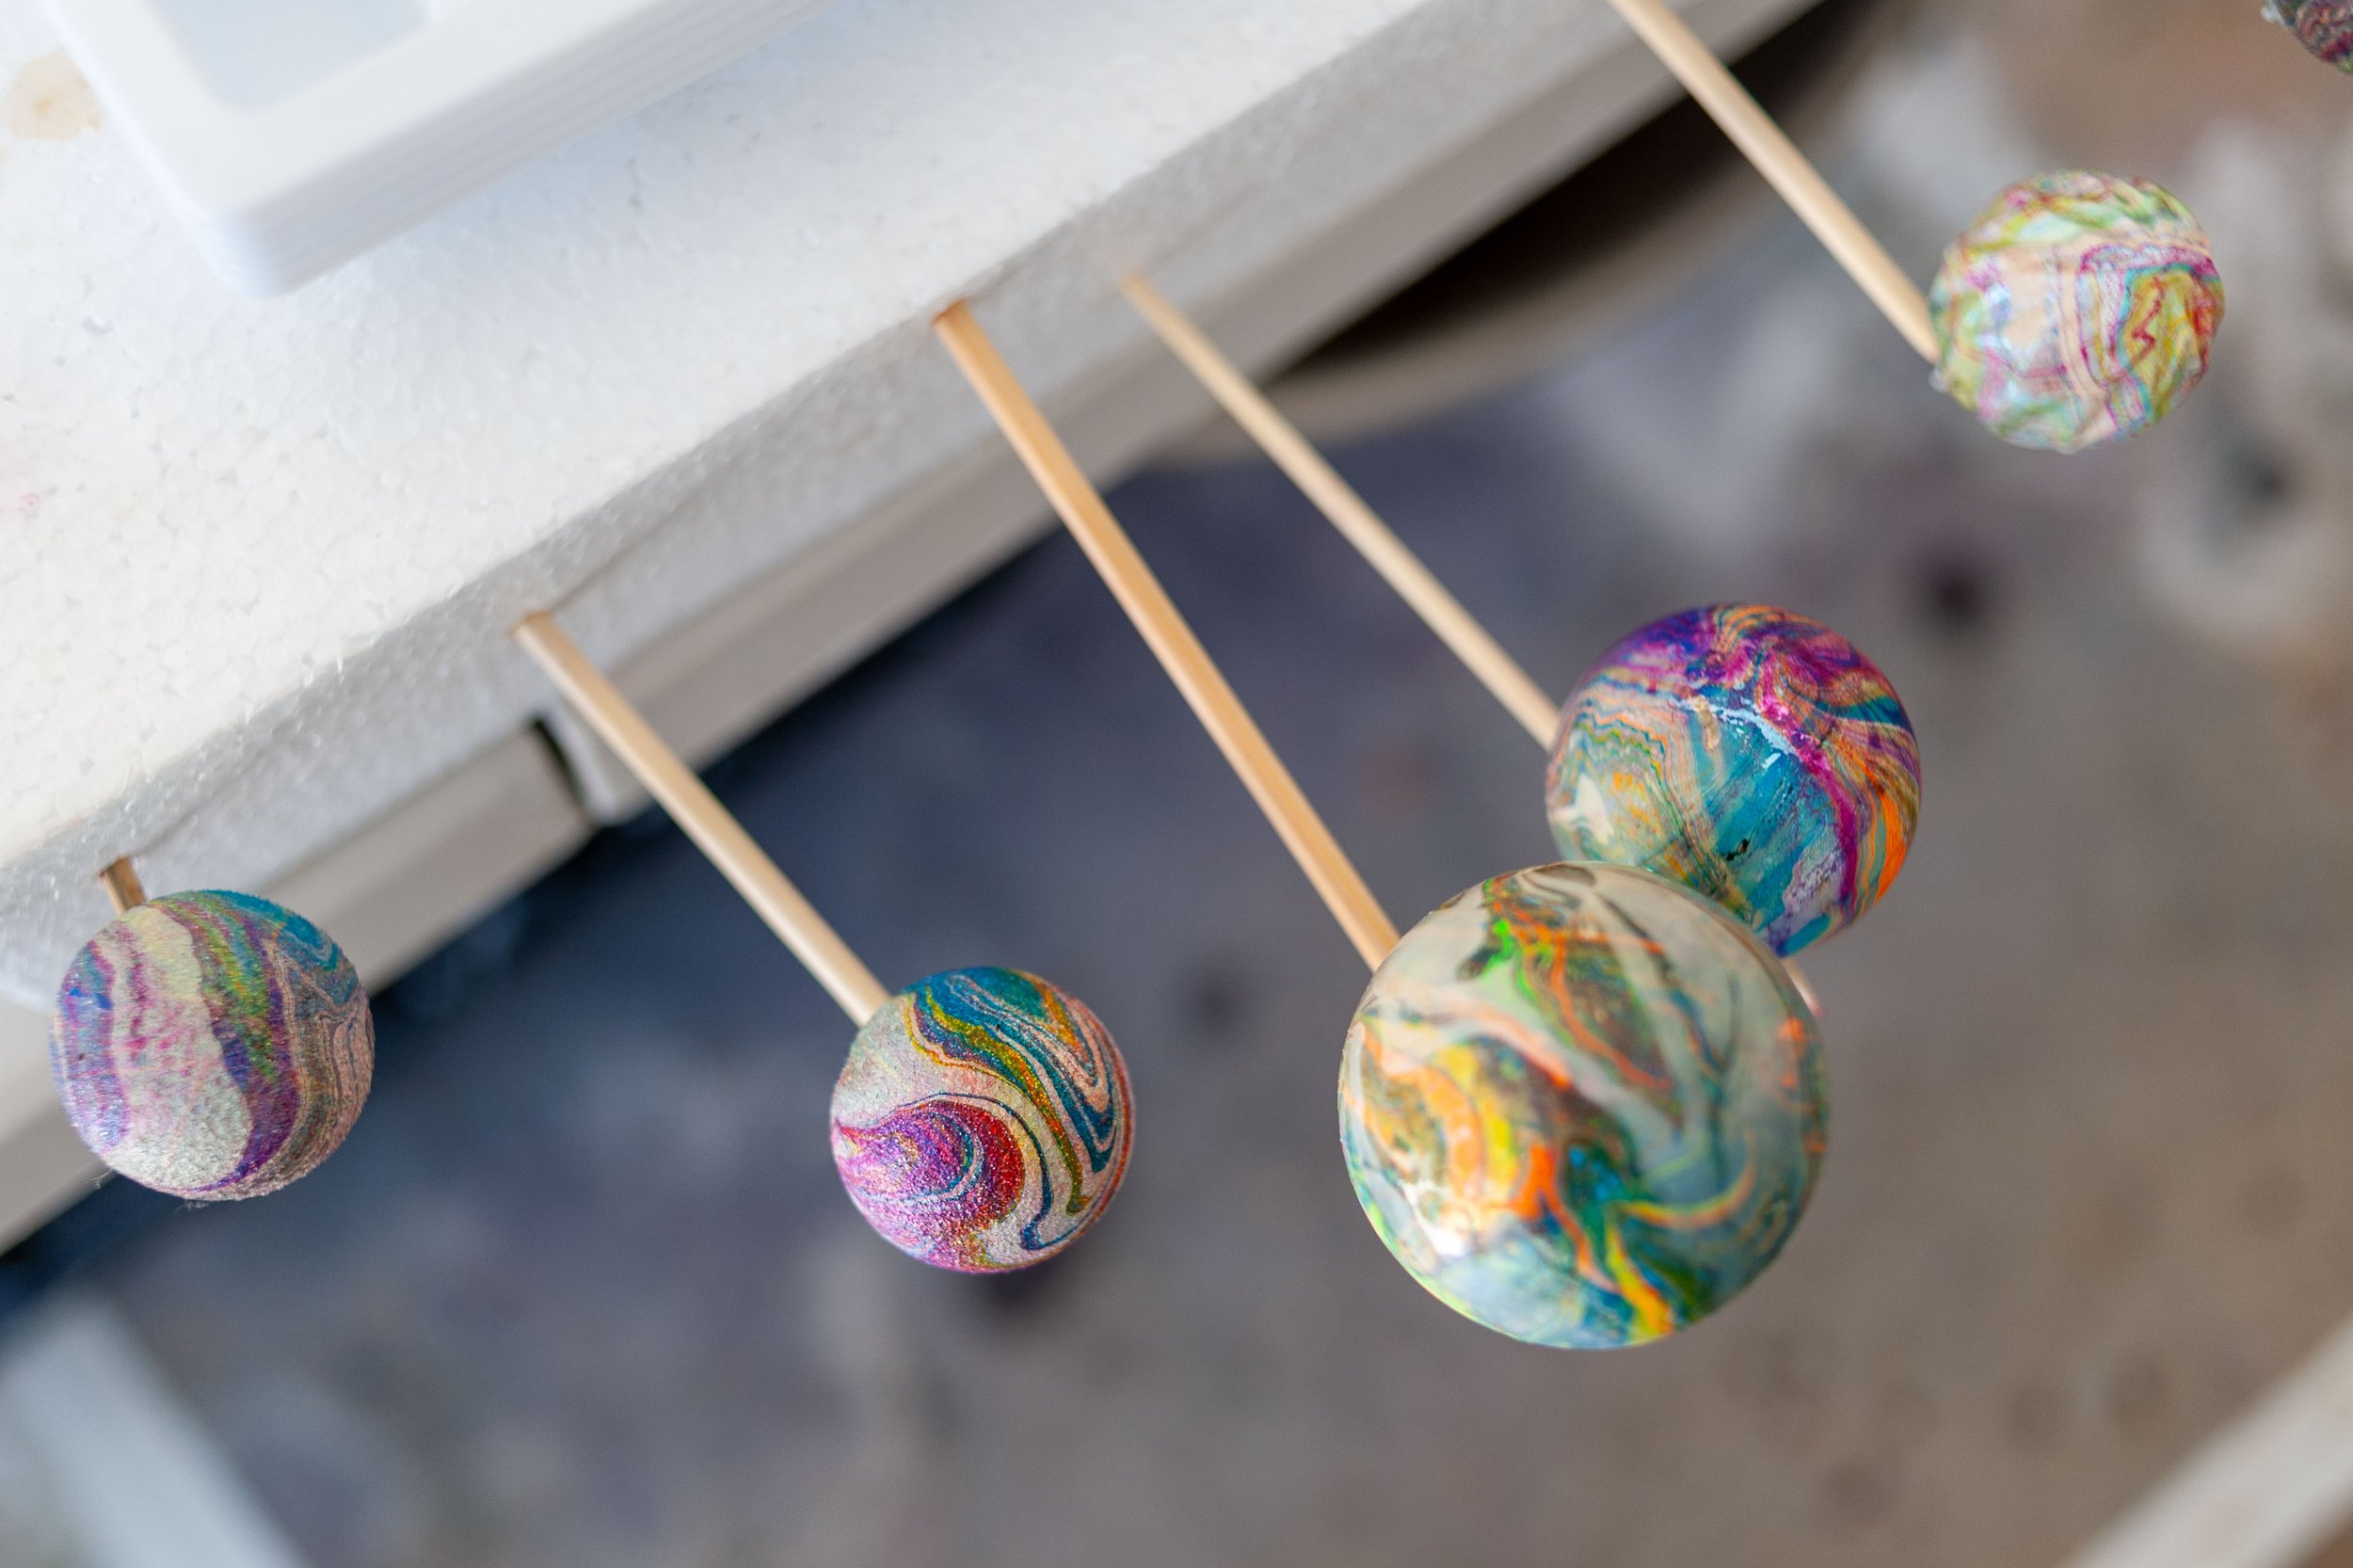
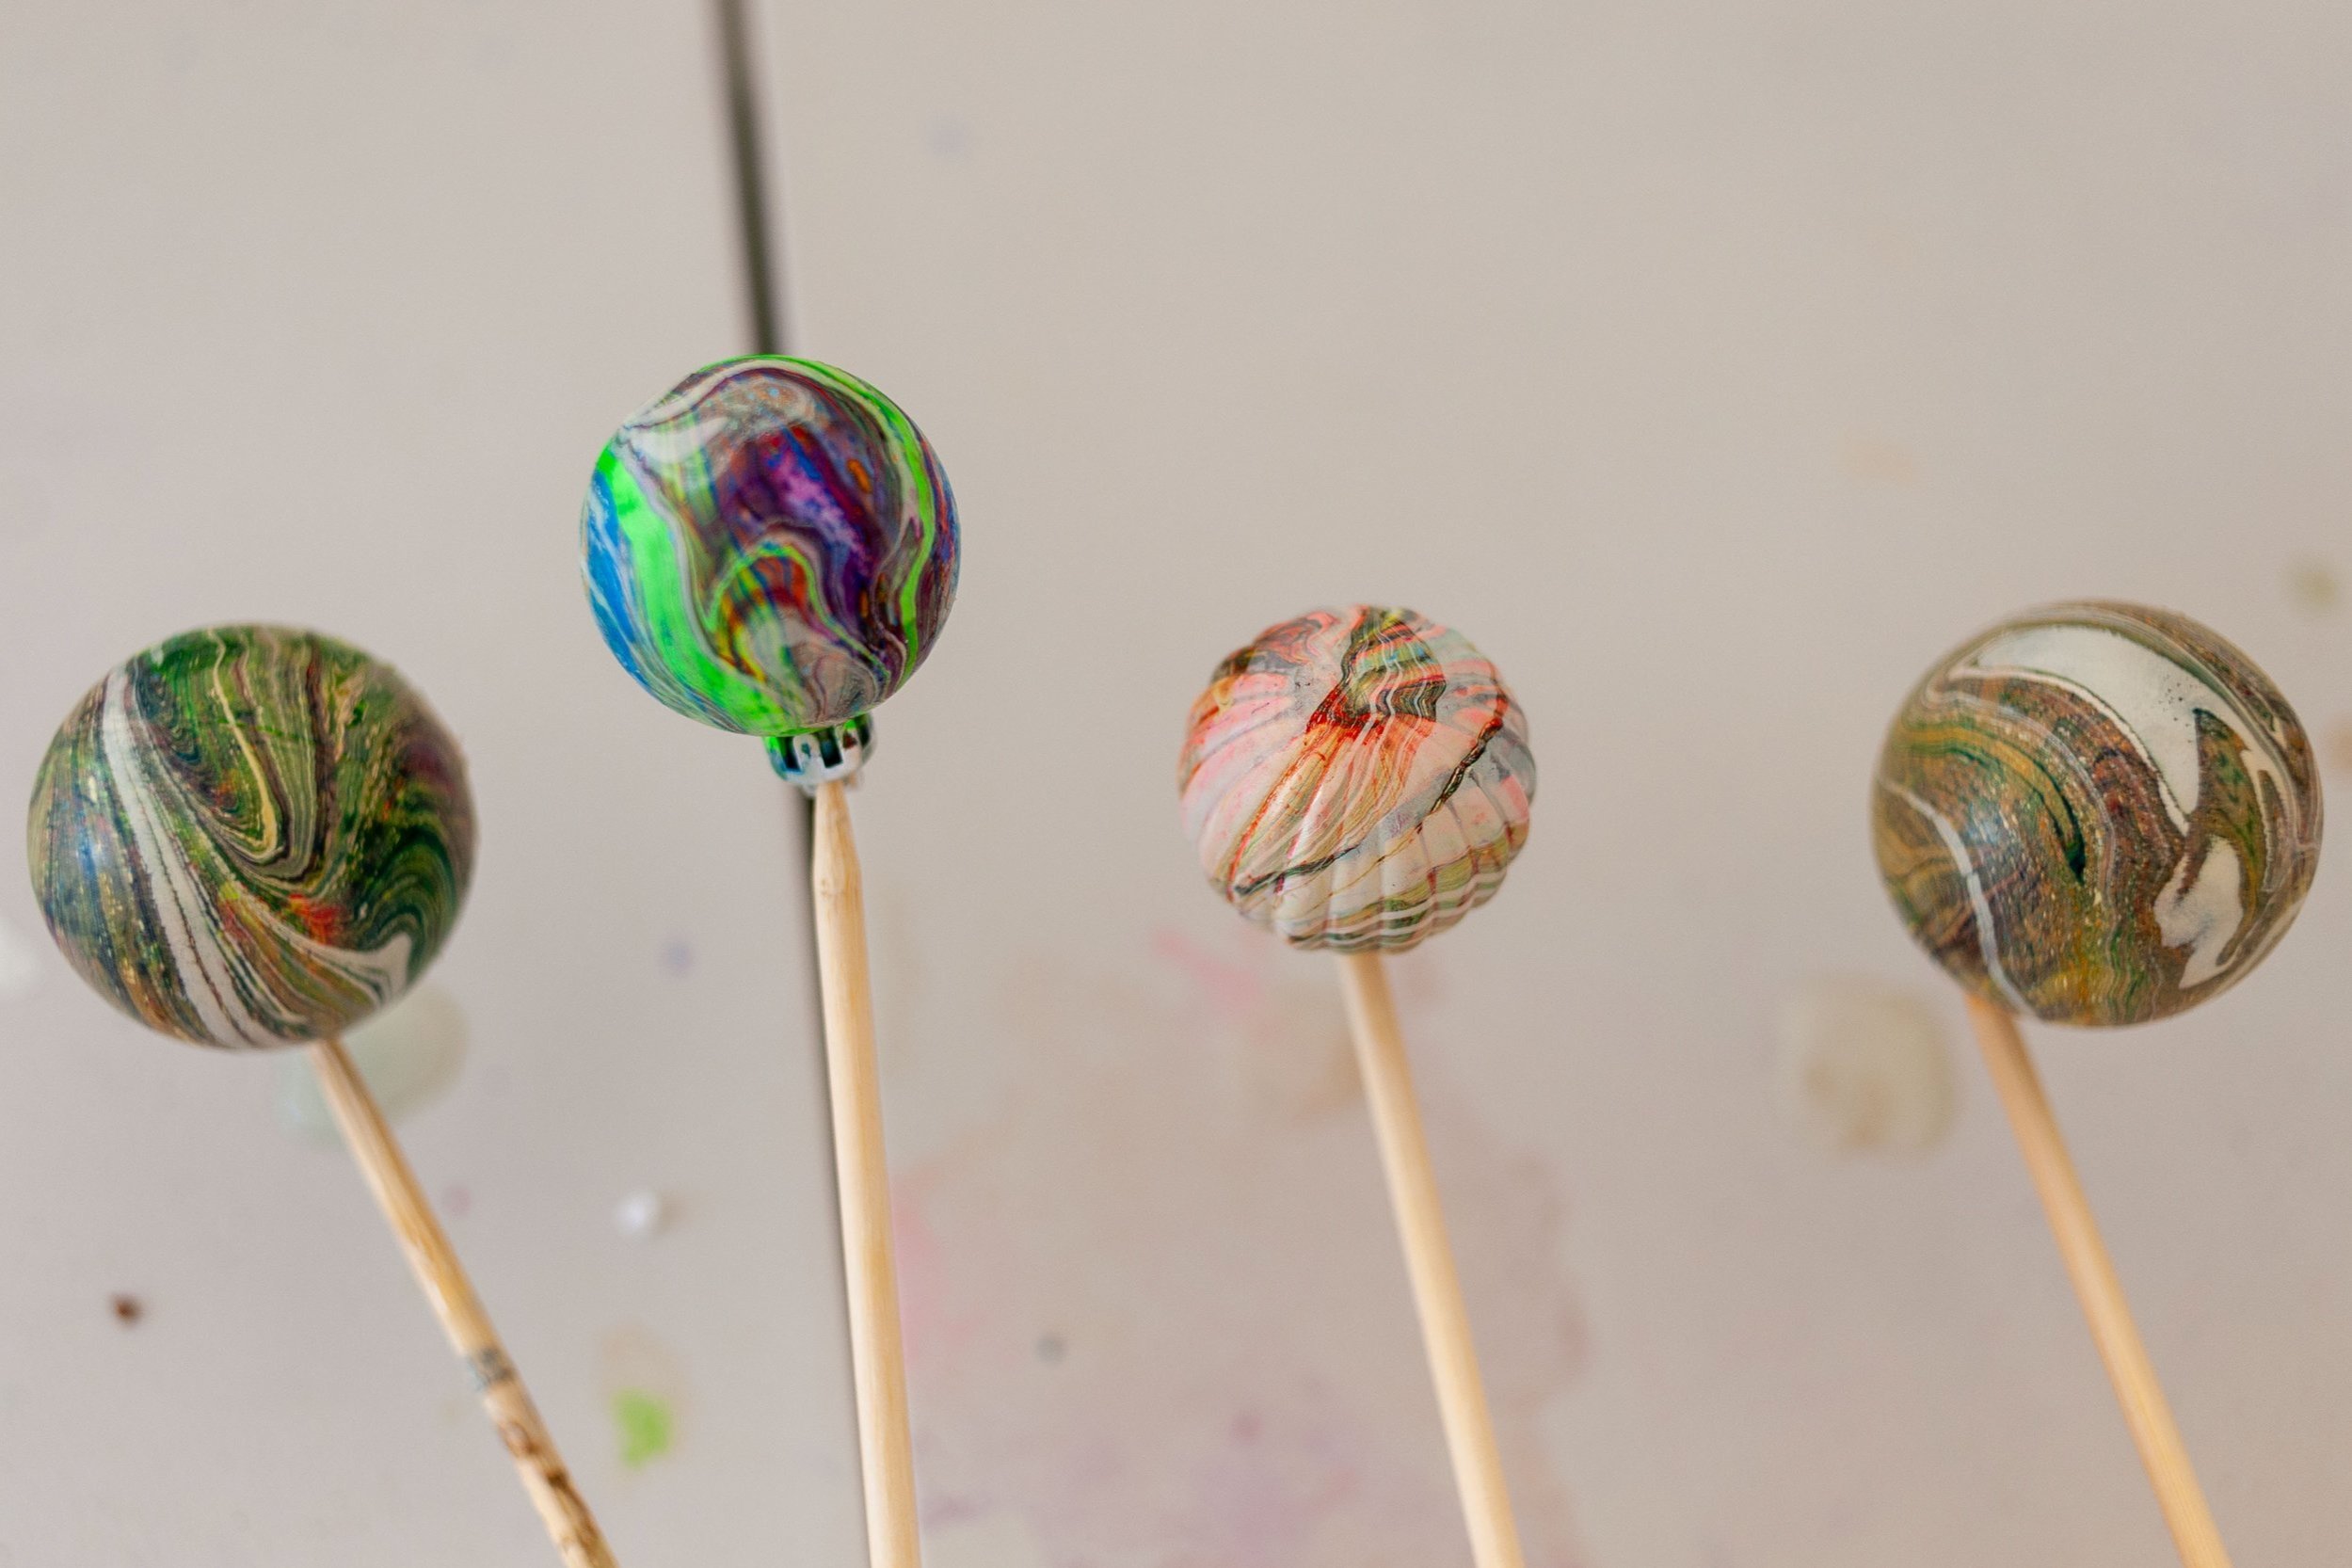
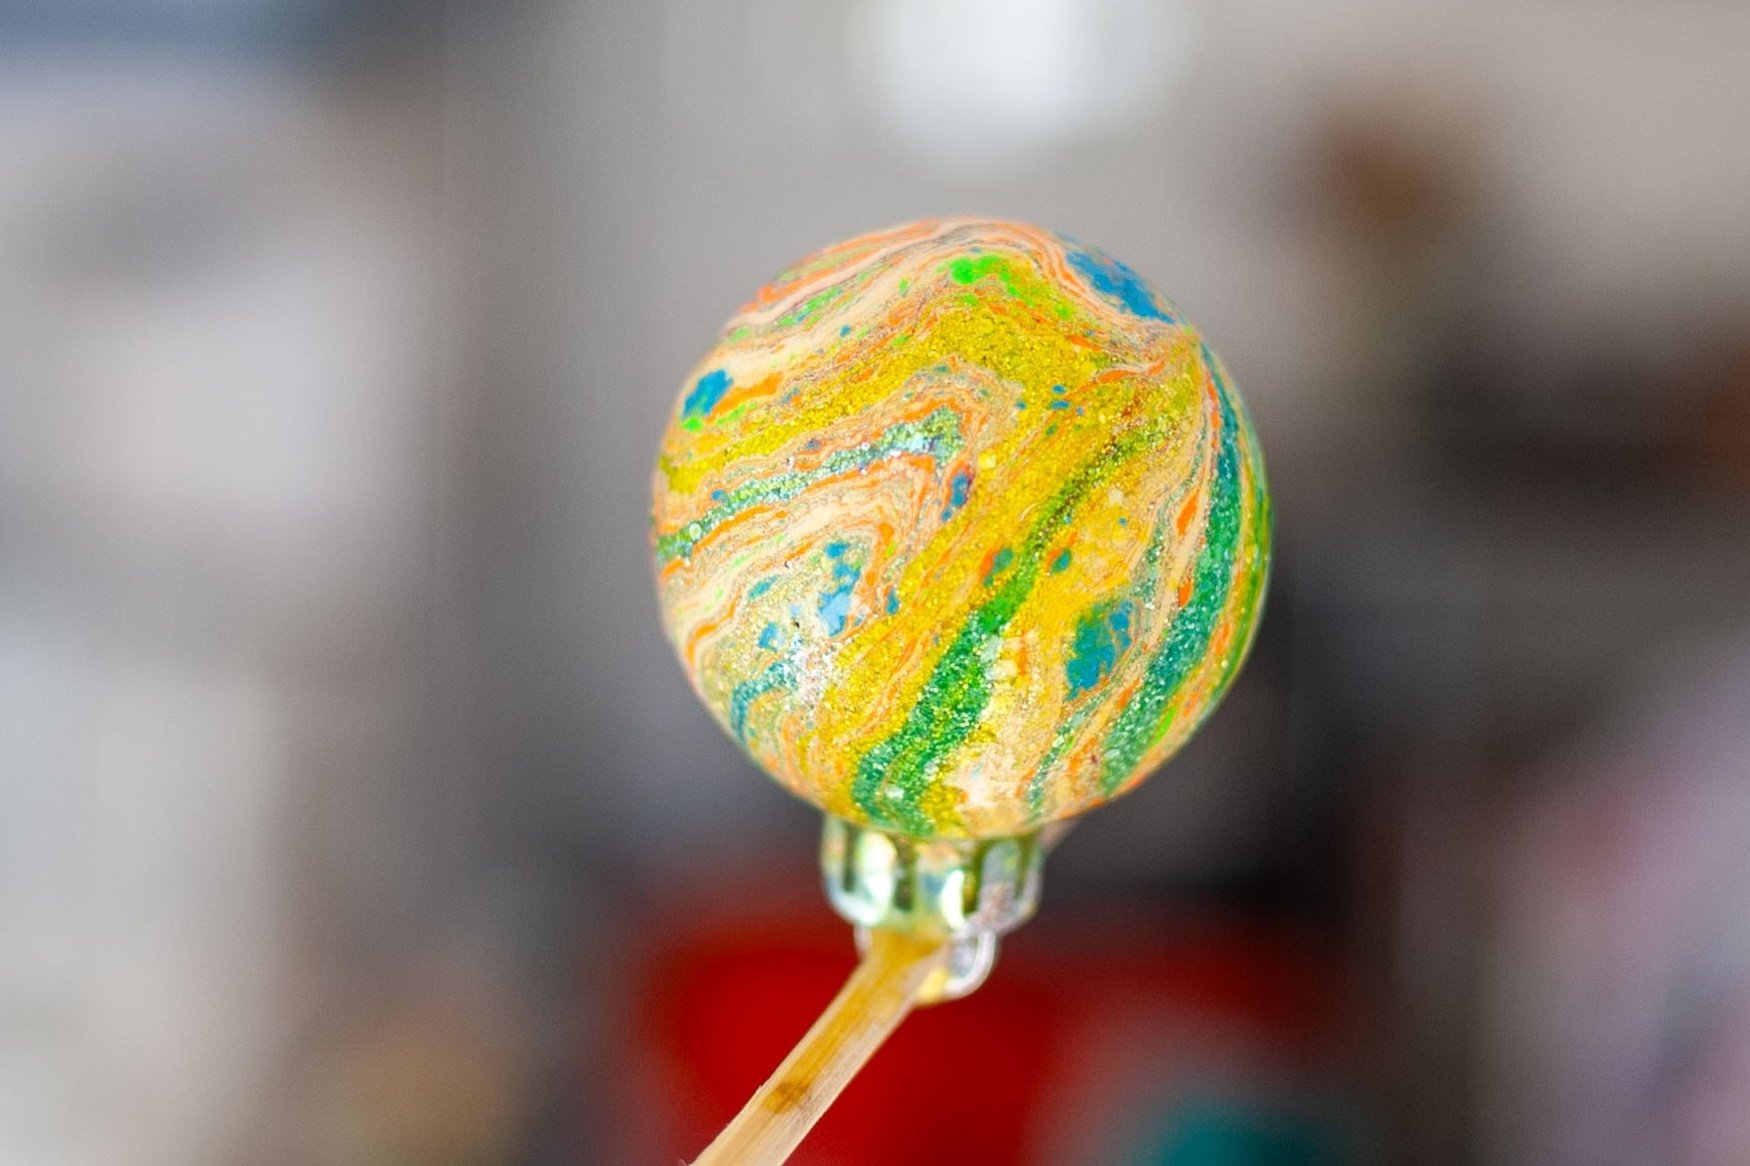
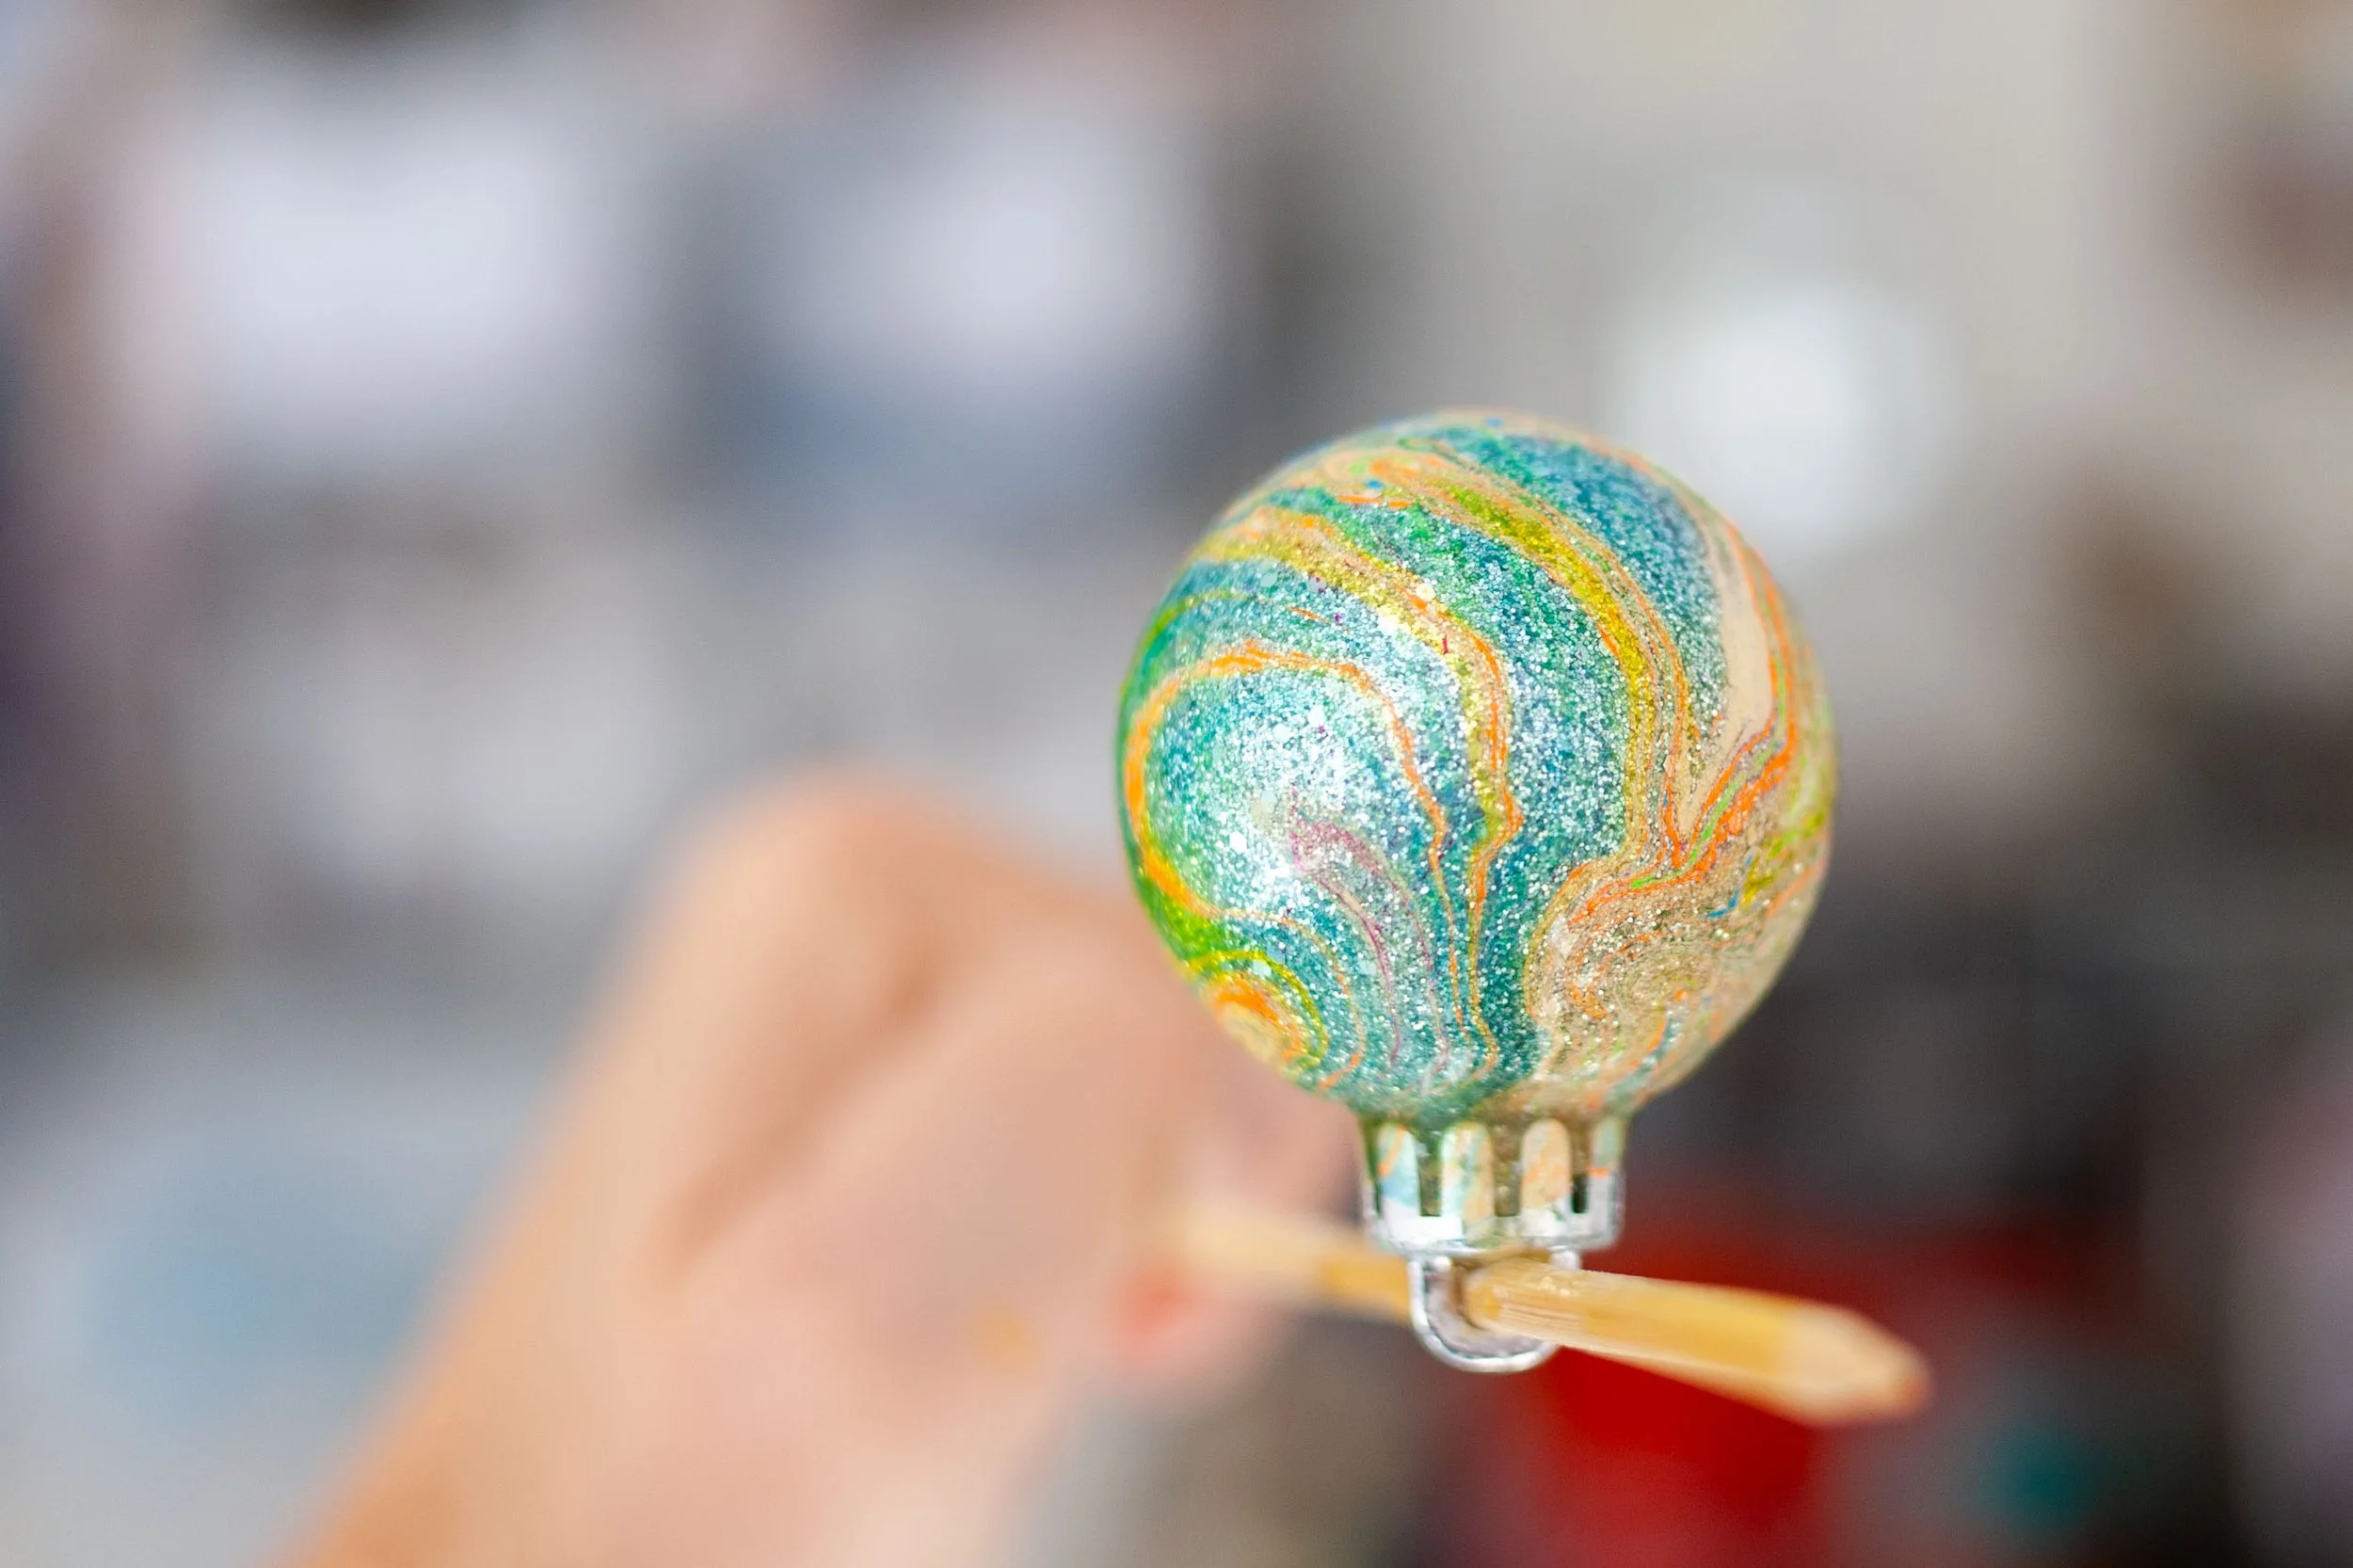
On to the rest: I lightly coated them 2-3x each with the alum mist. Not saying that’s great or right or better than one… I just really wanted the pigment to stick. And when my intuition says spray it again, that’s what I do.

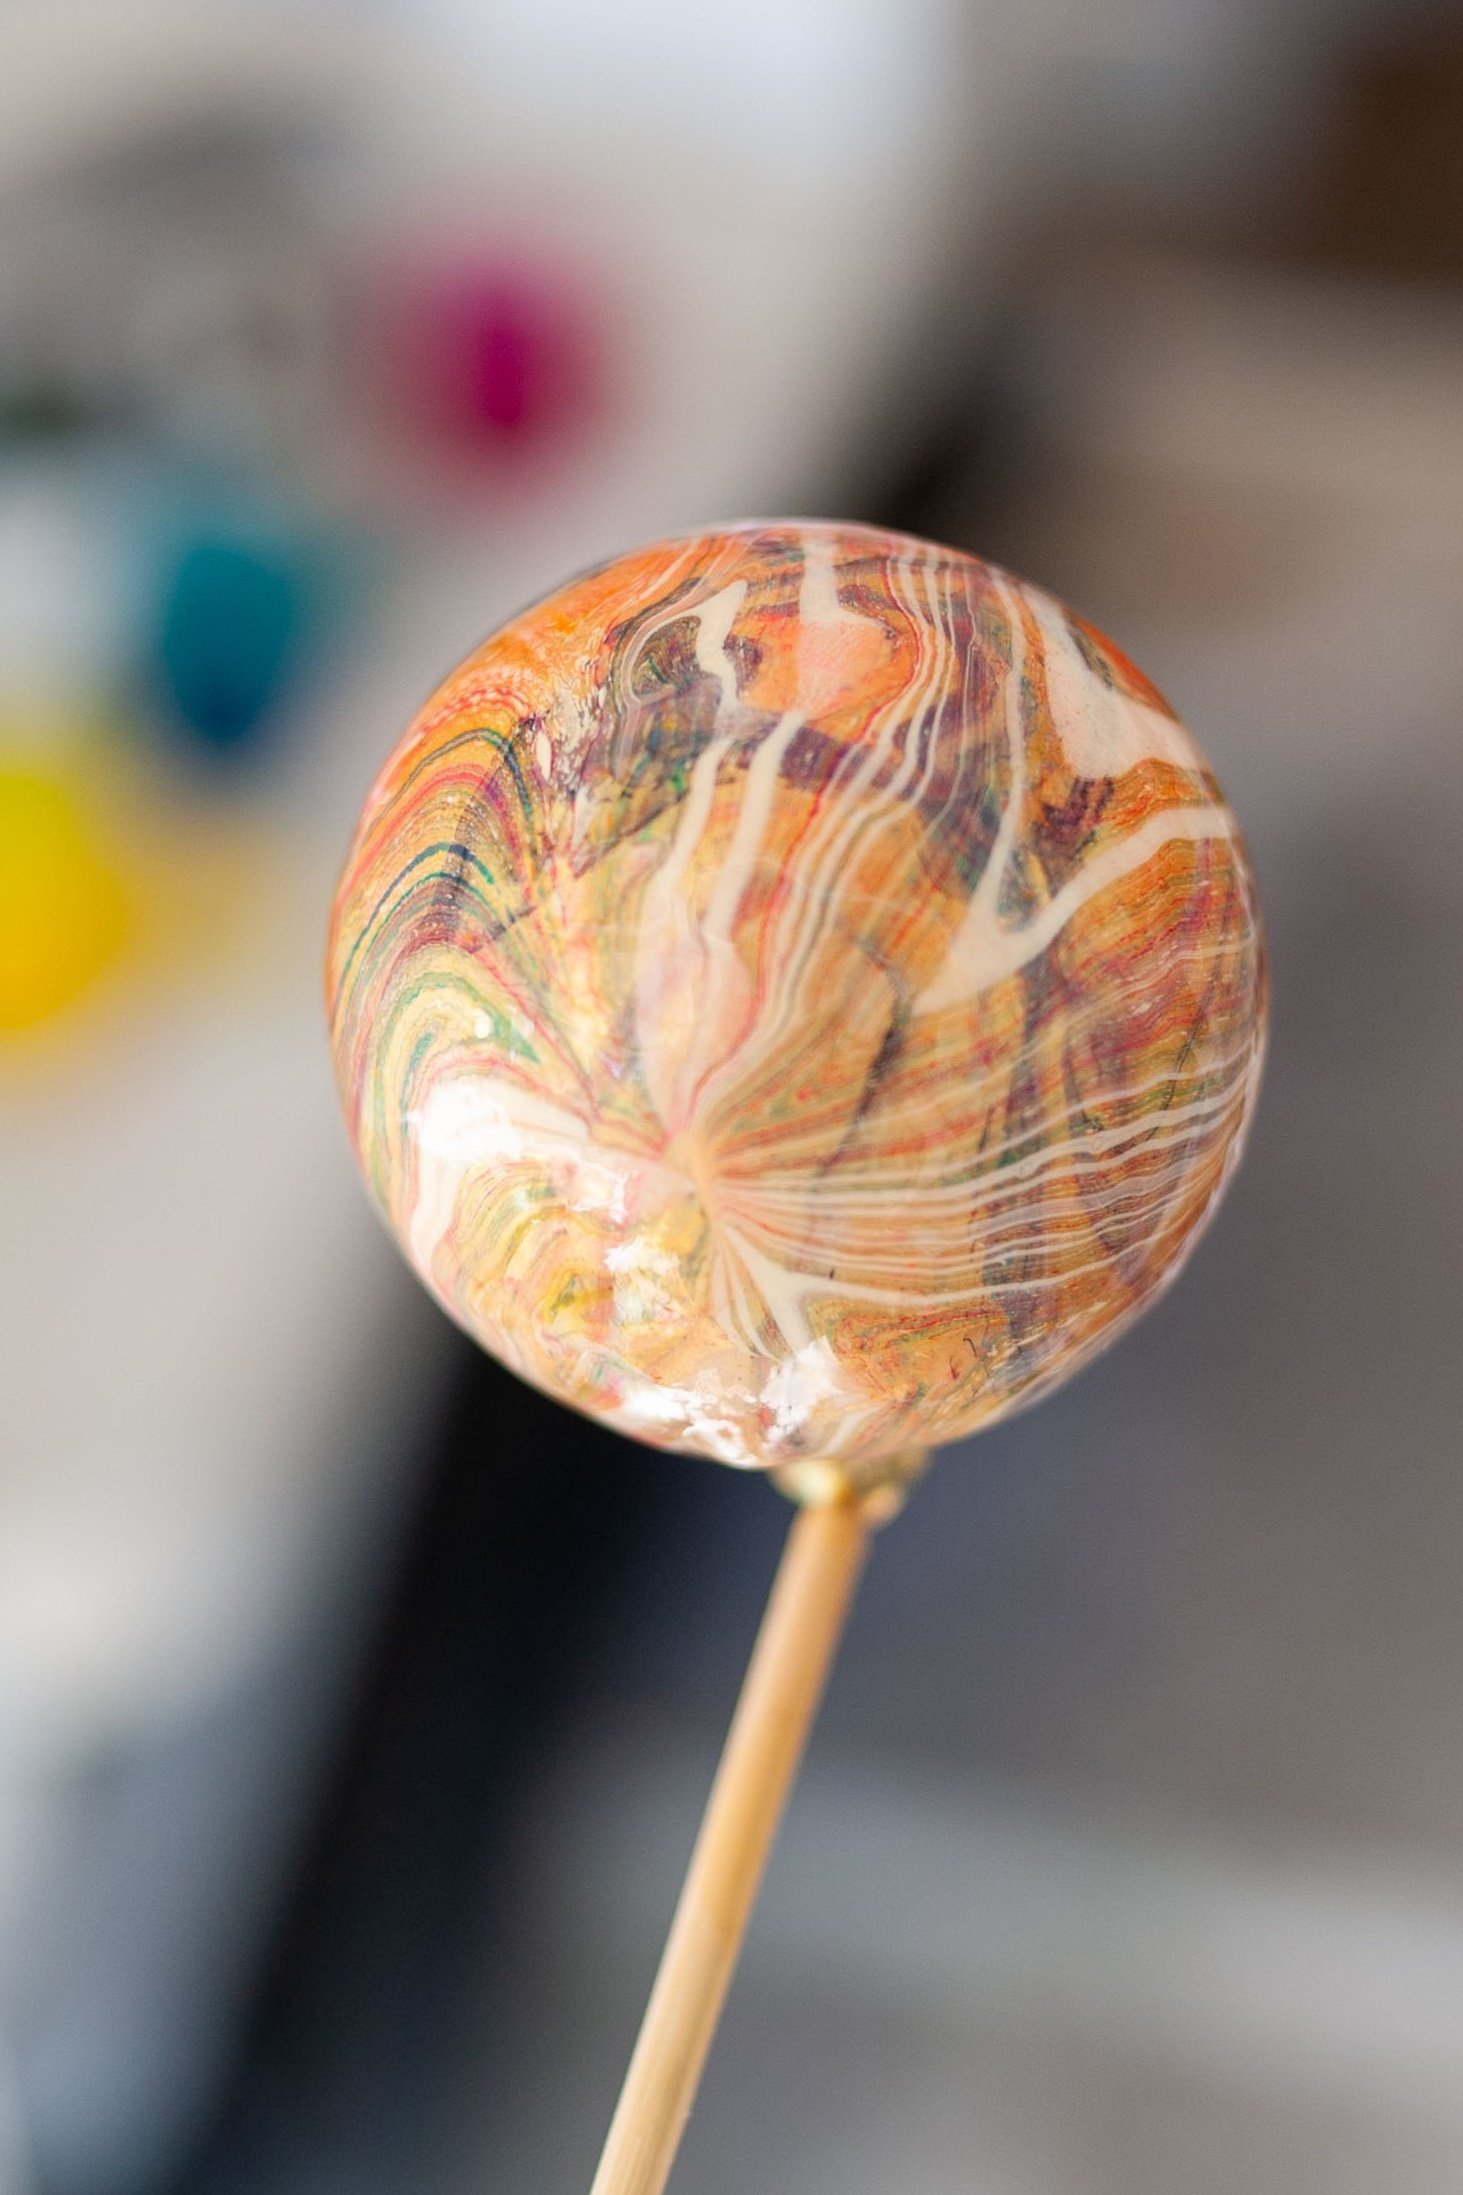
By keeping them in the air ☝🏼 as opposed to resting on a flat surface 👇🏻 you can save time and prep 360 degrees at once. Otherwise, you have to do one side before the other… and it’s not easy to keep round, roll-y bulbs still.

✨ I want to add that it would’ve been really easy to chuck these bulbs after the first fail… but I was determined to salvage them, and keep them from going to the landfill. Another thank goodness!!! ✨
Here are my final dips, accompanied by a voice-over that only took me 34 tries! 👏🏻👏🏻👏🏻
I honestly expected more.
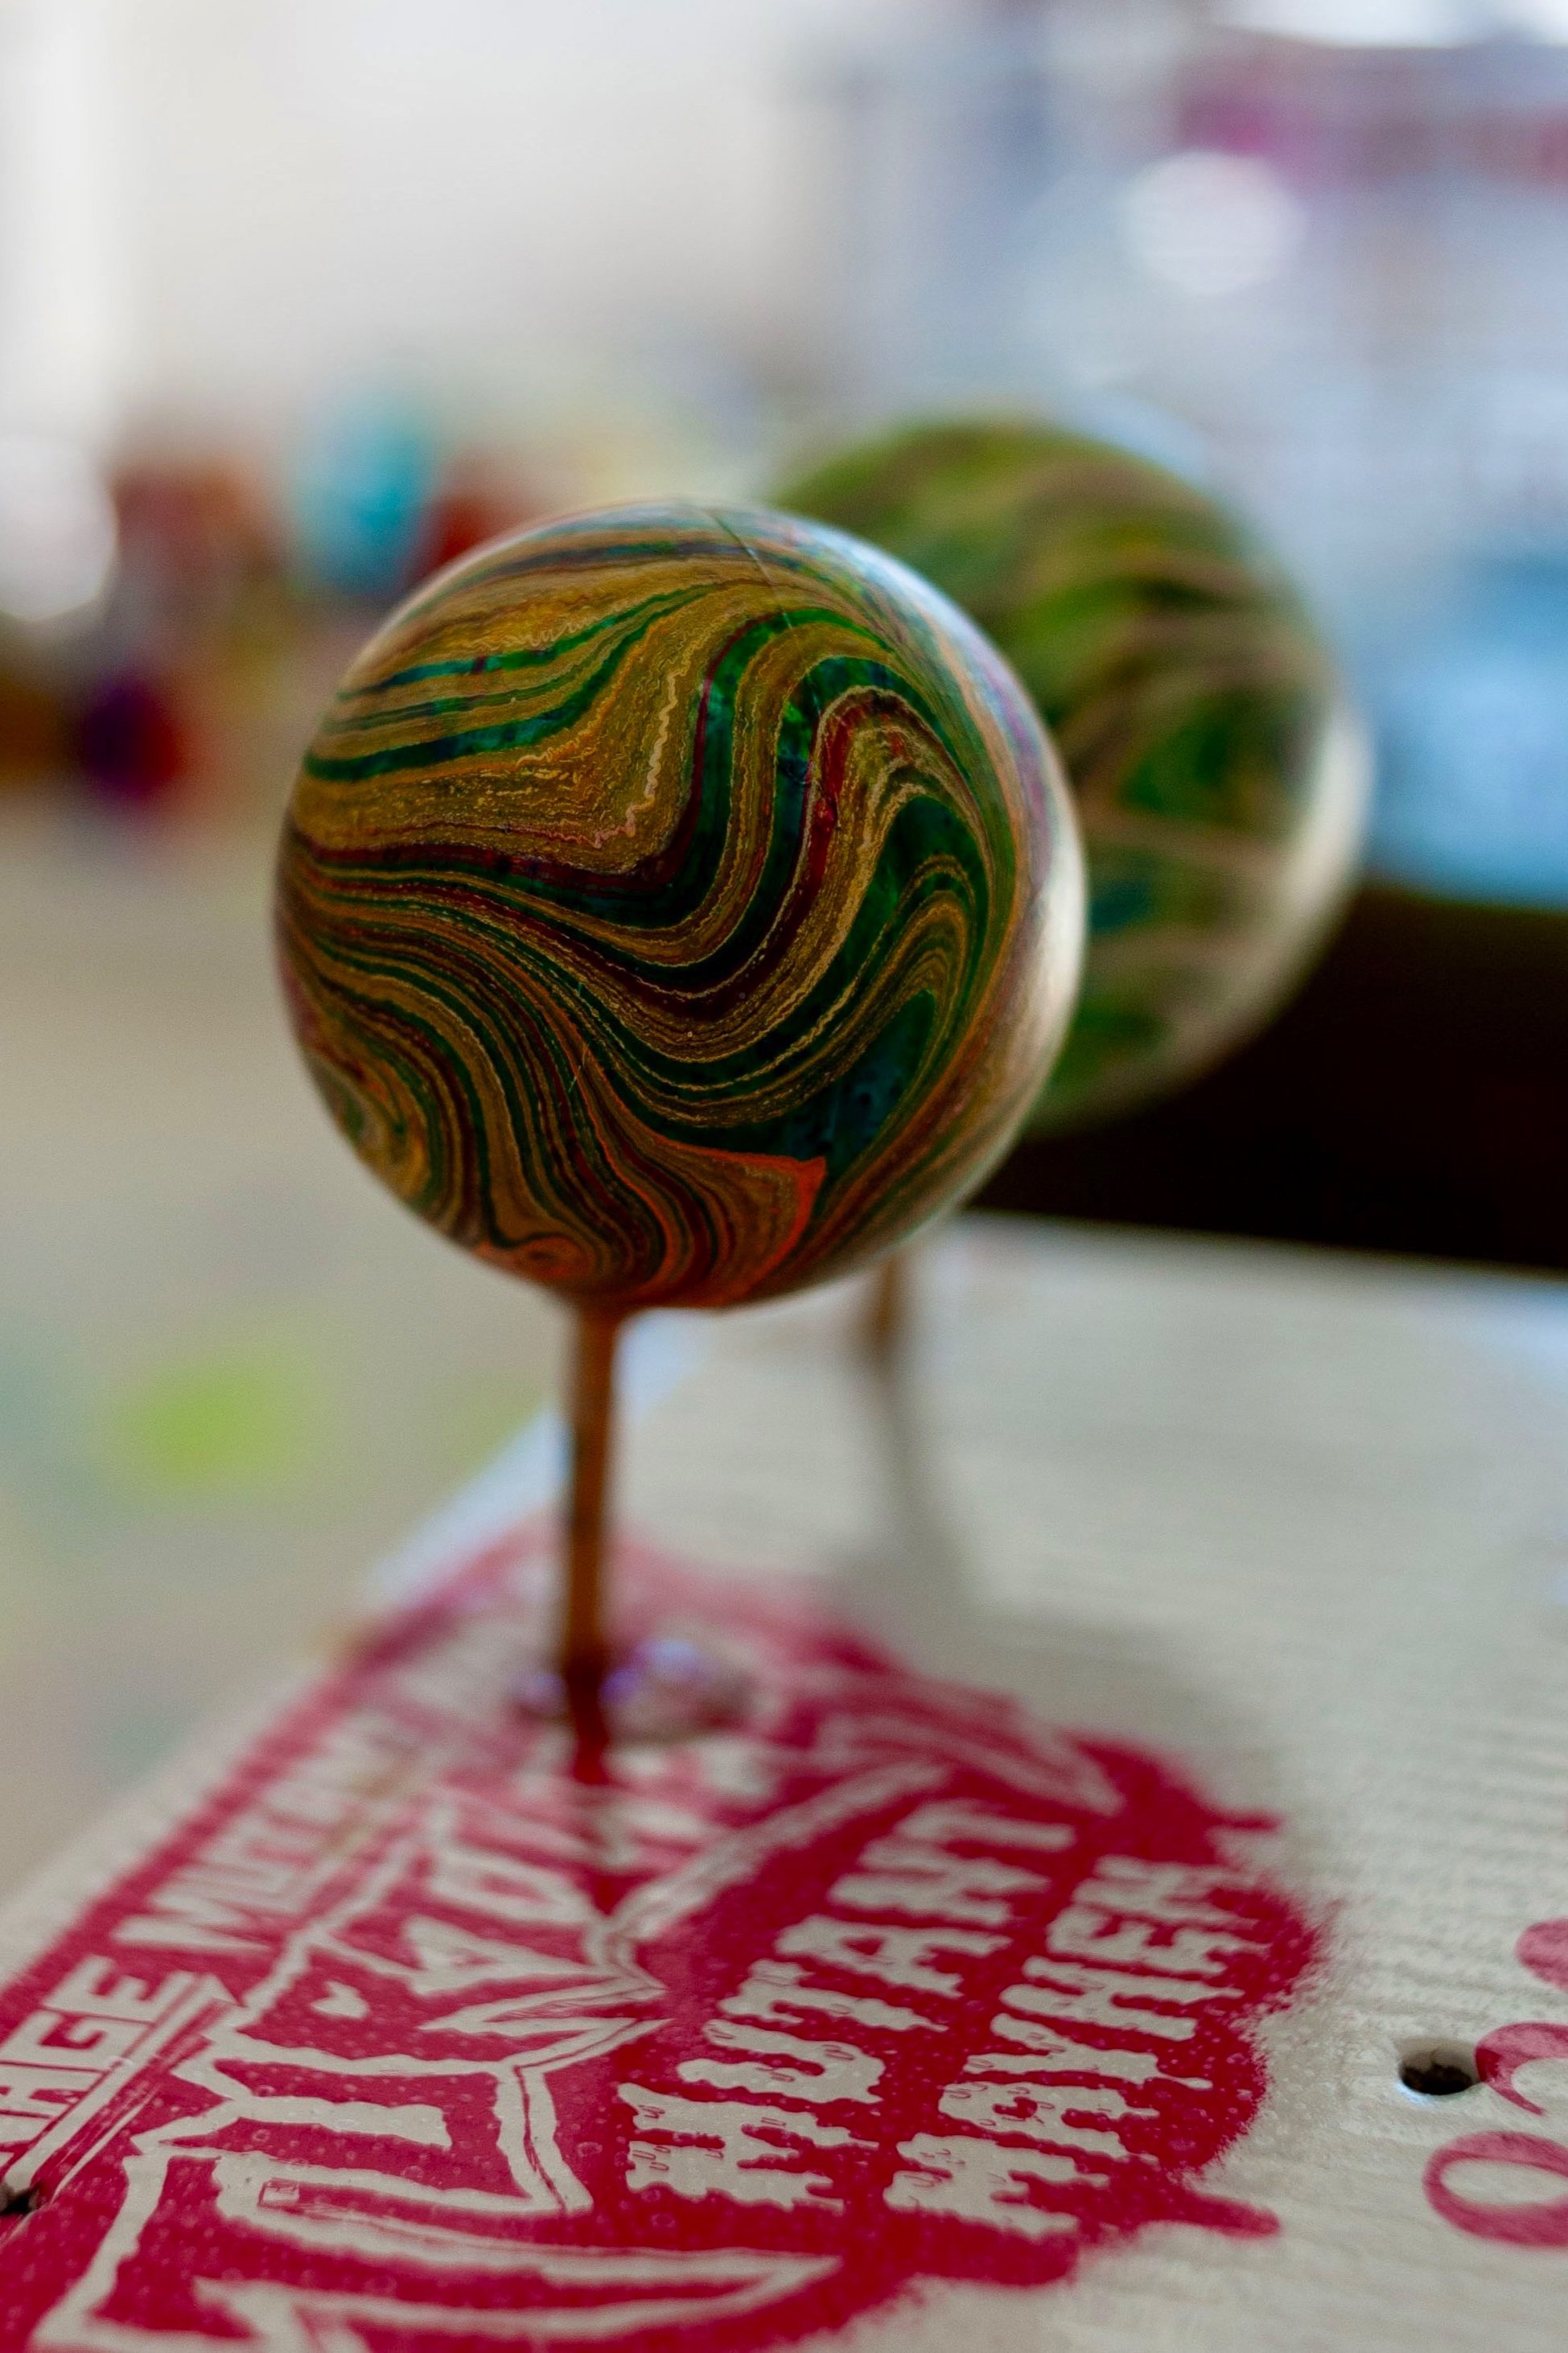
I placed the them upside down to dry, to help the size travel off the pieces much as possible, and not collect/leave drip marks at the base of the bulb.


I’m not usually the girl who honks her own horn but…
toot toot baby
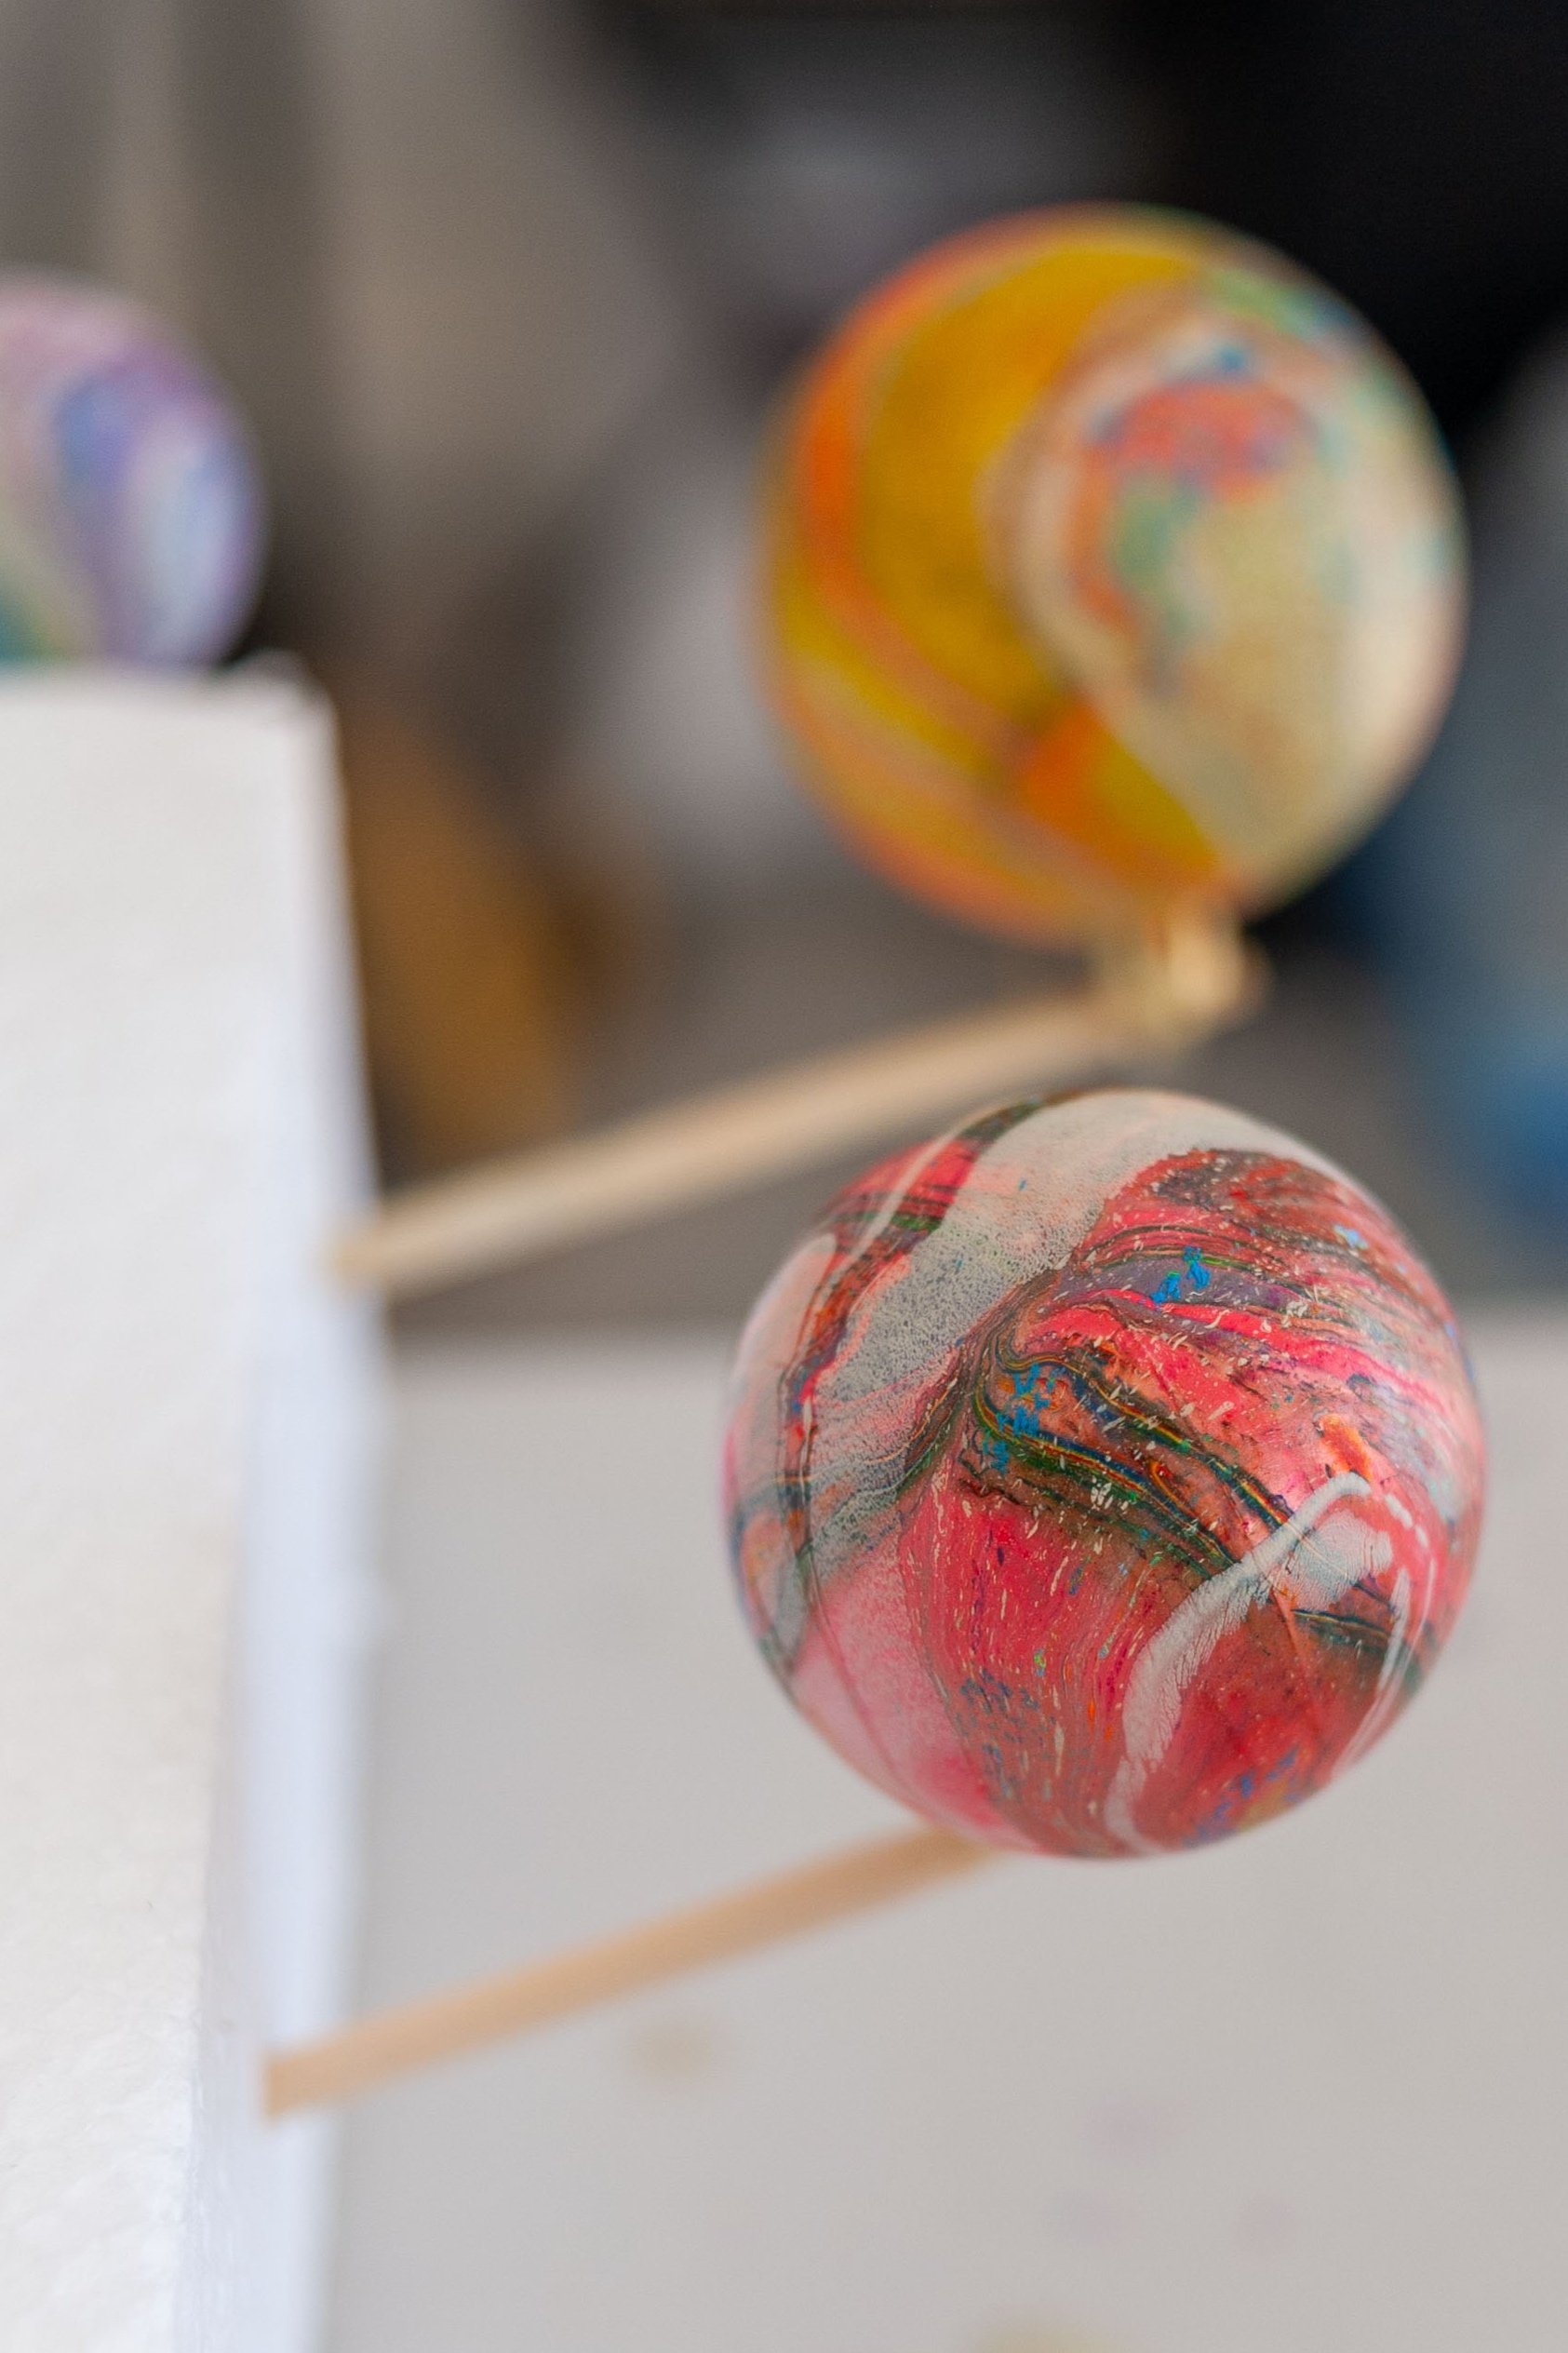
Remember when I said I used my alum spritz liberally (more than one coat)?
Well, I think that caused flaking on a few of the ornaments, this one being the most dramatic:
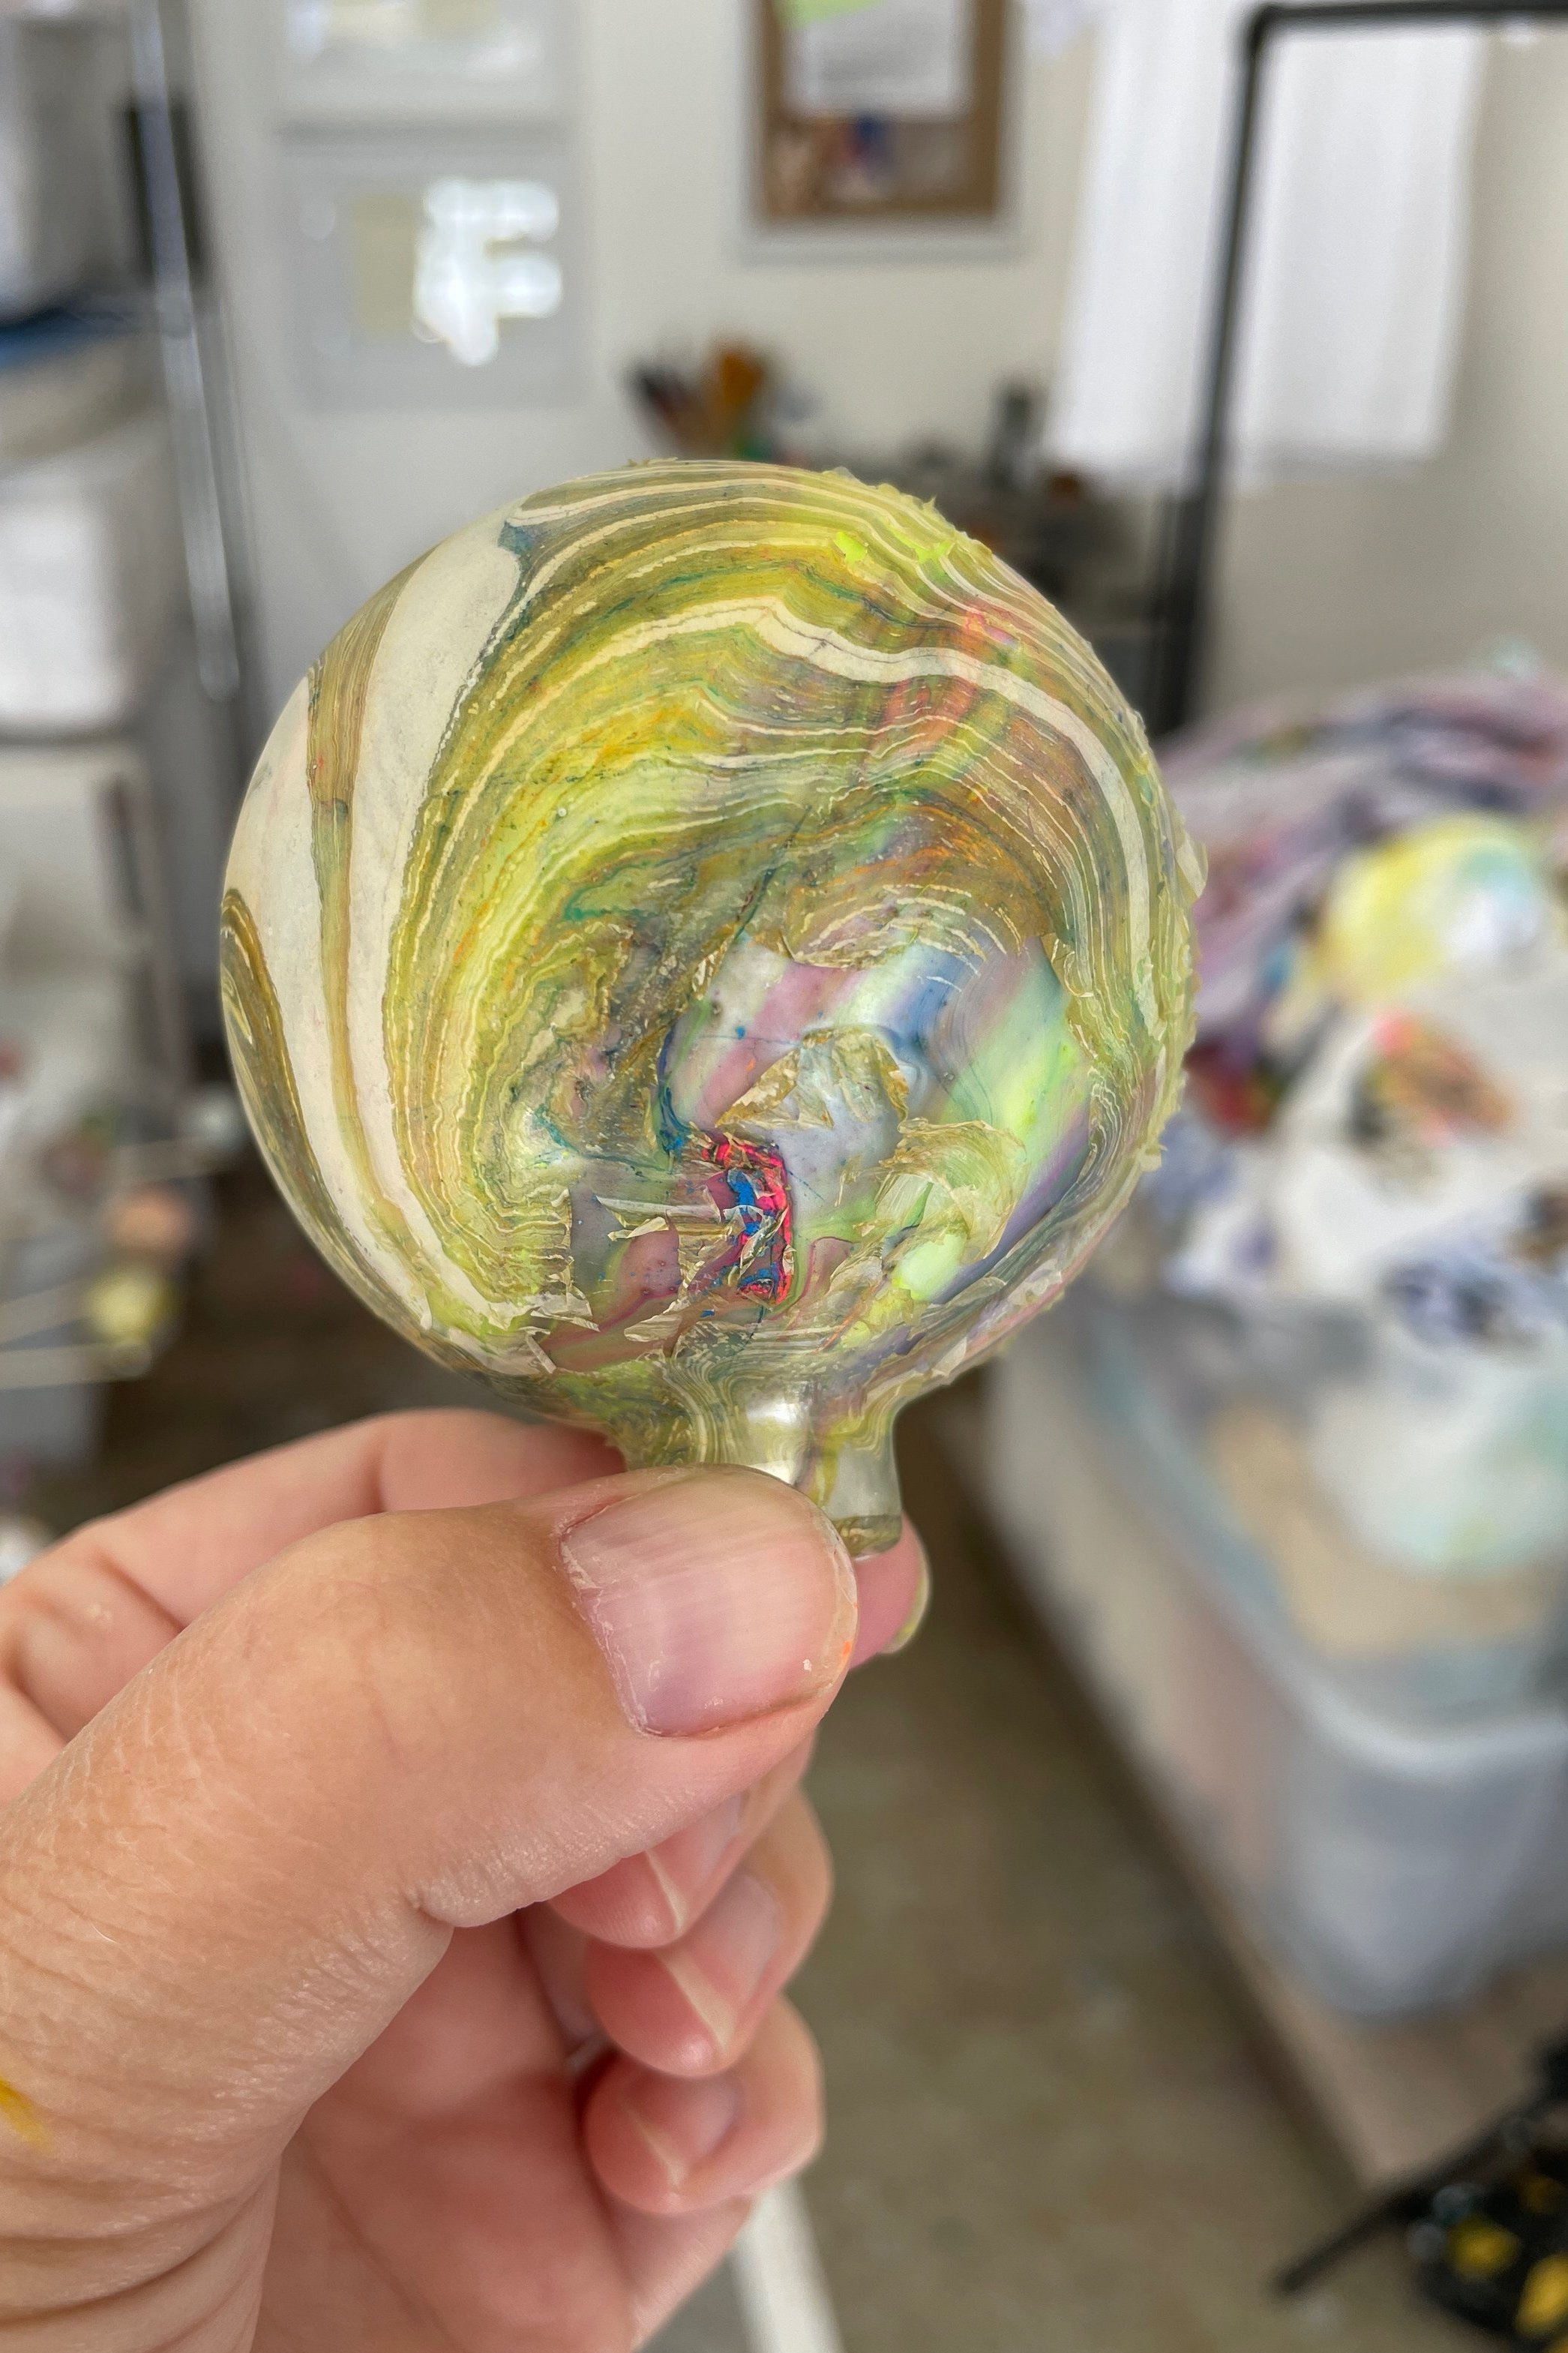
This was another potential opportunity to say yuck and toss it… but no. I was pretty sure varnish would take care of it.
Check out the video below to see it’s results at the end.
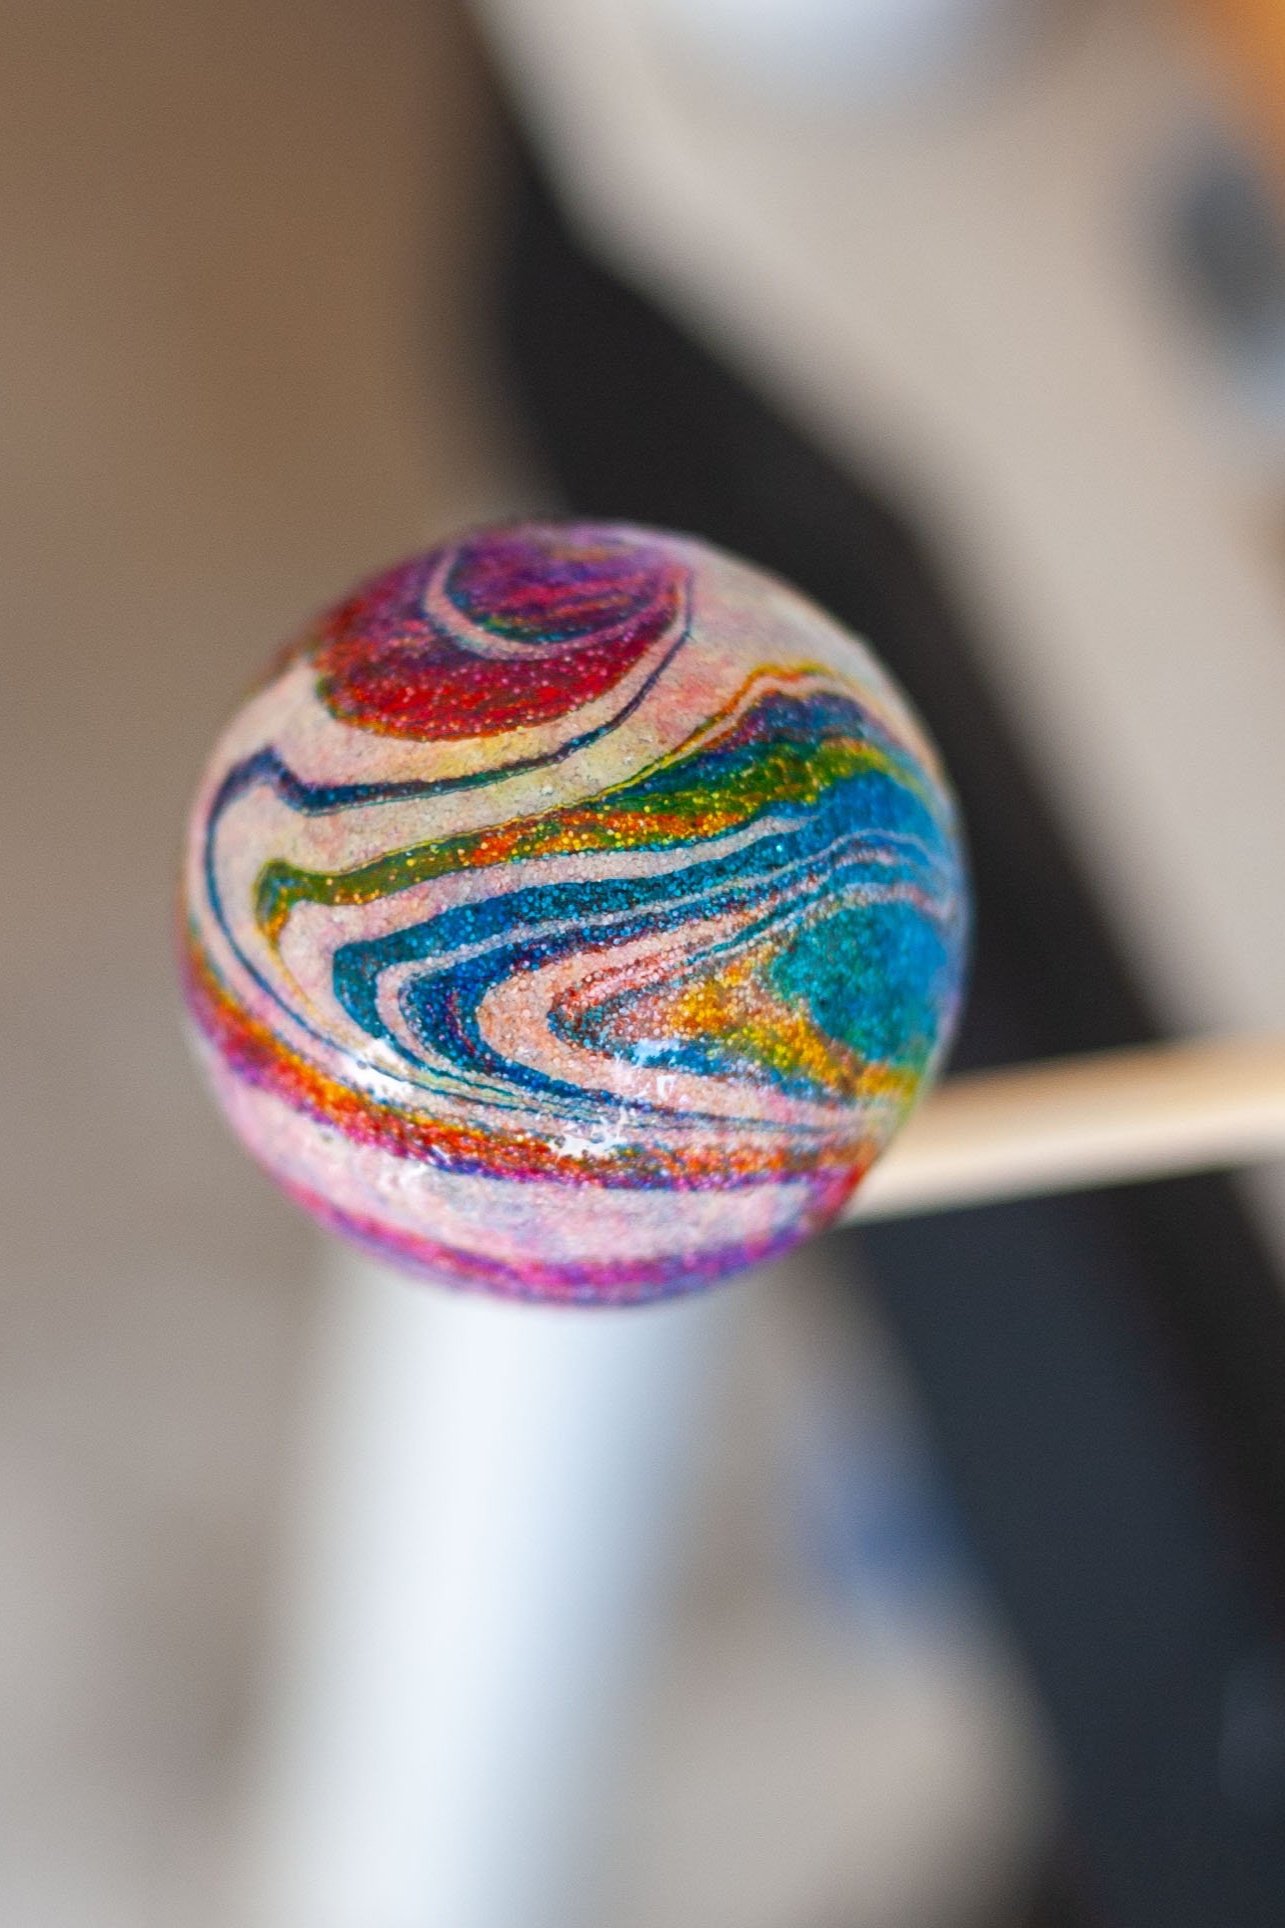
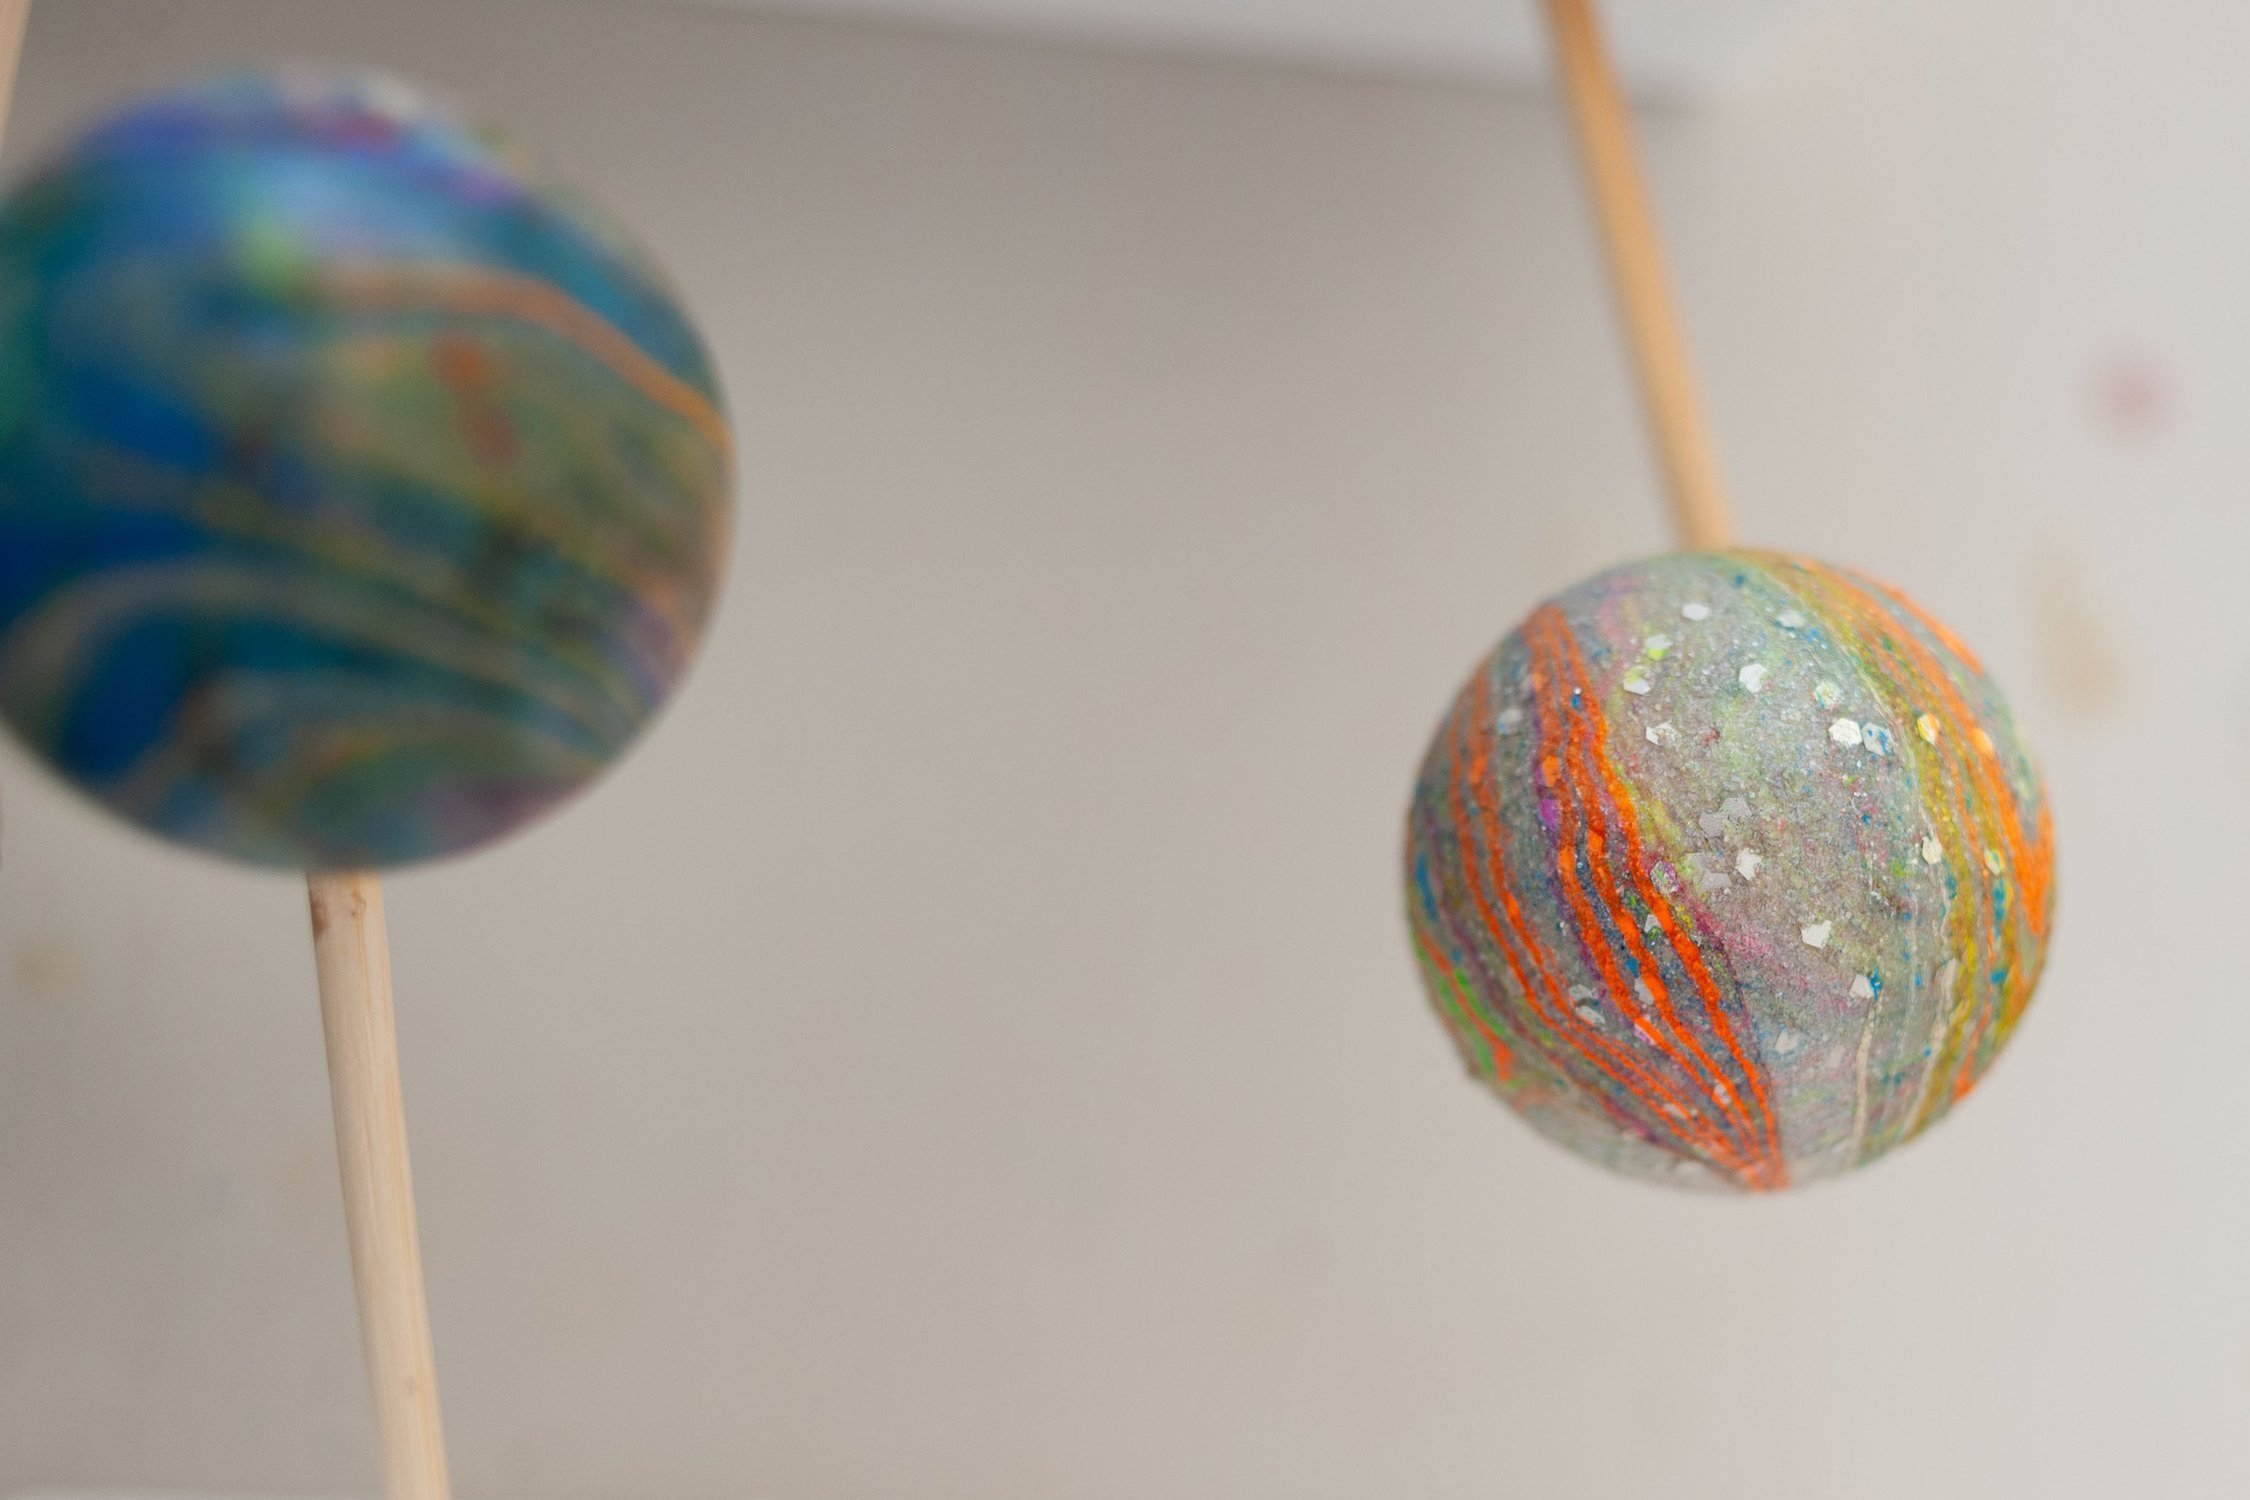
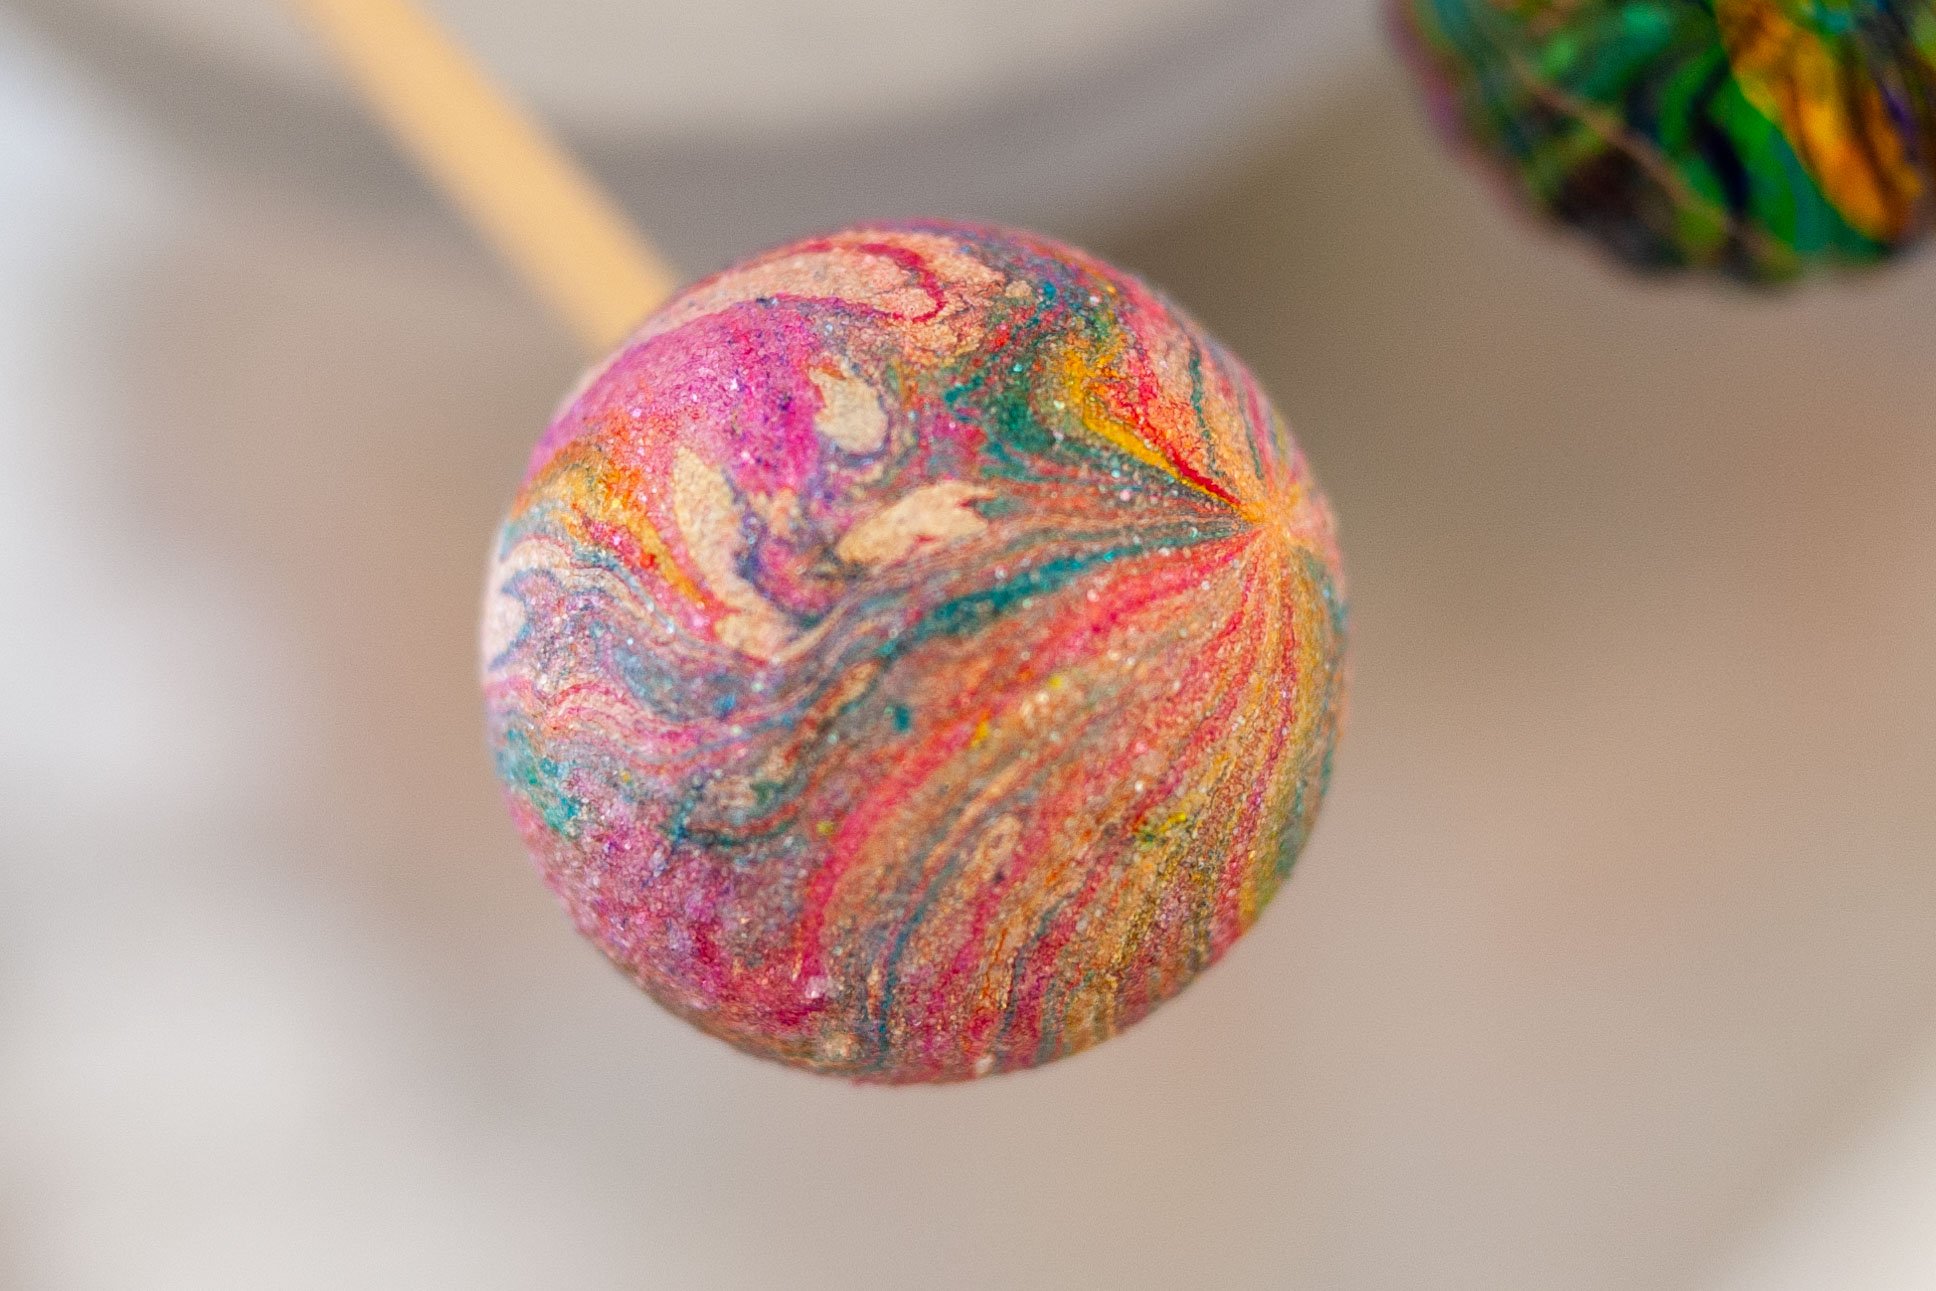
And yes, these pieces need to be sealed! I always used a sealer with a non-yellowing uv protectant. In this instance I tested two, to see which was best at restoring the full sparkle of the glitter bulbs. After being dipped in the size, the coating dulled their shine.
Can’t have that.
I preferred either the Liquitex on its own or a combo of the two— spraying Krylon first, then immediately brushing the Liquitex over.
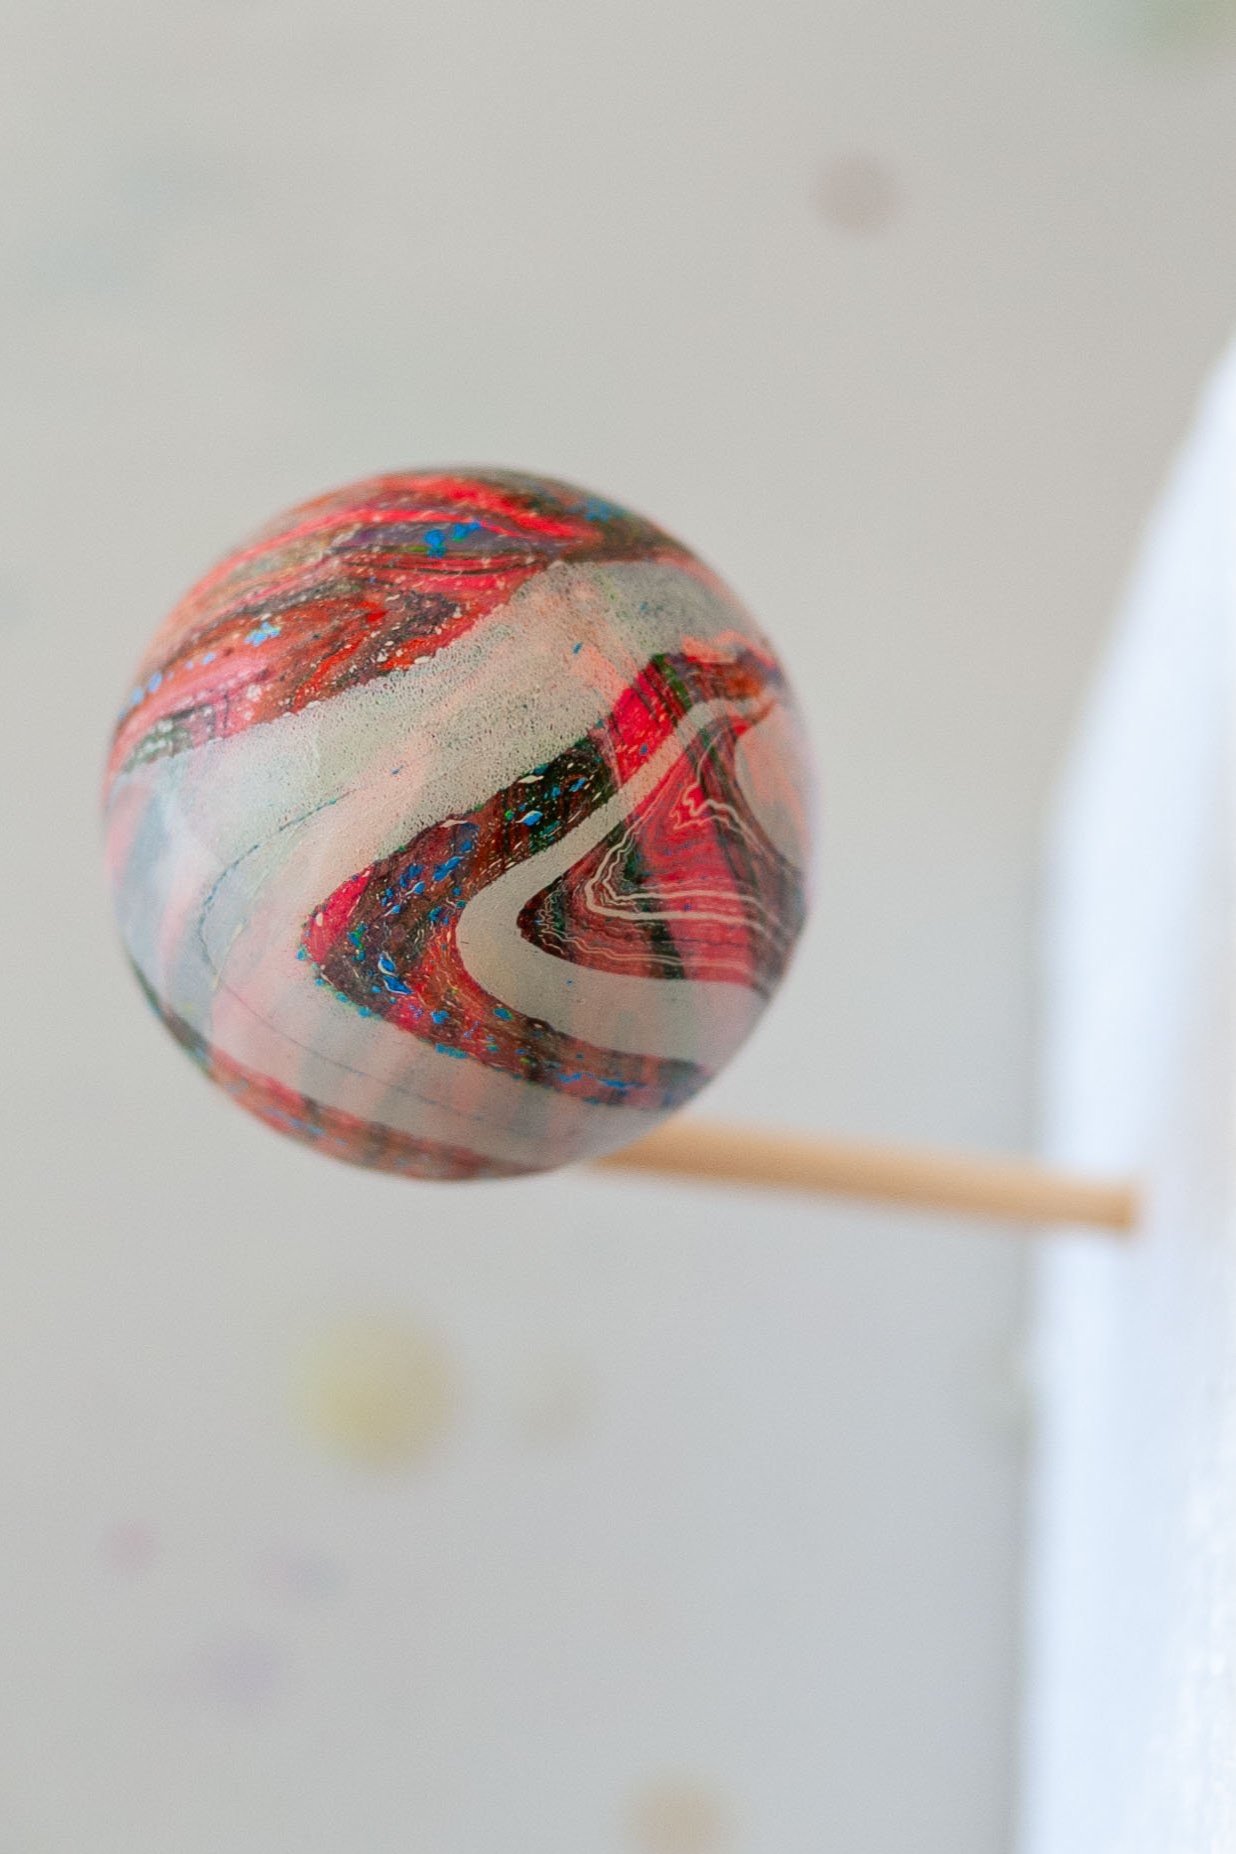
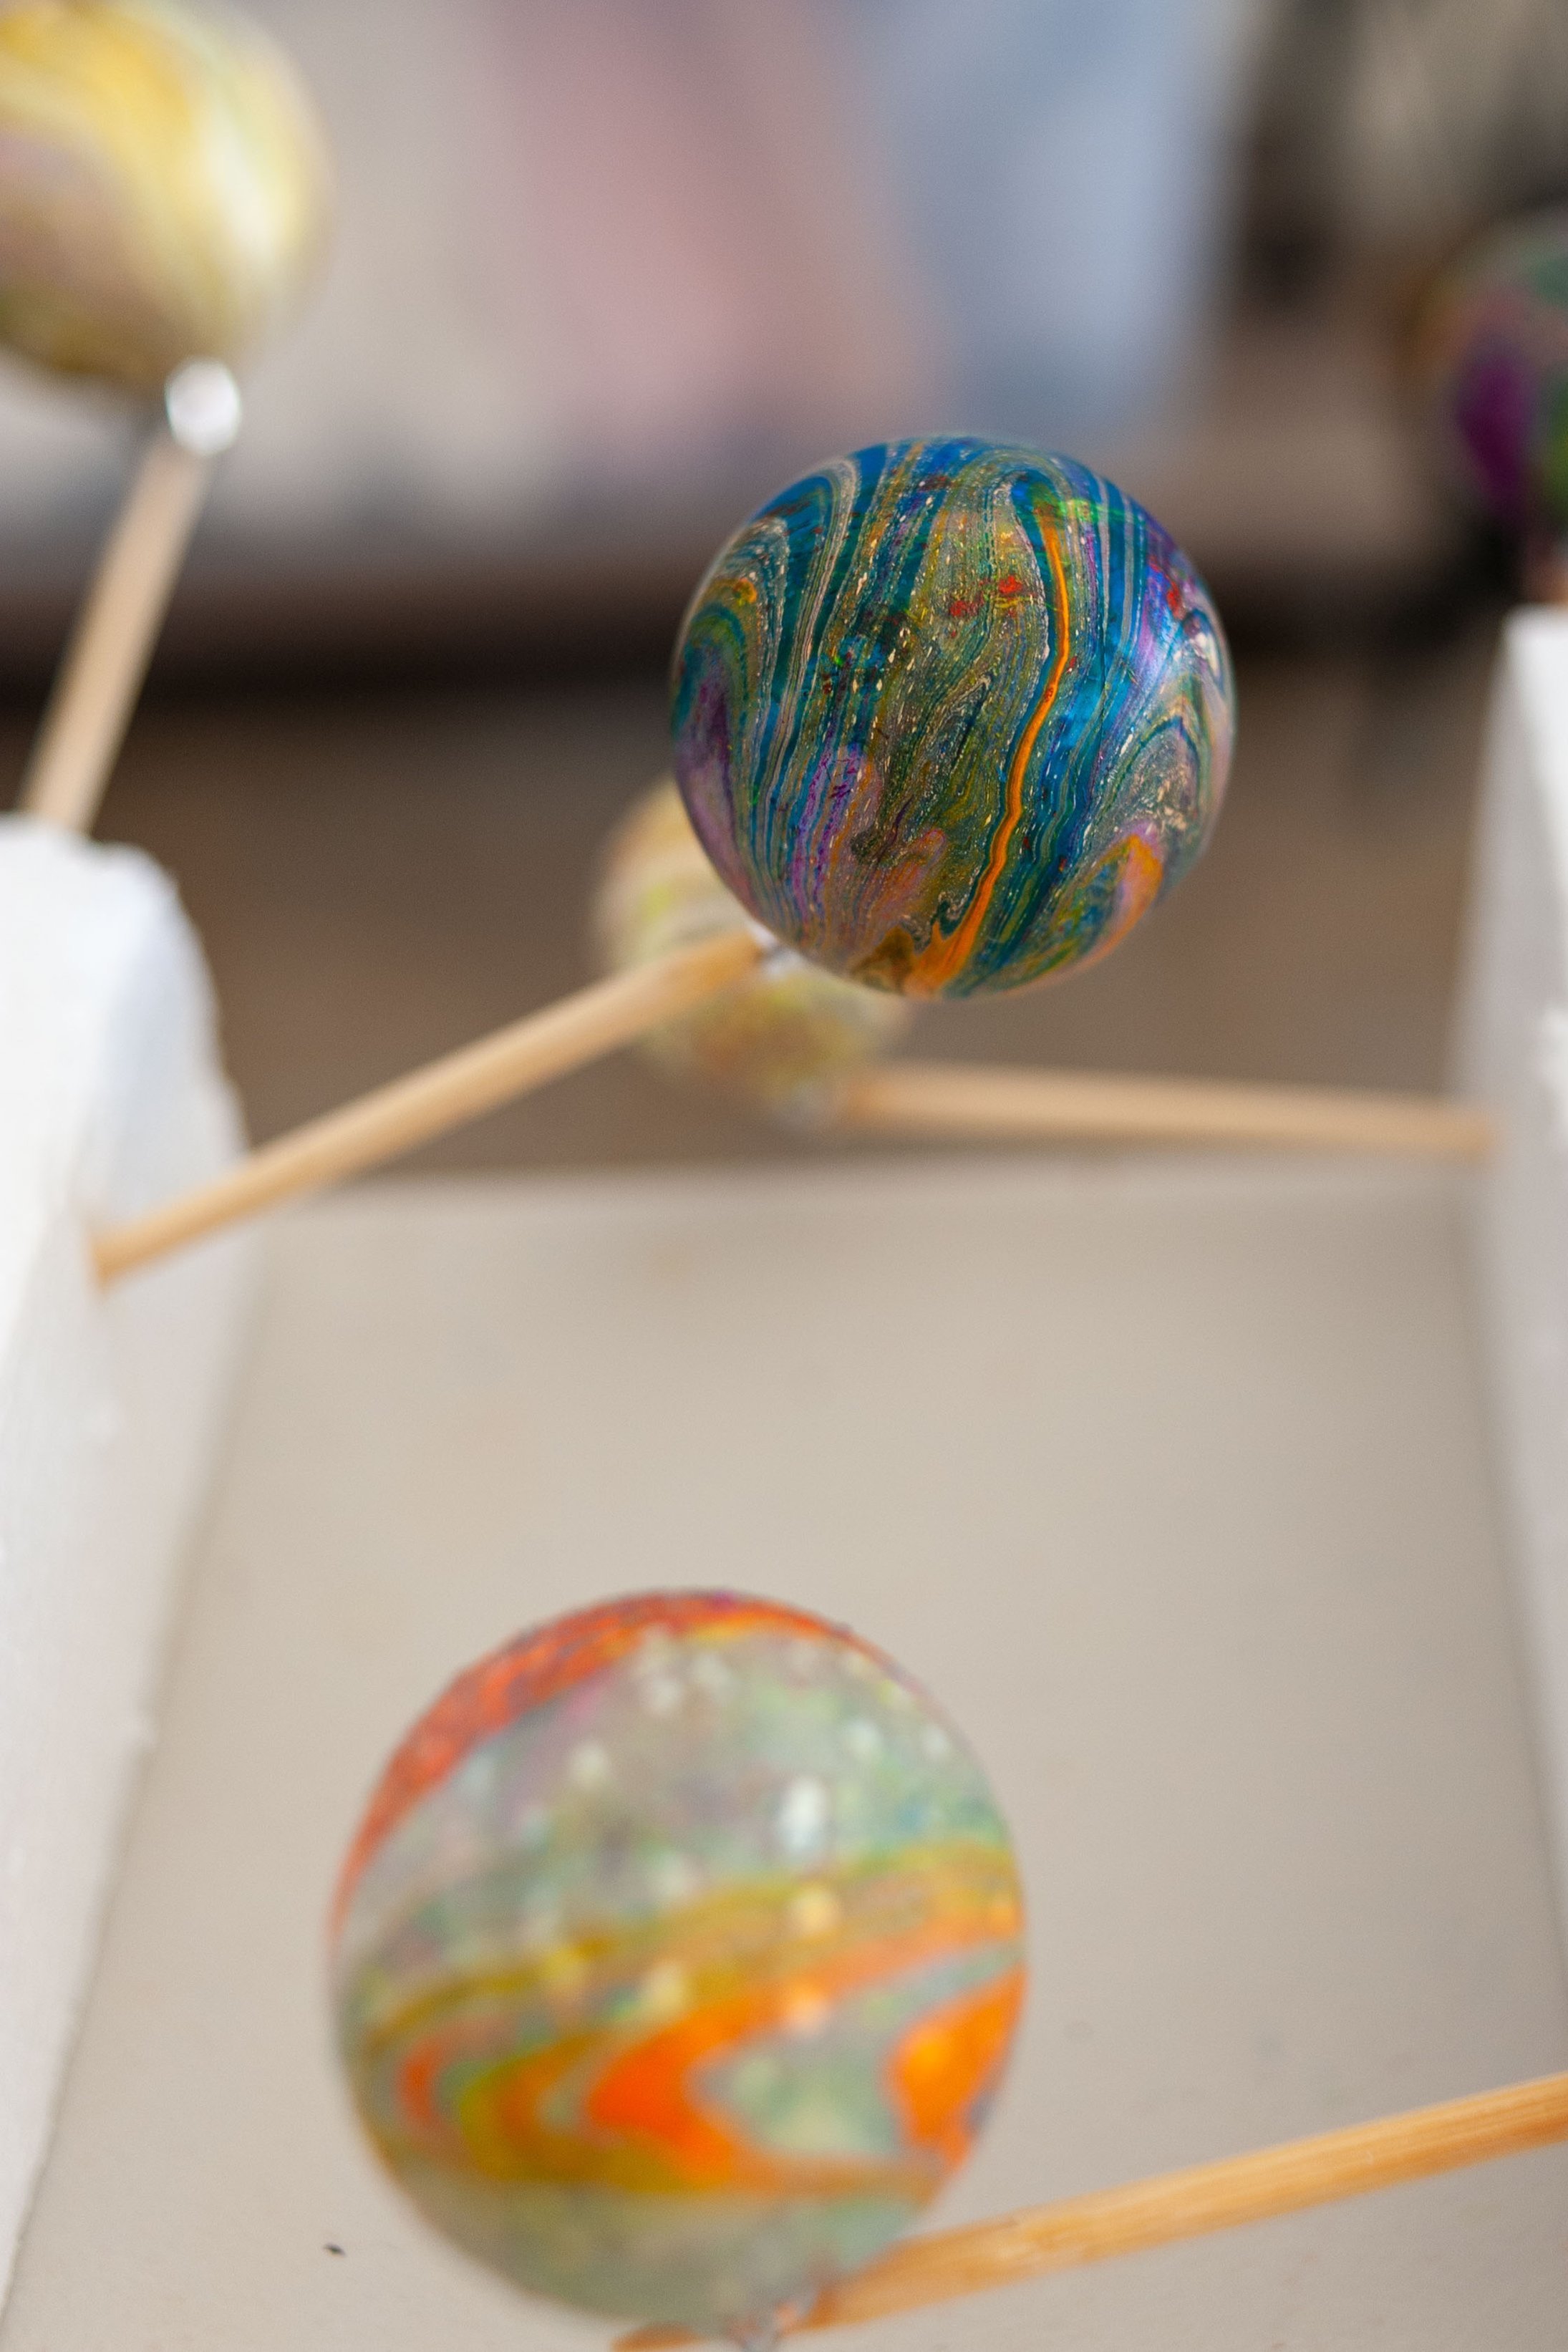
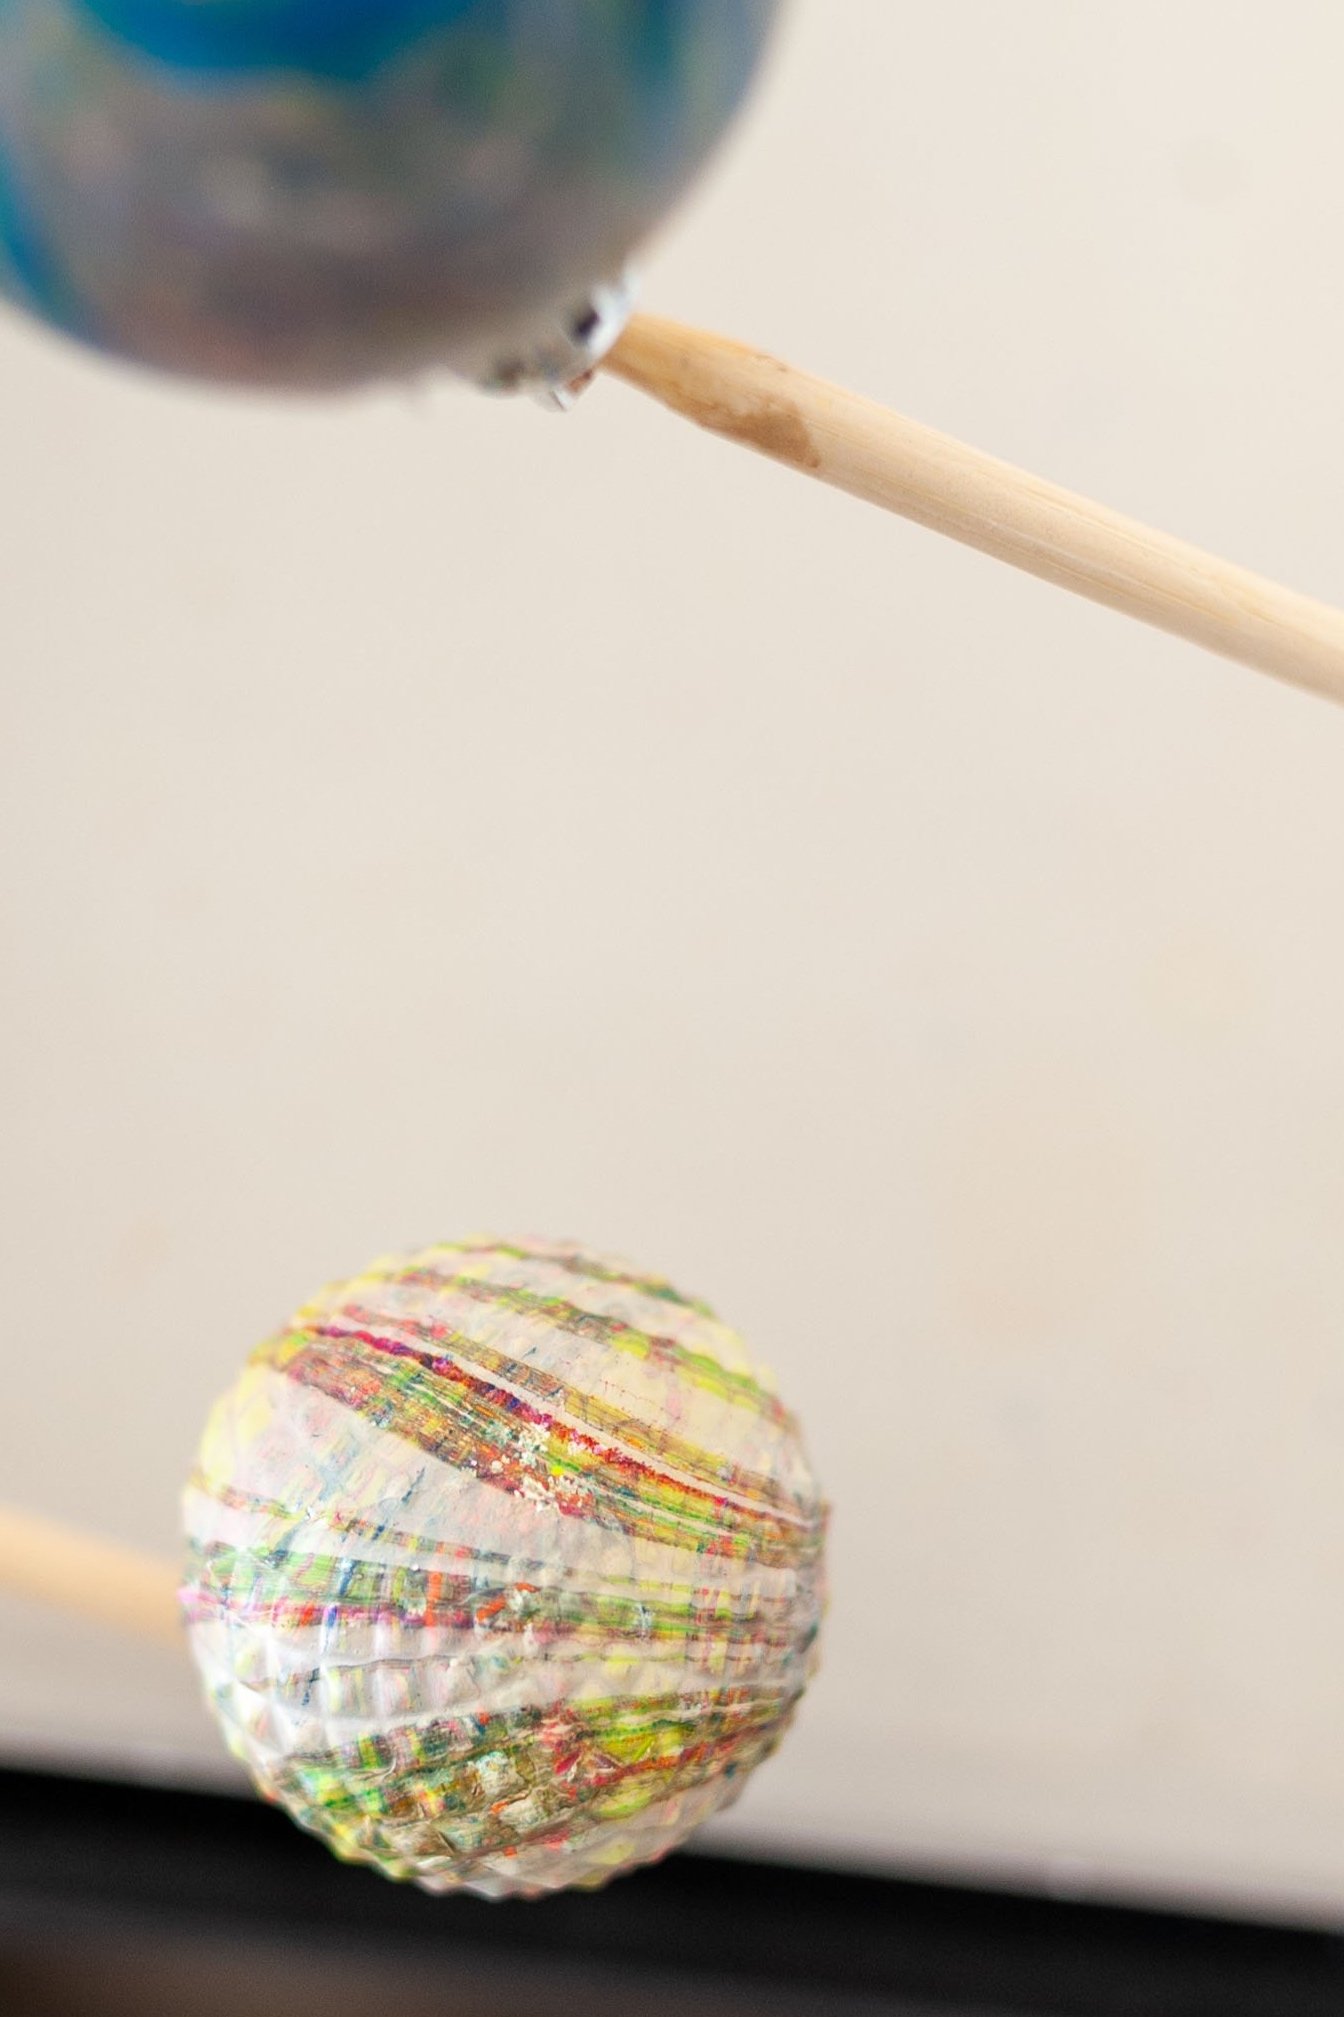
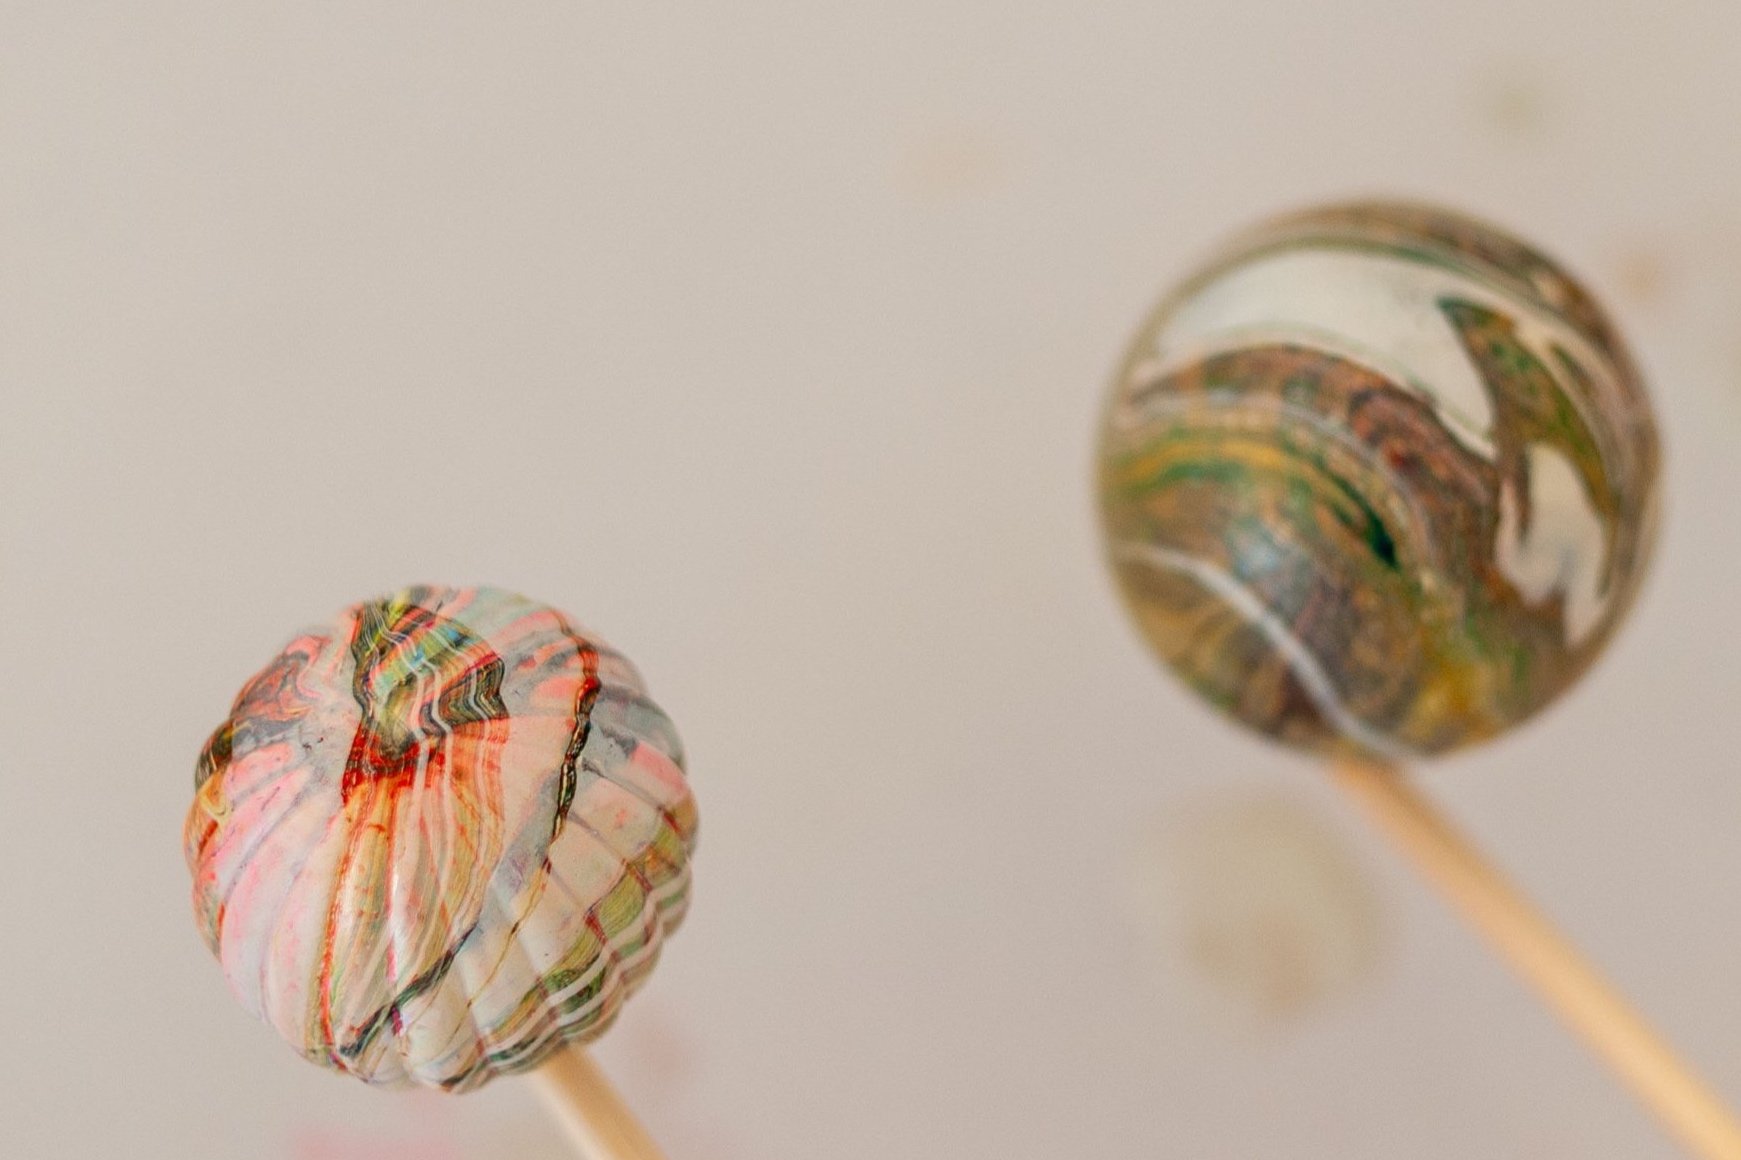
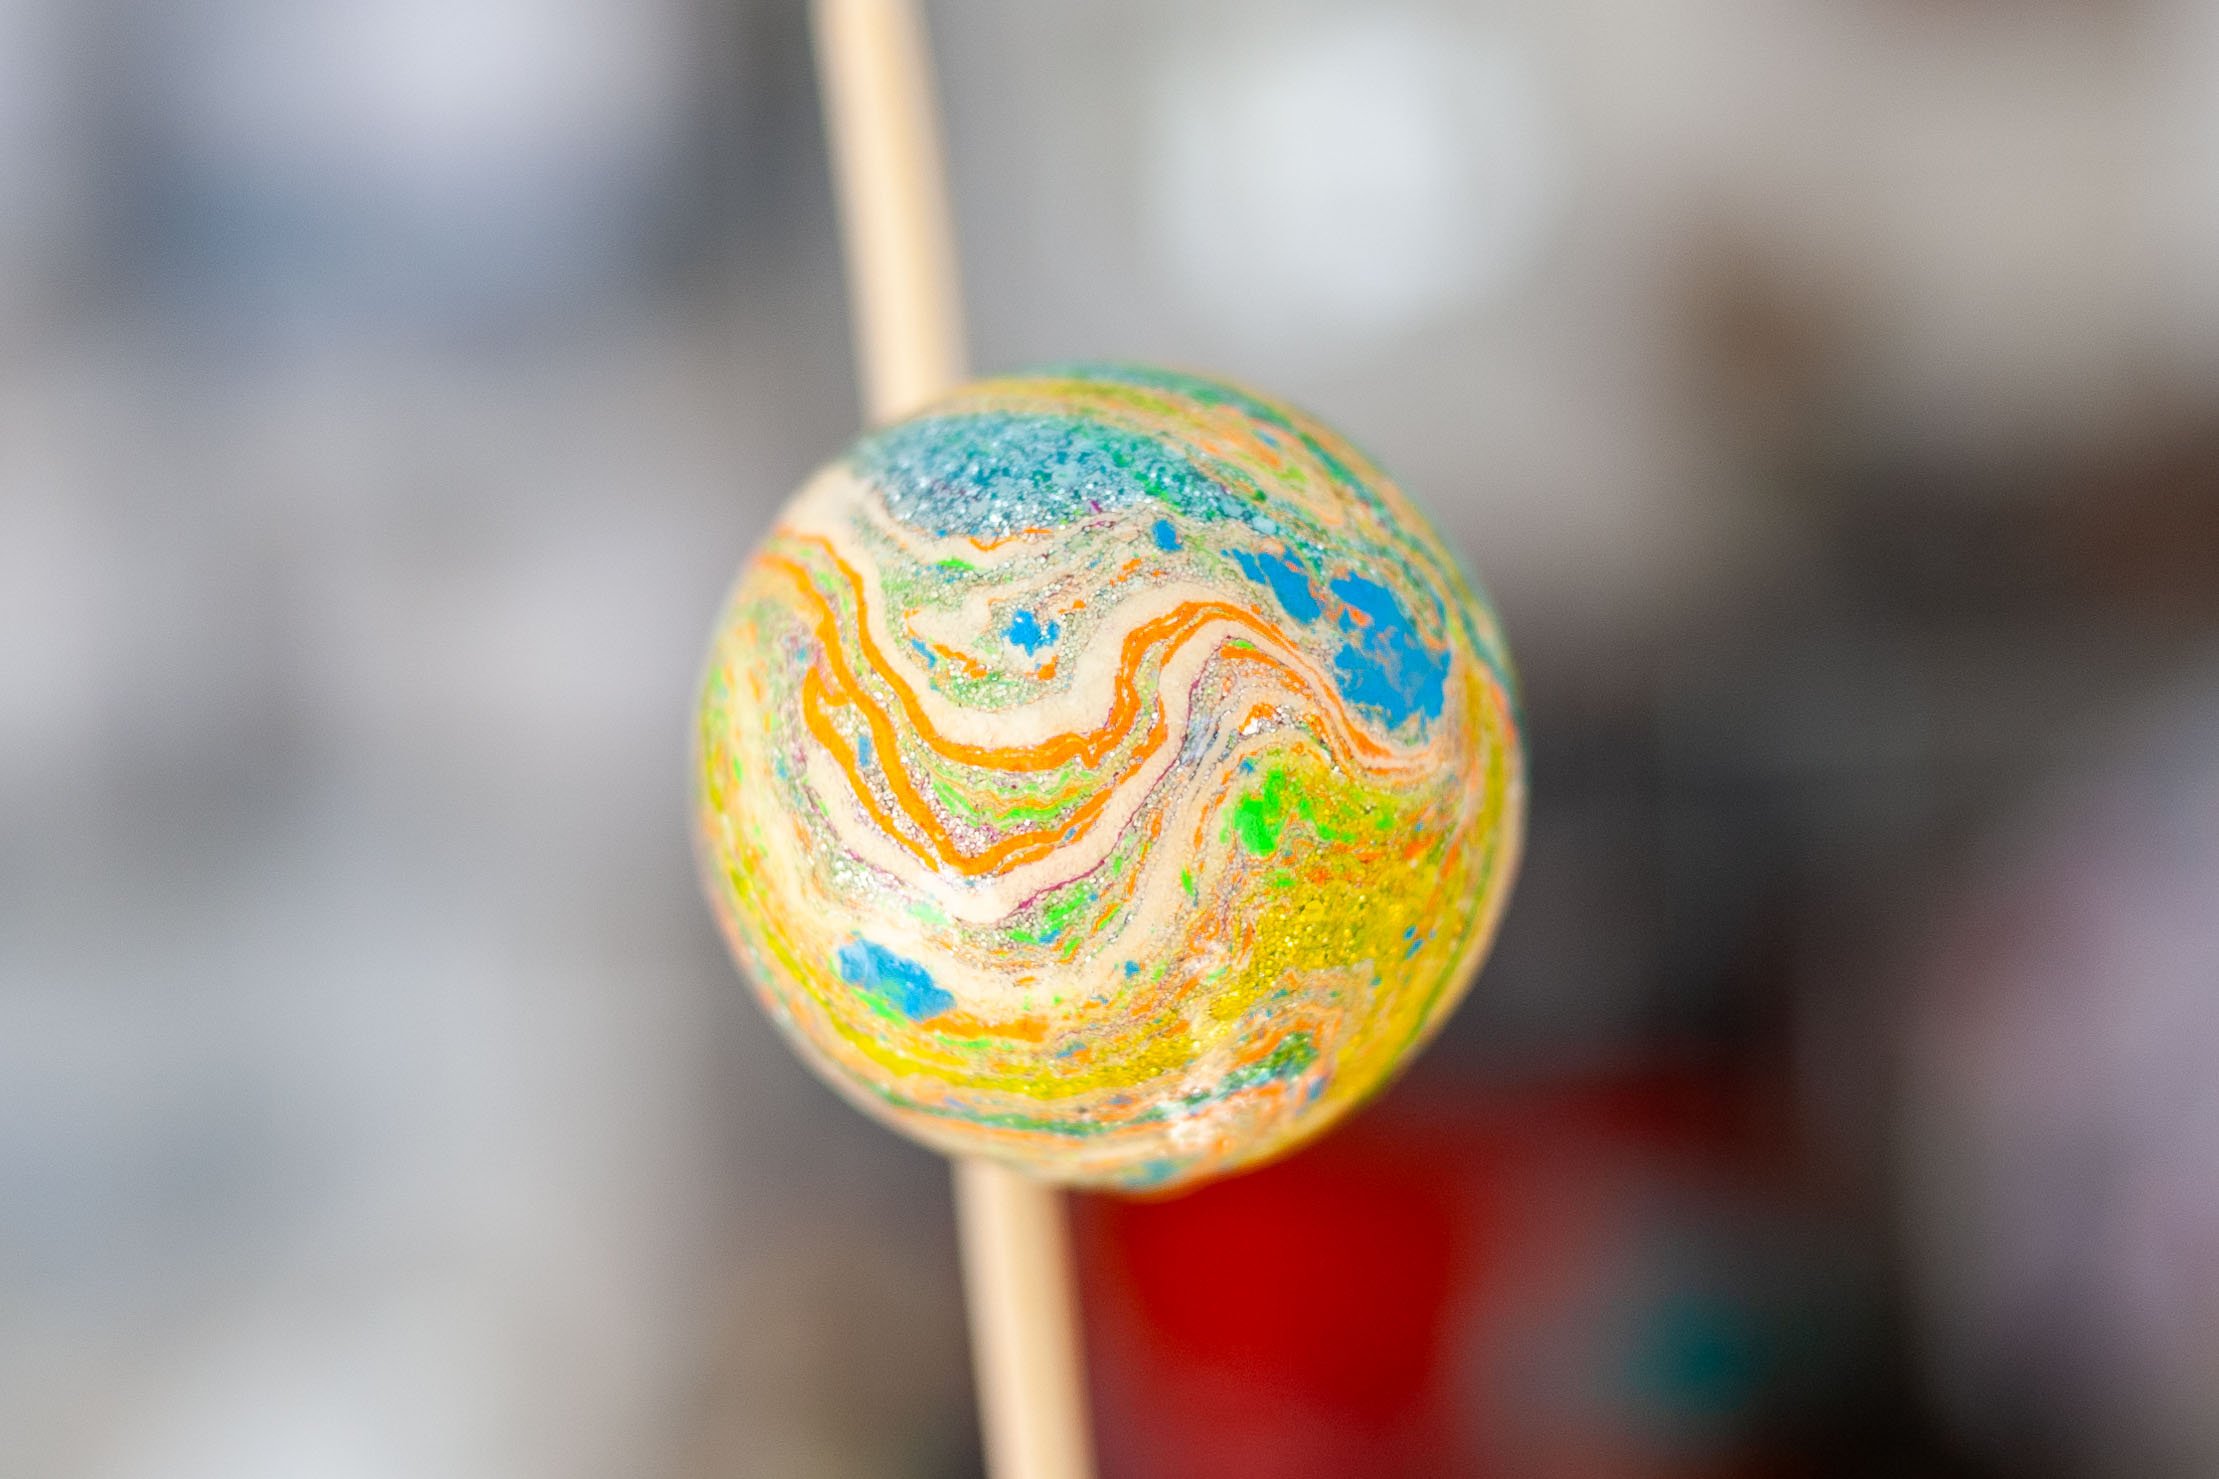
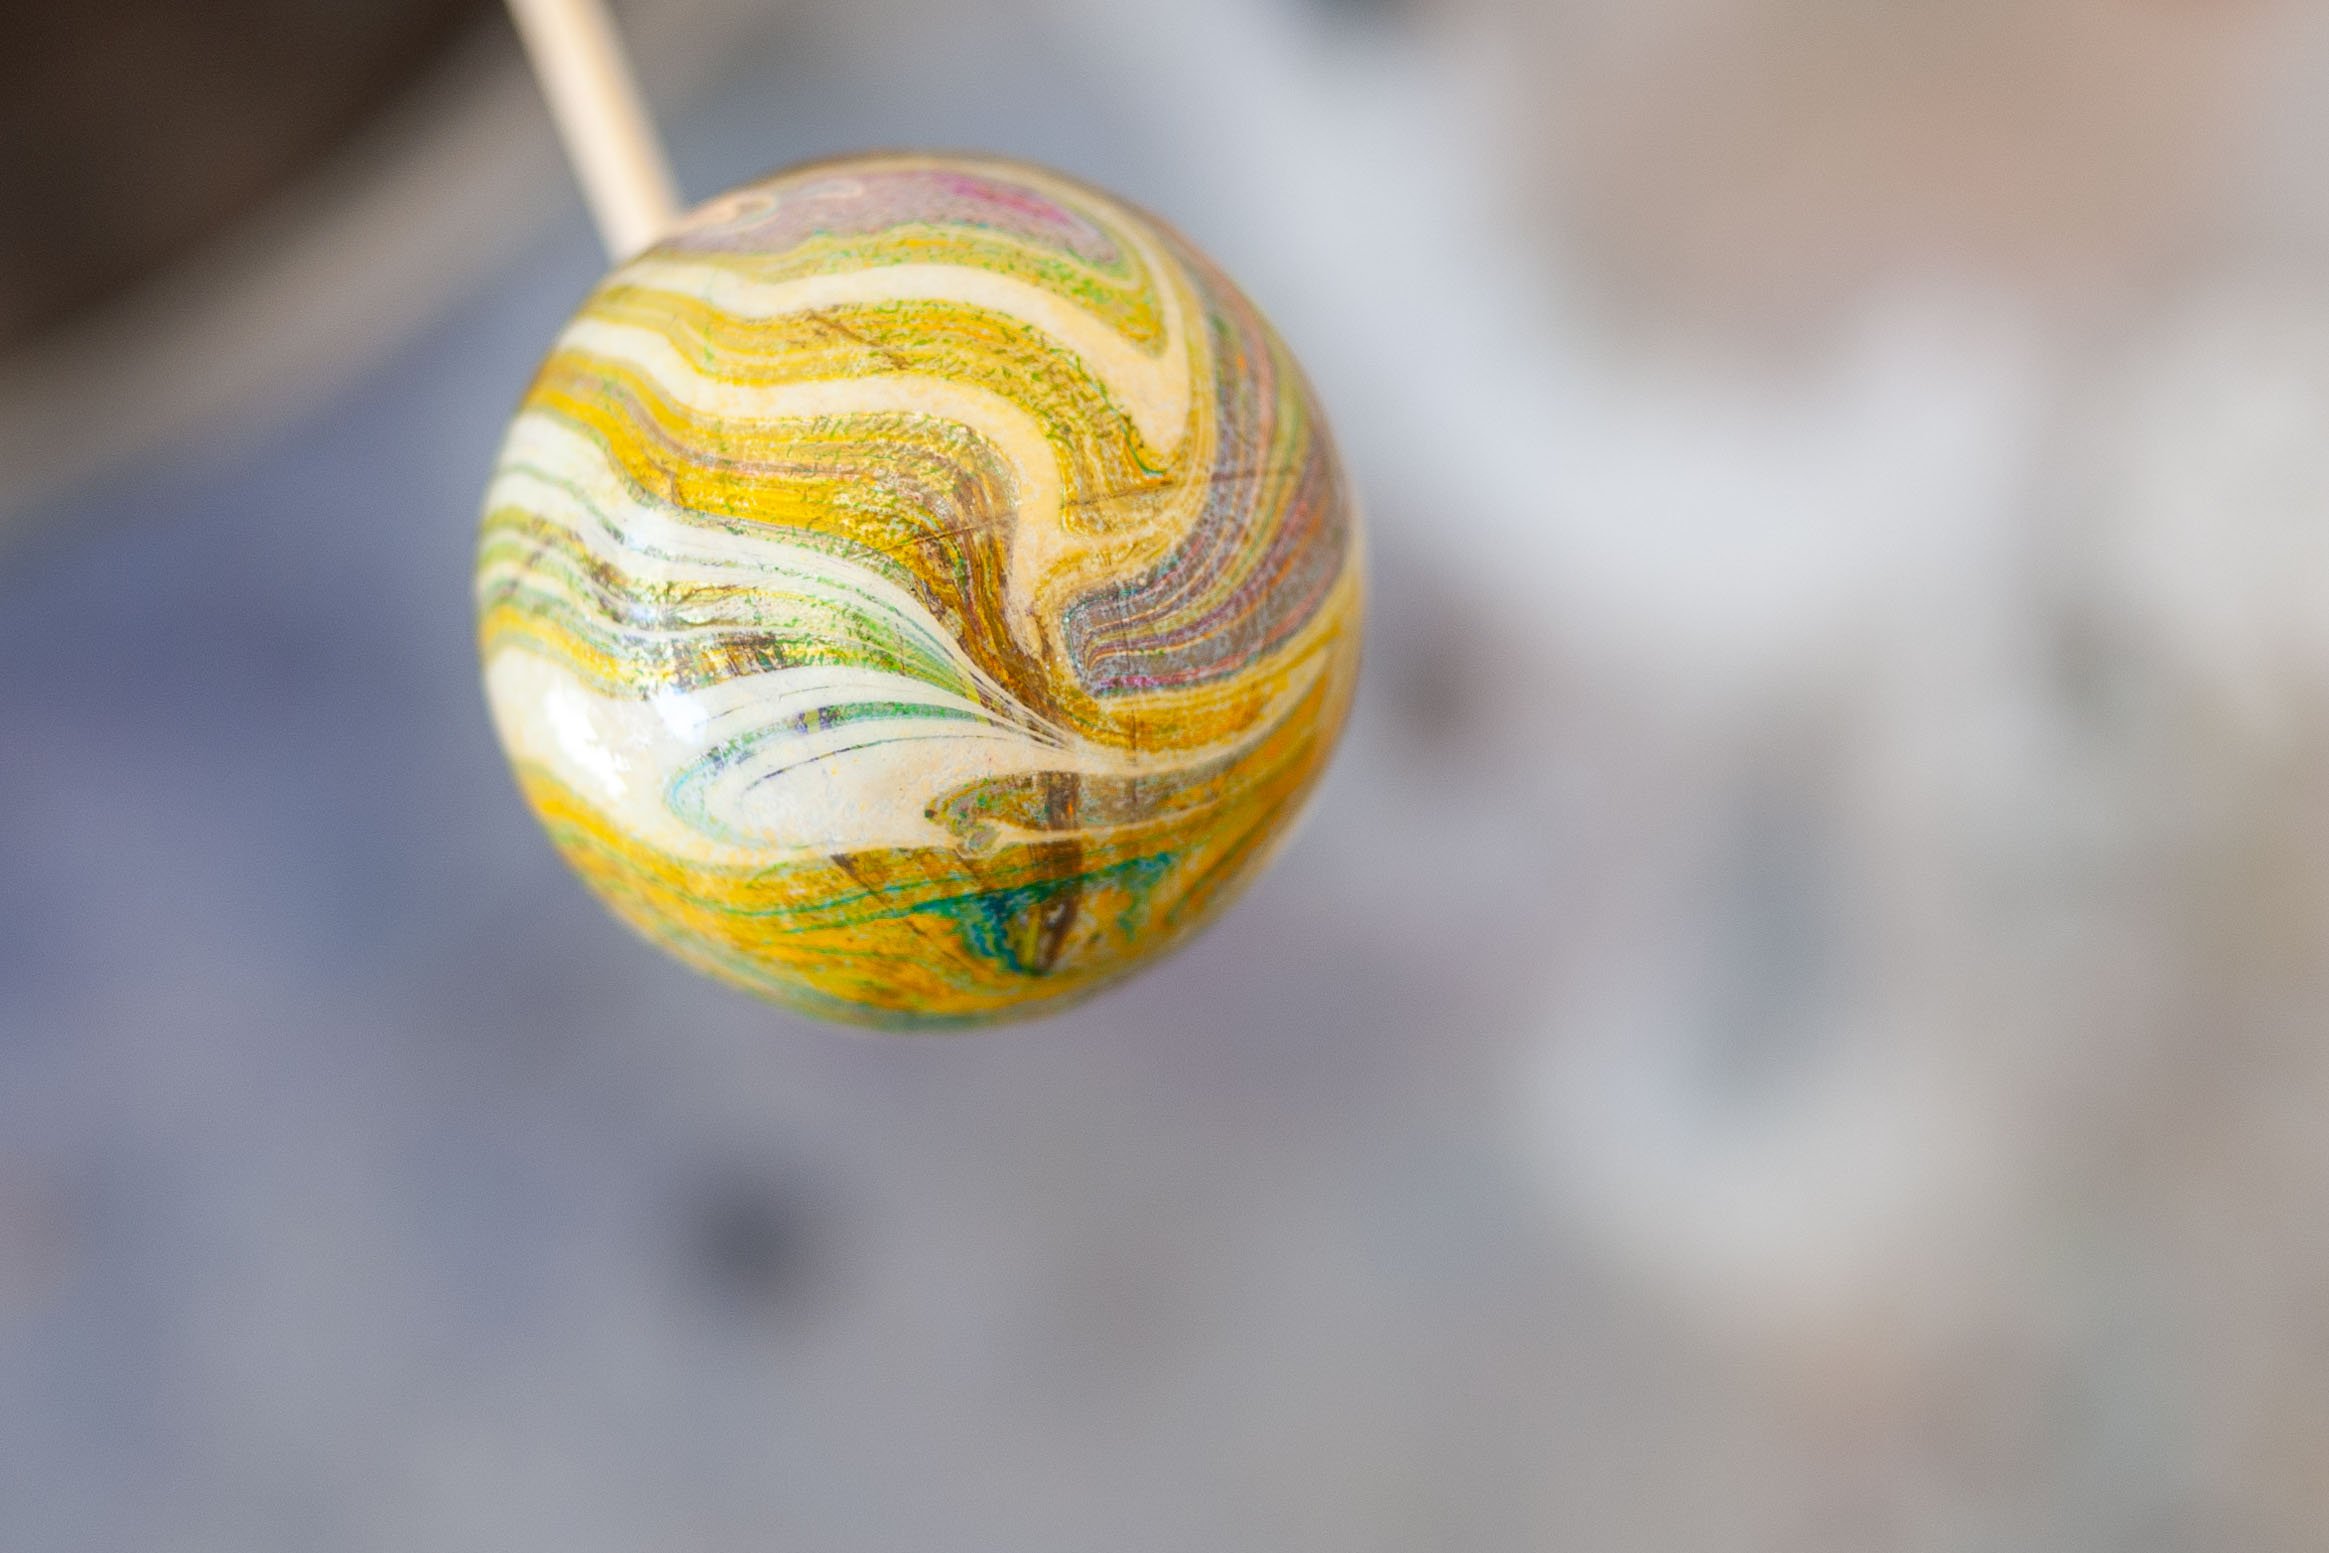
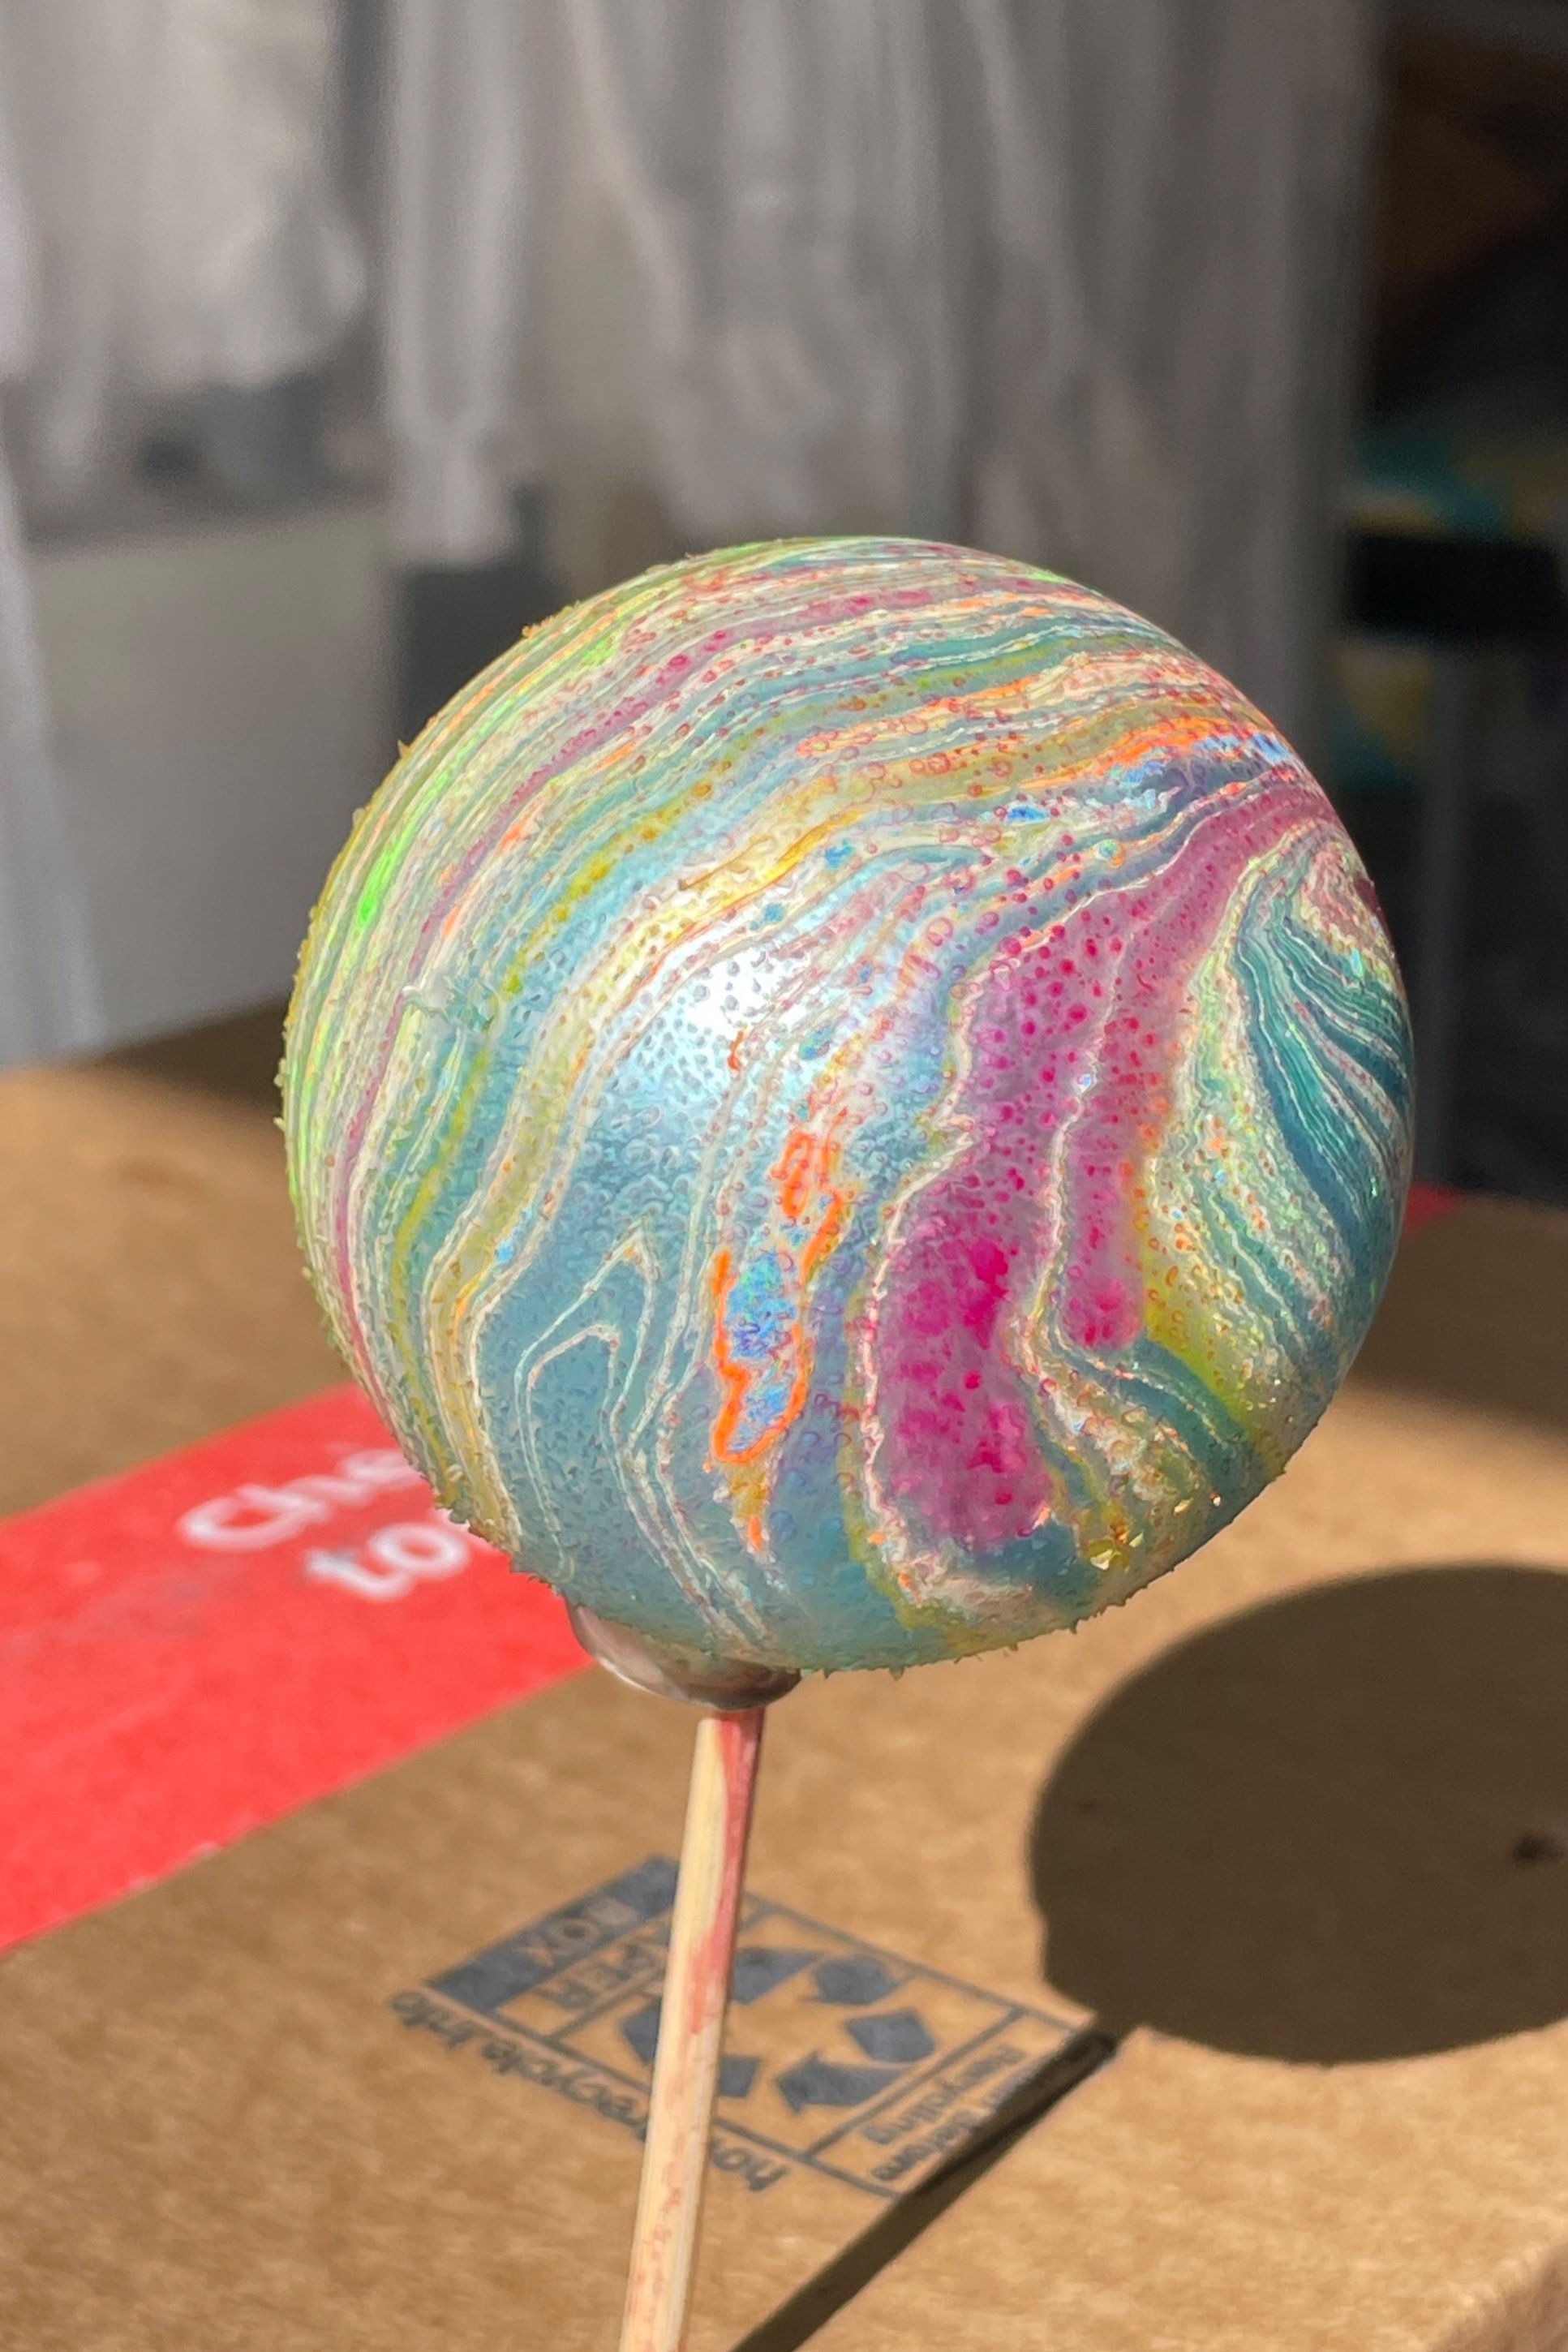
One last tidbit… here’s a plastic bulb that was prepped with alum one time over, then marbled. You can see the droplets where the bulb was coated, and the print separation where it wasn’t. Which is why I used multiple layers, to try and cover everything.
And don’t sweat those flakes, the next dip and sealer will fix that.
I hope you enjoyed reading along. If you decide to try my technique and post your results {anywhere} online, I ask that you link back to this post.
Please and thank you.
✌🏻❤️🌈
All content is owned by Tifanie White | studio. Unauthorized use including reproduction, distribution, reposting, downloading and transferring is prohibited.